


16
5.1
Preliminary operations
For the CEILING FAN to work, the following are required:
Electricity supply with suitable voltage and frequency characteristics for the machine, an earth con-
•
nection and protective devices;
Installation must satisfy the safety re-quirements laid down by cur-
rent local norms.
Then check that all the connections necessary for the equipment to work have been formed correctly by expert
personnel, according to all the specific disciplines in this regard. VORTICE S.p.A. does not accept any responsibility
for damage and/or malfunctioning due to connecting the product to the power supply in a manner that does not
conform to the requirements laid down herein.
5.2
Positioning
Once the ceiling fan has been assembled, installation operations can begin.
Make sure you have understood the enclosed Assembly Instructions fully. To position the unit, the specialist, trained
operator, in terms of the requirements above, must take the following precautions:
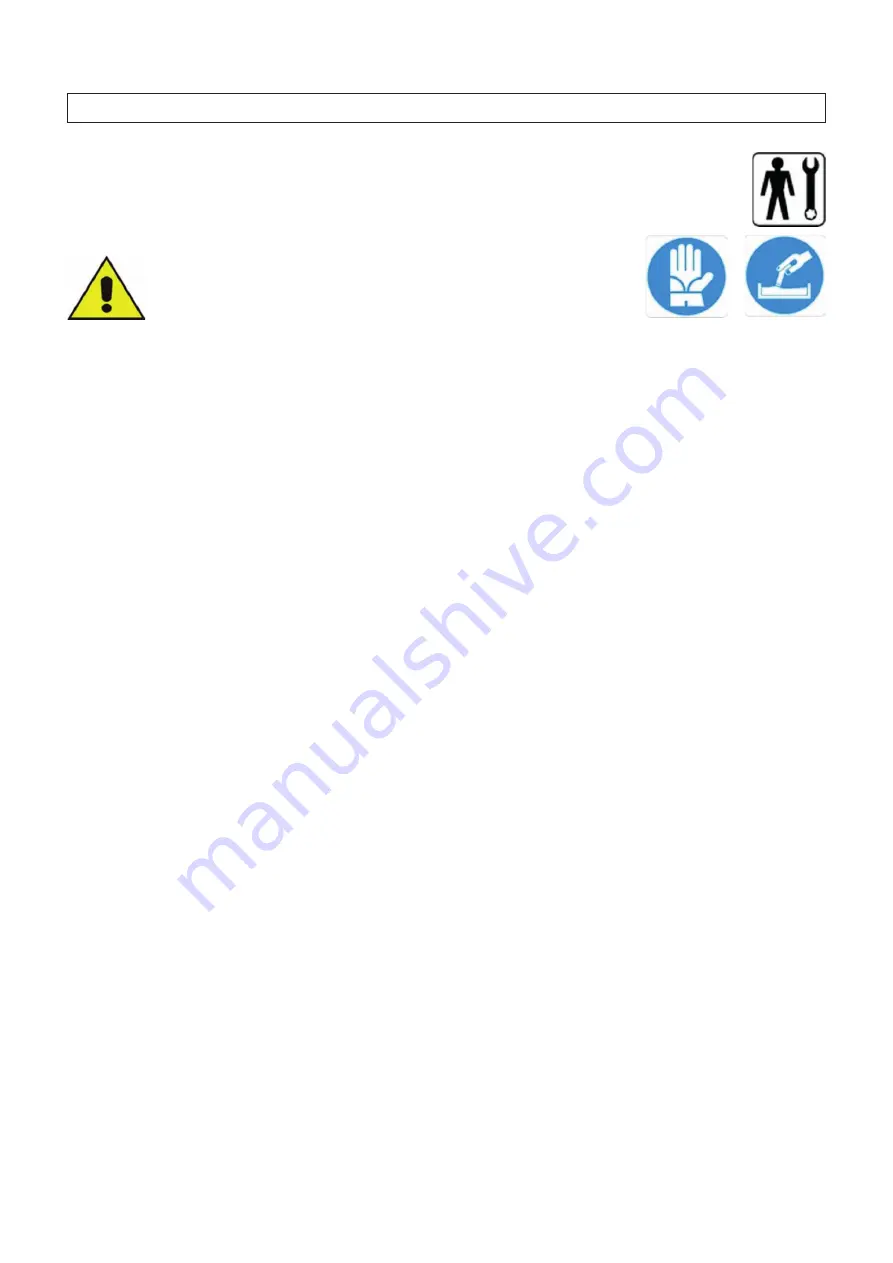
The use of specific PPE is absolutely necessary, and in particular the operator must use at least working gloves,
•
approved clothing that ensures high visibility, safety footwear, and a protective device for their head
Before beginning installation, make sure the place available is suitable for the purpose. Especially check the
•
connections, structure of the support / fixing point, distance from heat sources, high voltage lines, and/or other
elements that may interfere with the machine's operation in some way, distance from the ground, and the operators
involved.
Before proceeding with installation, assess the possible interference risks between the operations to be carried
•
out, fixed and moveable equipment to be used, and the working environment in which installation is to be done,
according to the reference national norms.
Proceed to install the product and its control panel in an accessible place that allows regular functioning to be
•
checked visually at all times from the ground. It must also allow quick stoppage in case of emergency, as well as
correct routine and extraordinary maintenance by authorised operators.
Check that no operator is under or in the proximity of the installation site, until after the unit has been used for the
•
first time.
Make sure that the minimum lighting level in the installation area is at least 50 lux, to allow mainte-nance to be
•
carried out and the equipment to be identified, as otherwise it may not be seen and per-ceived when it is running.
We also advise against installing the ceiling fan below light sources that may generate a stroboscopic effect, which
would be bothersome for the operators.
Once the checks indicated above have been completed, install as per the specific procedures listed below:
For installing and using the machine for the first time, see annex 1 to this Manual, "Assembly Instructions".
5.3
Optimum installation conditions
The ceiling fan must be installed at least one metre below the ceiling and at a height of 4 metres above the floor. The
installer is also to assess any interference with machinery, balconies, balustrades, or anything else between the floor
and the machine, that may interfere with it. Before beginning installation, the area must be specifically signposted
and cleared of people or objects that may get in the way or be damaged by accidental falling of parts of the machine.
The area over which the ceiling fan's action is effective is about 3 times the diameter of the fan. The manufacturer
expressly forbids installations in which no space is left between one machine and another equal to the diameter of
the machine itself. The installer is fully responsible for connecting the ceiling fan to the ceiling. They must therefore
assess the most suitable fixing system in order to ensure that the unit is fixed in a workmanlike manner, according to
the type of ceiling, beams or structure in general to which the fan is to be anchored.
5 INSTALLATION
Содержание Nordik HVSL Super Blade 110 V Series
Страница 1: ...NORDIK HVLS SUPER BLADE E SUPER BLADE 110 V Instruction booklet COD 5 571 084 939 23 07 2021 ...
Страница 13: ...13 Fig 3 1 14 13 7 6 7 6 13 15 18 23 21 8 6 9 16 4 25 22 17 20 19 26 24 21 24 2 5 13 15 14 Bottom cap ...
Страница 25: ...25 INVERTER MOTOR ELECTRONICS QUICK CONNECTORS ...
Страница 28: ...28 Destratification Fan assembly ...
Страница 42: ...42 Destratification fan disassembly power supply Cut off the power and remove the power and signal connectors ...
Страница 56: ...56 Attachment 2 Electric connection ...
Страница 67: ...67 Multi wire diagram for system wiring SINGLE PHASE 85 264V 50 60 Hz ...
Страница 73: ...73 7 Connection Diagram with VORT T PLUS Electric Scheme Option 4 VORT T PLUS VORTICE Code 20152 ...
Страница 74: ...74 8 Connection Diagram with VORT T HCS Electric Scheme Option 3 VORT T HCS VORTICE Code 20151 ...
Страница 75: ...75 9 Connection Diagram with VORT MASTER Electric Scheme Option 3 VORT MASTER VORTICE Code 20153 ...
Страница 78: ......
Страница 79: ......


