


4/8/16-CH DVR Quick Start Guide
3
3.
Startup & Shutdown
3.1
Startup
Step 1: Connect to cameras and monitor.
Step 2: Connect with the source power.
Step 3: The device will boot and the power indicator will display blue.
Step 4: A WIZZARD window will pop up.
3.2
Shutdown
You can shut down the device by using IR remote controller and mouse.
By IR remote controller:
Step 1: Press Power button. This will bring up a shutdown window. The unit will
shut down by clicking “OK” button.
Step 2: Disconnect the power.
By mouse:
Step 1: Enter into
Menu and select “Shut Down” icon. This will take you to a
shutdown window.
Step 2: Click OK. Then the unit will power off after a while.
Step 3: Disconnect the power
4.
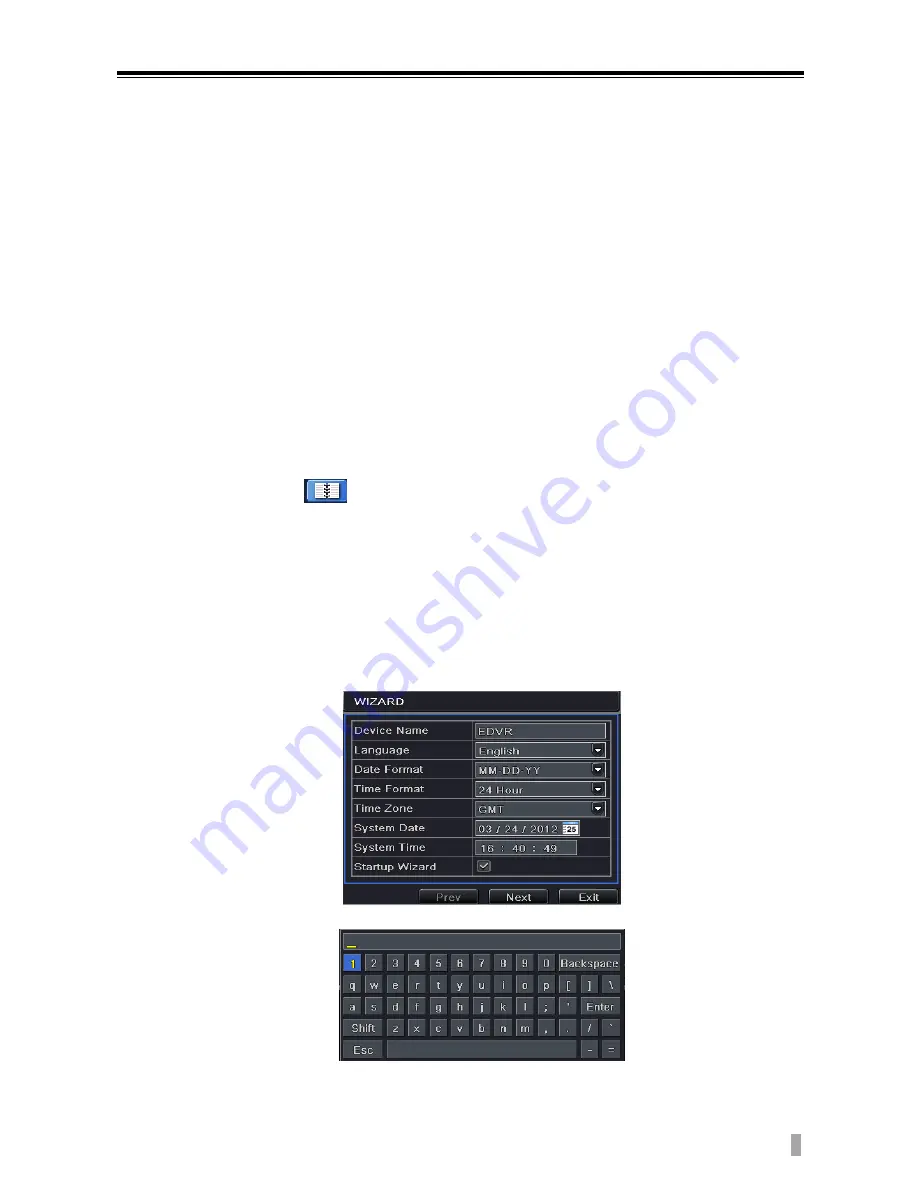
Setup Wizard
After the device starts, a setup wizard pops up. You can set up time
,
network ,
record and disk management.
Click Device name box to popup a keyboard as follows:
It supports digits, alphabets and symbols as inputs. Click Shift button to input
Capital letters and symbols; click Shift button again to return.
VOOK
Содержание VDT23xxME-BH
Страница 1: ...QUICK START GUIDE VDT23xxME BH VOOK...
Страница 2: ...VOOK...


