


4/8/16-CH DVR Quick Start Guide
10
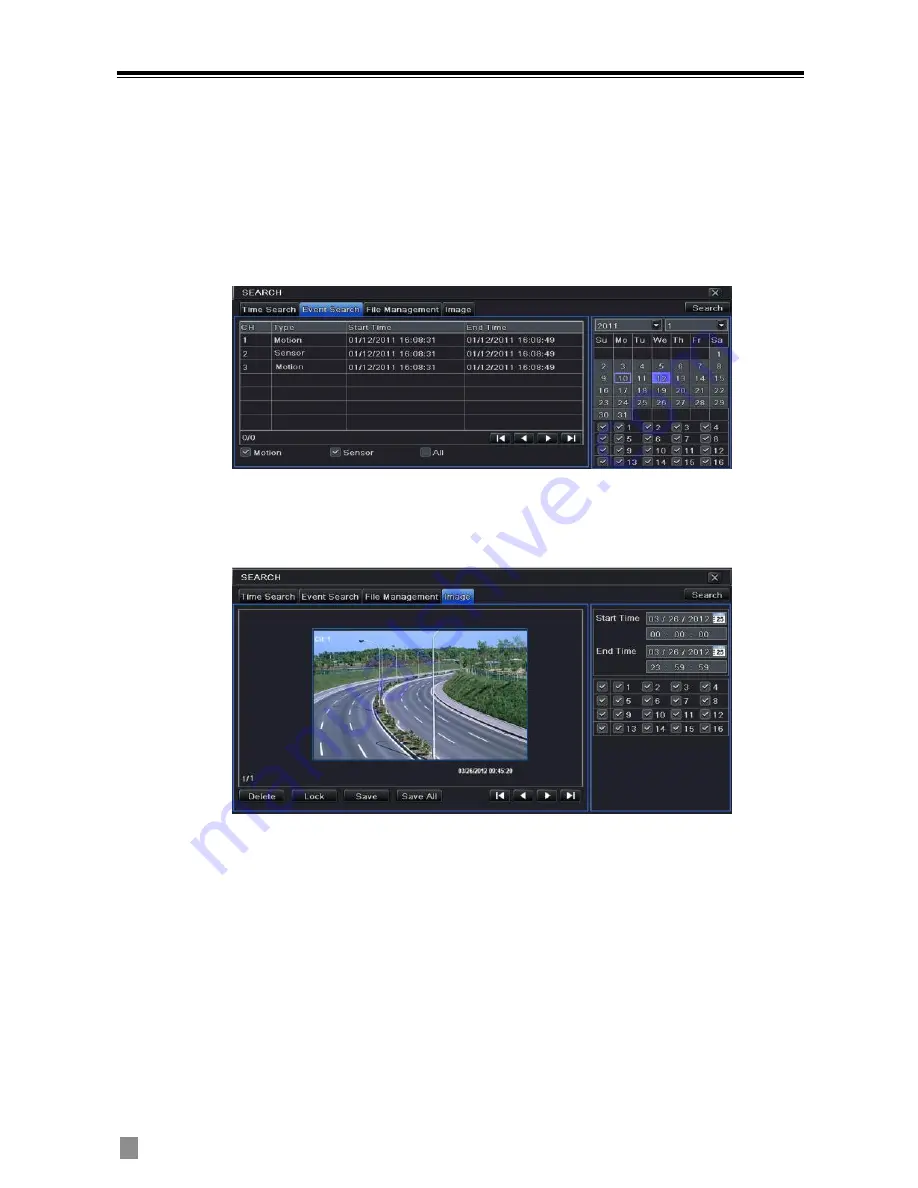
Step 1: Enter into Menu
Search
Event Search tab.
Step 2: Select date and channels on the right hand side. A data with highlighted
borderline indicates presence of data.
Step 3: Then checkmark Motion, Sensor or All accordingly. You can search for
motion based recording and sensor based recording.
Step 4: Press “Search” button to display the searched event information in the event
list box.
Step 5: Double click the event item to play the record.
8.4
Playback by Image Search
Step 1: Enter into Menu
Search
Image tab.
Step 2: Select data and channels on the right hand side.
Step 3: Press “Search” button to search for a recorded image.
Step 4: Once an alarm image has been identified, the user can double click the image
to play the recording.
You can lock the image by clicking “Lock” button. Click “Save” button to copy the
image on the HDD. Click “Save All” to copy all images on the HDD.
Note: In order to take images on alarm, the snapshot feature should be activated in
“Alarm Handling” for different kind of alarms. Please refer to 4.5 Alarm
Configuration for details.
9.
Back up
VOOK
Содержание VDT23xxME-BH
Страница 1: ...QUICK START GUIDE VDT23xxME BH VOOK...
Страница 2: ...VOOK...


