4/8/16DVR Quick Start Guide
VOOK
premium DVR
6
Network configuration: Users enable network function, and configure IP
address, DDNS, transmission video parameters here.
User configuration: Administrator can add, delete users, and change their
authorization
PTZ configuration: users can set protocol, baud rate, address, presets and
auto cruise track here.
Advanced configuration: users can reboot the device and import & export
data into or from mobile storage medium.
4.2 DVR recording modes
User need to install and format a HDD, and set all the recording parameters
before recording. There are four kinds of record modes.
4.2.1 Manual Recording
User can press REC button on the front panel after quitting system setup.
Press this button again to stop recording.
Or press REC button on remote controller, click again to stop.
Or click REC button on the tool bar with mouse, click again to stop.
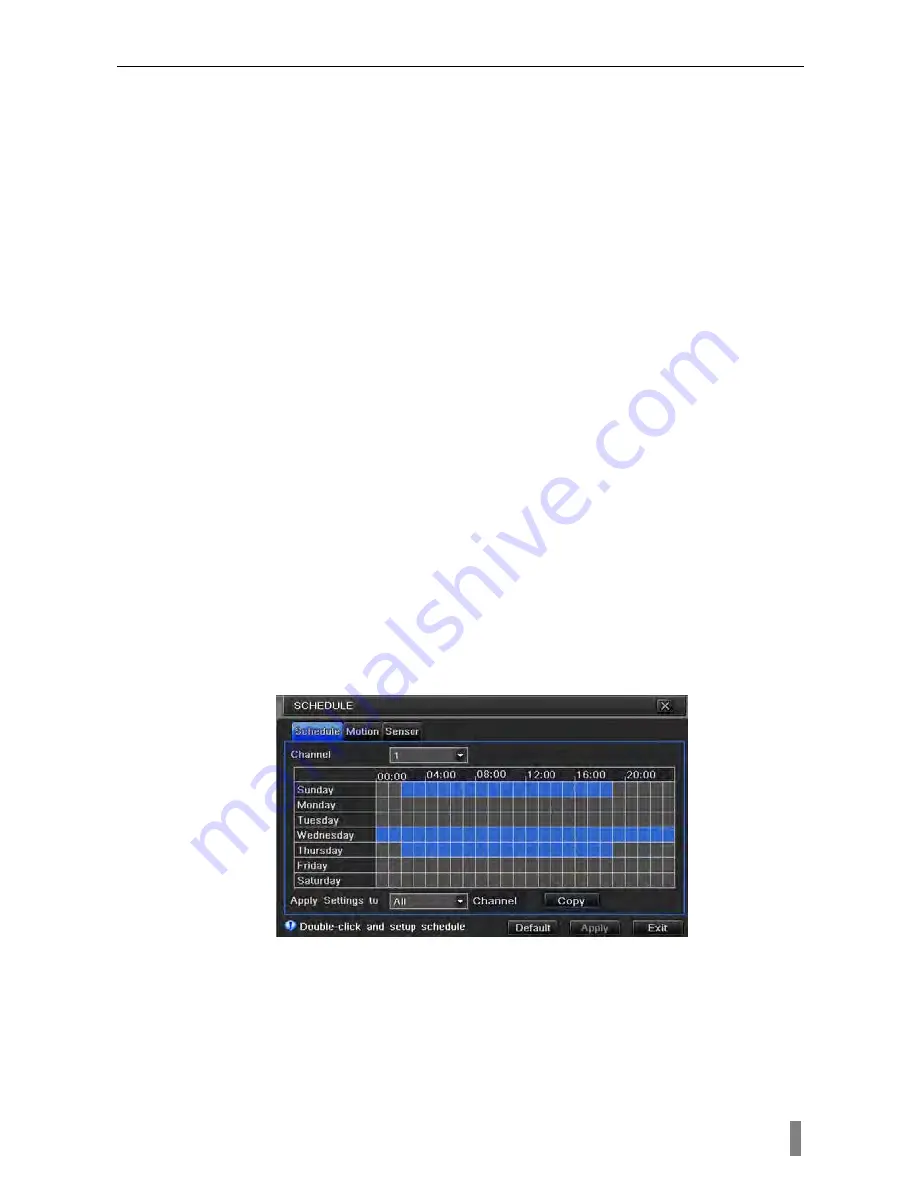
4.2.2 Schedule Recording
Enter into main menu—schedule configuration (refer to Fig 4-3). Users can
set different schedule time for every day in one week. If user wants a special
schedule for one day can use Holiday function.
The column means the seven days of a week from Monday to Sunday, the
row means 24 hours of a day. Click the grid to do relevant setup. Blue means
checked area, gray means unchecked area.
Fig 4-3 Schedule record setup
4.2.3 Motion Detection Recording
Motion detection recording: when there is a motion event detected, the
camera will be triggered to record and have an alarm out.
Enter into main menu-alarm configuration-motion configuration (refer to Fig
4-4), enable Detection first;