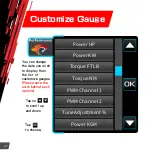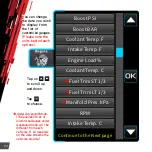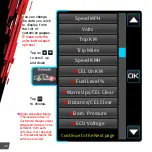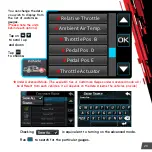
FW 1.
49
.
57
英文版
FW 1.
49
.
57
英文版
FW 1.
49
.
57
英文版
FW 1.
49
.
57
英文版
ThrottlePos.%
Volo Vp16 Initial Setup
2. Go to
to set the units you prefer.
Settings > Units
3. Go to
to set the Brightness, Dim Level, Sleep Delay
Settings > Device
(Initial @ 20), Sleep mode(Initial @ ECU), Refresh Rate
( Initial @ 100,
Do not adjust refresh delay unless advised by Volo performance Inc. or
your local distributors)
, and Advanced Mode ( After the advanced mode is
checked and turned on, more advanced data will be added to the
customize gauges. )
1
.
Go to
to set the language you prefer.
Settings > Language
Turn on your engine
press the reset button
, then
behind
the VP16 performance chip. VP16 will reboot. Follow
the steps below while
.
engine is idling
(
AdvancedModeOff/On)
Installation
1
.
Connect OBD Cable
2
.
Install Magnetic Mount
–
Route the cable away from the pedals and up to the windshield.
–
Push the cable into the VP16's OBD port until it clicks
.
–
Cable must be secured so it cannot interfere with vehicle operation.
–Connect the OBD Cable to your OBD-II port, usually found on the
driver's side under the dash.
–
Remove the protective film from the suction cup.
–
Make sure your windshield is clean and dry.
–
Raise the lever, then press the suction cup mount firmly against your
windshield, then press lever down.
–
Placement must not interfere with your view of road.
11
12


