16
Advanced Operations
Crossfader
Master Cueing
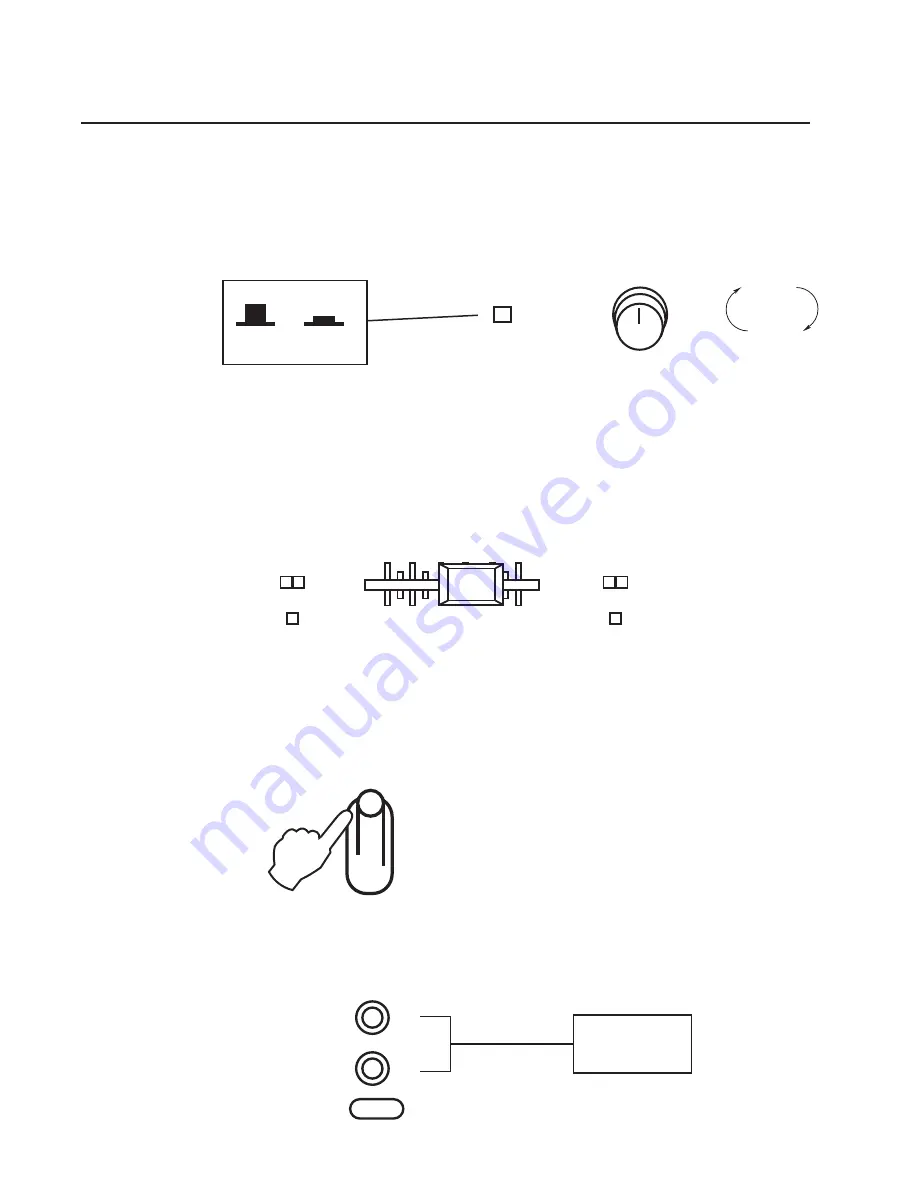
Master Cueing will cue the MASTER OUTPUT to the headphones. This is commonly used to isolate the audio
signal to the headphones. Master cueing makes it possible to practice when “audible” music is not permitted
i.e. late night practicing at home. To MASTER CUE, make sure the CUE/MASTER button is set to MASTER
and adjust the CUE LEVEL control to a desired volume level. Note: When master cueing, pressing any
channels individual Cue button will not affect output to the headphones as those buttons only work when
channel cueing.
Crossfading between sources
The crossfader allows you to “mix” or crossfade between two channels. To do this, you need to first ASSIGN
the two channels to your CROSSFADER. On each side of the CROSSFADER, there is an ASSIGN button.
The LEFT ASSIGN button can assign either CHANNEL 1 or 2, while the RIGHT ASSIGN button can assign
either CHANNEL 2 or 3. Once you have your desired channels assigned, move their respective CHANNEL
FADERS to an audible level, and slide the CROSSFADER back and forth to crossfade. Note: If you assign
channel 2 on both sides, the crossfader will not crossfade.
Video Selector
Switching Between Video Channels
If you have more than one A/V source connected, and would like to switch video channels for output to a
display device, you would use the VIDEO SELECTOR toggle switch. The switch will toggle between
CHANNELS 1, 2 and 3.
Record
Recording a Performance or Mix
To RECORD a mix or performance, connect a line-level patch cable from the RECORD OUT to the AUDIO IN
of a recording device.
VIDEO SEL.
1
2
3
RECORD
L
R
CUE
MASTER
5
CUE
MASTER
Level
0
10
Increase
Decrease
1
ASSIGN
2
2
ASSIGN
3
- (LD Video IN)
- (DVD Video IN)
- (CDG Video IN)
DAT


