


Step 1: Install the VOCO Apple App
Download the VOCO Controller App from the
Apple App Store® onto your Apple device.
Step 2: Setup VOCO V-Zone
OR
WiFi
Step 3: Configure VOCO V-Zone
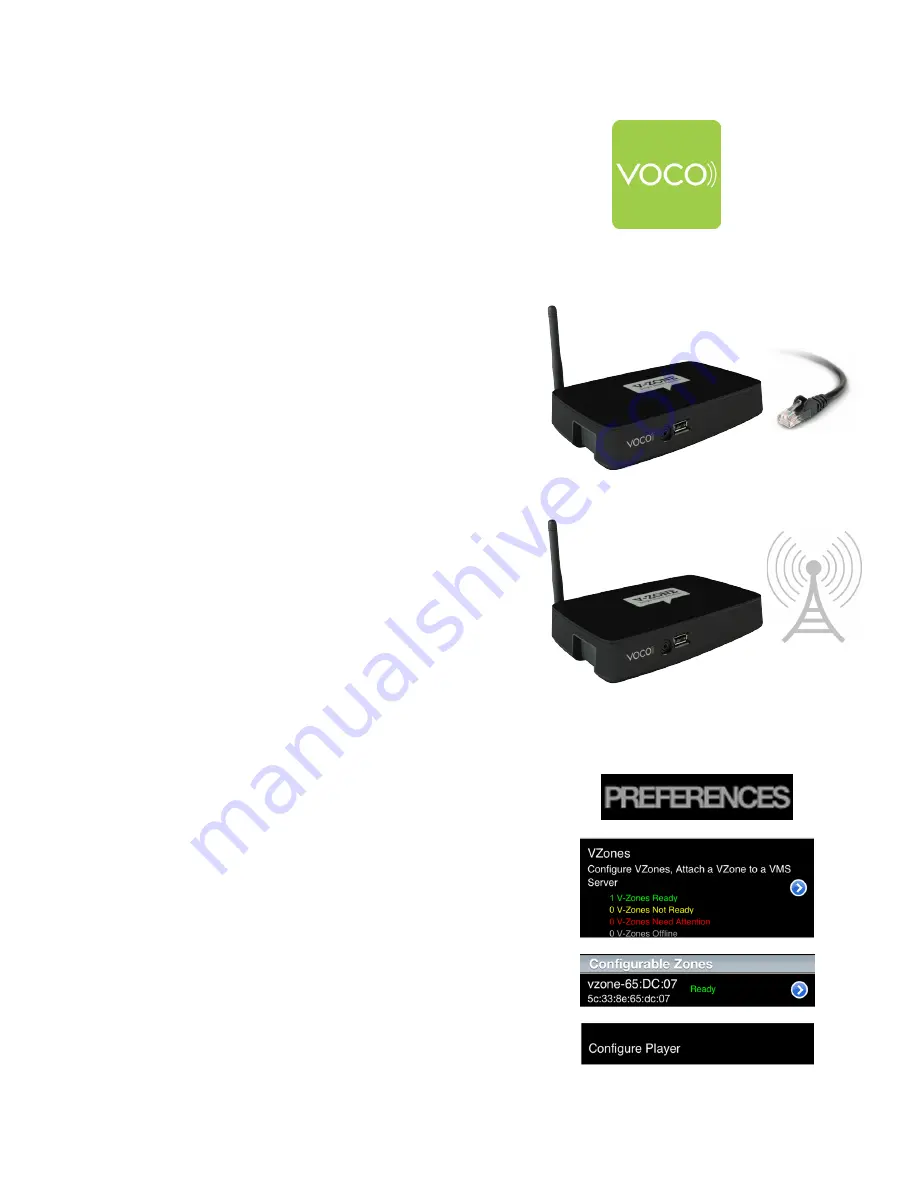
Ethernet Setup:
If you are connecting your V-Zone+ to Ethernet, it will
setup automatically onto your network. To name your
device, open your VOCO Controller App on your Apple
device and walk through a short setup process to name
your V-Zone+.
To do this tap on the “Preferences” tab in the bottom
right corner, then VZones > vzone-##: > Configure
Player. Then follow the on screen instructions.
Wireless Setup:
If you are setting up your V-Zone+ over Wifi please
walk through the following short setup process.
Setup V-Zone+ within range of your Wifi network or
connect the V-Zone+ to your internet router using an
Ethernet cable (included). Then locate the antenna
inside the package and securely screw it into the back
of the V-Zone+. Next, connect the power cord to the
back of the V-Zone+ and plug it in. Finally connect
your V-Zone+ to any amplified audio device (stereo,
powered speakers, home theater, etc.) using the
supplied RCA audio cable.
*Important: Please ensure that the supplied RCA audio cable
is used. If alternative cable is used audio will only play out
of one side.
If you want to stream video to your TV using the
V-Zone+, connect the V-Zone+ to your TV using an
HDMI cable (not included), but this is not required to
stream music.