www.modellmarkt24.ch
Y OD A
R ecommendations for assembly
15
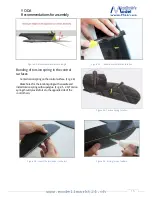
F igur e 2.3 - M aximum elevator hor n length
F igur e 2.2 – r udder hor n installation location
B onding of tor sion spr ing in the contr ol
sur faces
C enter torsion spring on the control surface. ( F ig. 2.4)
Make holes for the torsion spring with a needle and
install torsion spring with superglue. ( F ig. 2.5, 2.6) T orsion
spring should provide force to the opposite side of the
control horn.
F igur e 2.5 - I nser t the tor sion bar in the tail
F igur e 2.4-T or sion spr ing location
F igur e 2.6 - Sizing tor sion feather s
www.modellmarkt24.ch
Содержание 36083
Страница 4: ...www modellmarkt24 ch Y ODA Recommendations for assembly 4 www modellmarkt24 ch ...
Страница 9: ...www modellmarkt24 ch Y ODA Recommendations for assembly 9 www modellmarkt24 ch ...
Страница 12: ...www modellmarkt24 ch Y ODA Recommendations for assembly 12 www modellmarkt24 ch ...
Страница 13: ...www modellmarkt24 ch Y ODA Recommendations for assembly 13 www modellmarkt24 ch ...
Страница 18: ...www modellmarkt24 ch Y ODA Recommendations for assembly 18 3 Radio control installation www modellmarkt24 ch ...
Страница 19: ...www modellmarkt24 ch Y ODA Recommendations for assembly 19 www modellmarkt24 ch ...


