1
4
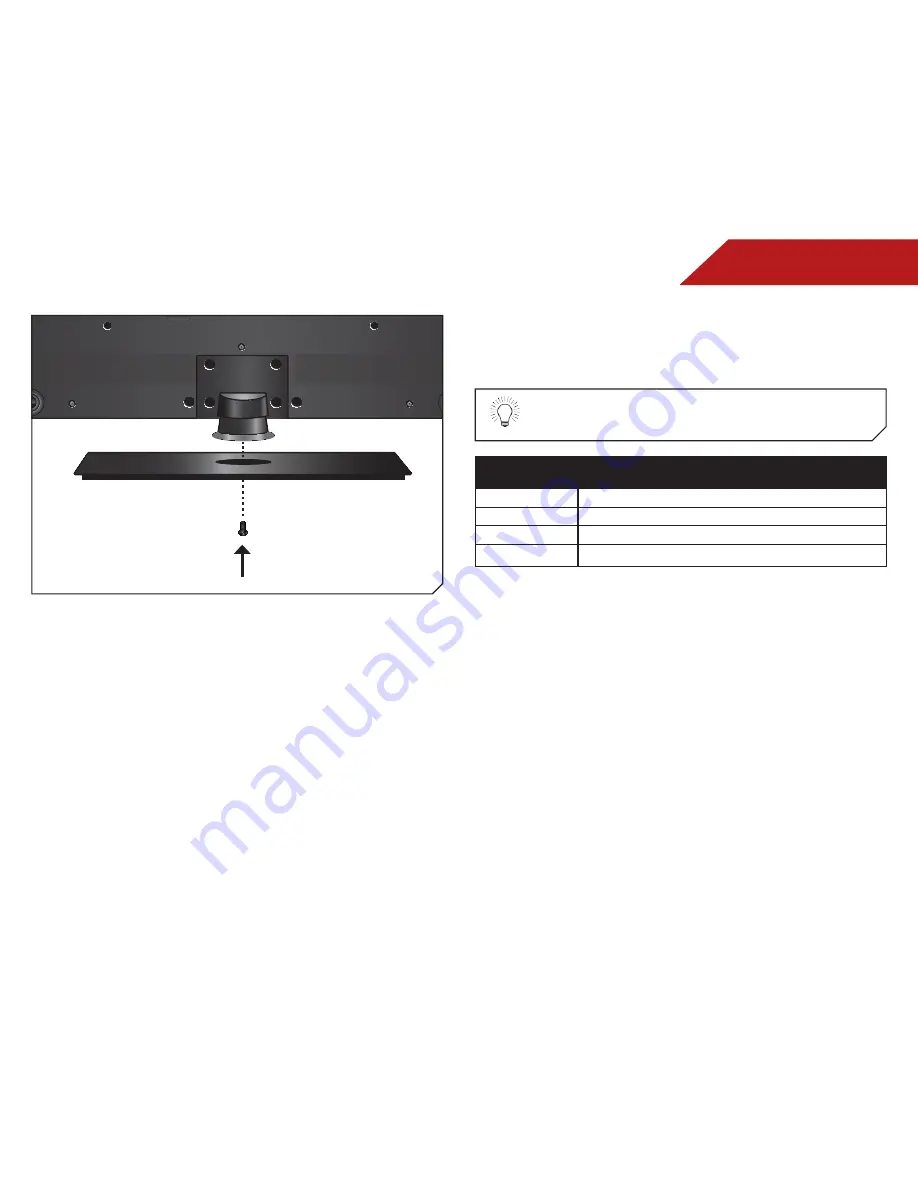
To install the TV stand:
1. Place the TV screen-down on a clean, flat surface. To prevent
scratches or damage to the screen, place the TV on a soft
surface, such as carpet, rug, or blanket.
2. Attach the base to the TV by inserting and tightening the
thumbscrew.
3. Move the TV with attached stand into an upright position
and place on a flat, level, and stable surface.
4. To ensure proper ventilation, leave at least 1” of space
between the back of the TV and any other objects (walls,
etc).
Y/V
Pb/Cb
Pr/Cr
L
R
AUDIO
CABLE/ANTENNA
AUDIO
OUT
DIGITAL
AUDIO
OUT
3
2
1
(ARC)
RGB PC
DTV/TV
COMPONENT (BETTER)
PC AUDIO
H
DMI (BEST)
USB
AUDIO OUT
Y/V
Pb/Cb
Pr/Cr
L
R
AUDIO
CABLE/ANTENNA
AUDIO
OUT
DIGITAL
AUDIO
OUT
3
2
1
(ARC)
RGB PC
DTV/TV
COMPONENT (BETTER)
PC AUDIO
H
DMI (BEST)
USB
AUDIO OUT
Installing the TV on a Wall
To mount your TV on a wall, you will need a wall mount. Consult
the information below to find the appropriate mount for your TV
model:
Installing a TV on a wall requires lifting. To prevent
injury or damage to the TV, ask someone to help you.
E321VT
Screw Size:
M4
Screw Length:
20mm
Screw Pitch:
0.7mm
Hole Pattern:
200mm x 100mm
Be sure the mount you choose is capable of supporting the
weight of the TV. After you have determined that you have the
correct mount for your TV, you can begin the installation.
To install yovur TV on a wall:
1. Disconnect any cables connected to your TV.
2. Place the TV face-down on a clean, flat, stable surface.
Be sure the surface is clear of debris that can scratch or
damage the TV.
3. Remove the base by loosening and removing the screws.
4. Attach your TV and wall mount to the wall, carefully following
the instructions that came with your mount.
Use only with a UL-listed wall mount bracket rated for the
weight/load of this TV. See
Appendix B - Specifications for the
weight of this TV.


