background image

5

Knowing Buttons in iViewer

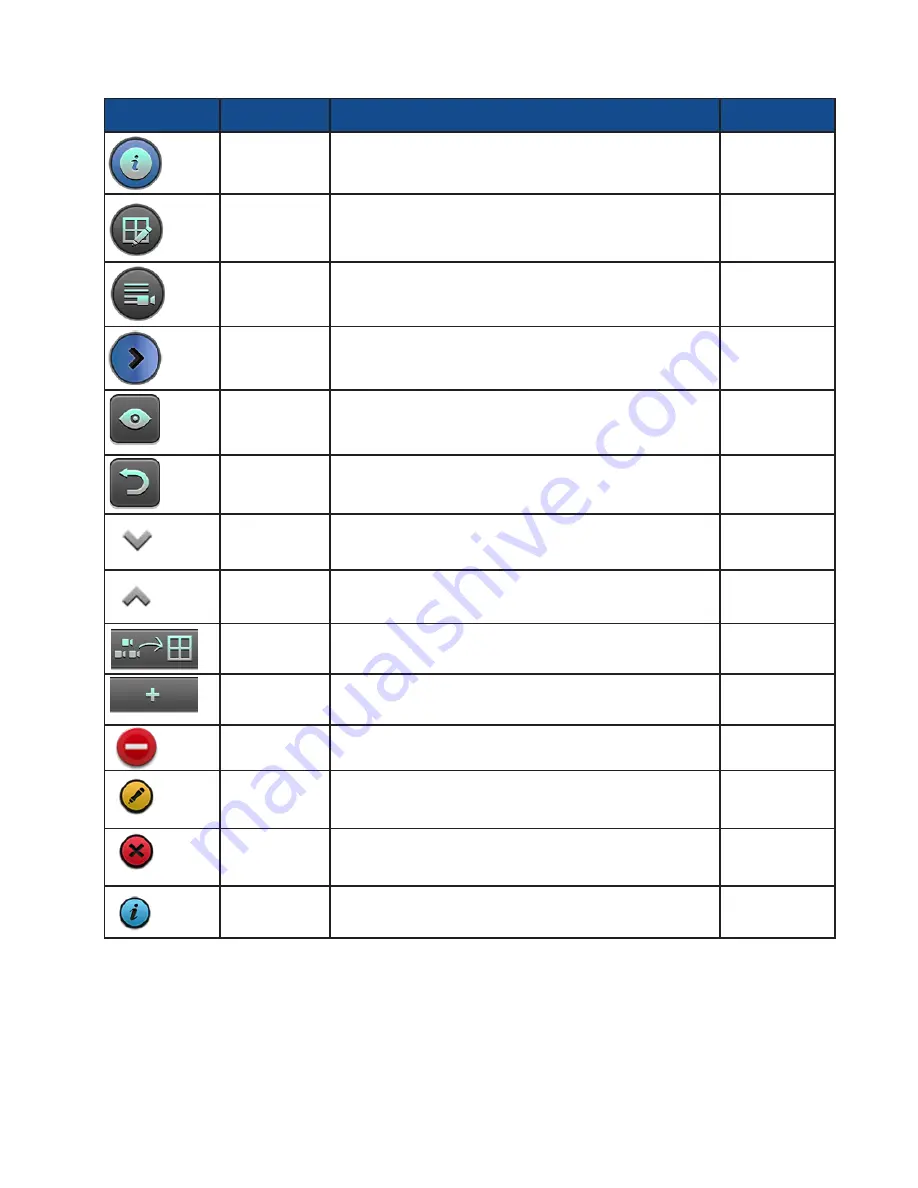
Icon

Name

Function

Location

Configuration

1. Displays the software revision.

2. Provides a link to technical support. 

Live

Layout

Opens the Layout page

Live

Media Source

Opens the Media Source page for adding cameras to 

the current configuration. 

Live

Device list

Displays the Camera and Server device list for adding 

cameras. 

Live

Back to Live 

view

Returns to Live view when in the Playback mode

Playback

Return

Returns to previous page. 

Configuration 

pages  

Expand the 

list

Expands the device list

Layout > 

Device

Hide the list

Retrieves the device list

Layout > 

Device

Add All

Adds all cameras in queue to layout

Layout > 

Device

Add

Click to add devices (single cameras, VAST server, or 

video server)

Media  Source 

page

Remove

Remove a camera from a view cell

Layout > 

Device

Edit device

Edits device information, such as address, access 

port, or credentials. .

Media  Source 

page

Remove 

device

Removes an existing device. 

Media  Source 

page

Device 

Information

This icon displays while editing device information

Media  Source 

page

Содержание IViewer

Страница 1: ...iViewer Monitoring Application for iPad iPod and iPhone R R R Rev 2 0...

Страница 2: ...I Requirements VAST Server Station ST7501 Server Station iViewer Wi Fi WAN LAN port 3454 port 3454 NVR LAN 1 3 Network cameras have already been configured via VAST ST7501 software or VIVOTEK s NVR s...

Страница 3: ...T server or NVR station If a VAST ST server or NVR station is located behind a firewall or router configure port forwarding or bypass tunnel by mapping TCP port 3454 for access to VAST on the router t...

Страница 4: ...selected for display In most cases it is the no 3 for 3 stream models or no 3 for 4 stream models If you change the video stream on a full view view cell the stream selection will automatically be sav...

Страница 5: ...ode Playback Return Returns to previous page Configuration pages Expand the list Expands the device list Layout Device Hide the list Retrieves the device list Layout Device Add All Adds all cameras in...

Страница 6: ...ying the past recording Enlarged view cell Snapshot Takes a snapshot of the current screen Enlarged view cell Configuration Enters the camera configuration screen Enlarged view cell Since wireless con...

Страница 7: ...mera name Address Port User name and Password and enter necessary information By default Stream 3 is selected for its lower resolution and frame rate e g 176x144 and 5fps and is recommended When done...

Страница 8: ...8 Due to the screen size on a iPhone or iPod the configuration options are listed on a succeeding page...

Страница 9: ...n the Add button You may then single tap in each entry field including Server name Address Port User name and Password Enter login information for access to a VAST ST 7501 server or an NVR station Whe...

Страница 10: ...first screen There are dots above the Dock showing the number of available live view screens and your current position There are 12 screens available and each can contain 6 camera view cells iViewer p...

Страница 11: ...ras or cameras under a VAST or NVR server will be listed You can place your finger tip on one camera for 0 5 second until it becomes afloat and then drag it to a view cell you prefer Video servers and...

Страница 12: ...he alphabetical order Note that you do not need to save the layout When done with layout tap the Return button on the upper left of the screen to return to the Live window Not inserted yet Inserted Th...

Страница 13: ...nctional buttons are available on the screen 2 5 1 PTZ provides zoom pan and tilt control for cameras that come with PTZ mechanisms such as a speed dome camera Tap on the button to enable the PTZ func...

Страница 14: ...e button will bring up the following message PiP Picture in Picture provides PiP control for cameras that do not have the PTZ mechanisms such as a field of view from a fixed lens camera Once zoomed in...

Страница 15: ...erver or an NVR station Use the time roller to select the time when the recording took place Click on the Playback button to retrieve past videos The presumption is that you already know a recorded vi...

Страница 16: ...playback speed Tap on the Playback time button to return to the Time Selection roller Tap on the Live button to return to the Live View window Note the following when using the Playback function 1 You...

Страница 17: ...to change the video stream for the current view cell If using a fisheye camera you can change the display mode into the 1R Regional or 1P Panoramic mode Note that the rest of fisheye s display modes...

Страница 18: ...cameras managed by it will disappear from the Live view window Note that the address and port number are not configurable If the address and port number have changed for some reasons you should remov...

Страница 19: ...dated They are updated only once a day If you remove a camera from a view cell uing the Delete button the camera will still be listed on the device pane If you enlist new individual cameras to your de...

Страница 20: ...pported 2 I O triggers and notification from the cameras is not supported 3 The iViewer does not run in the background when users leave the current session 4 iViewer does not support login with a pres...

Отзывы: