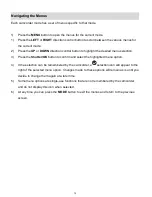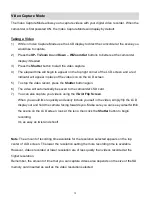
background image


14 

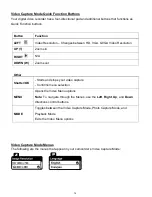
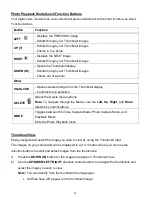
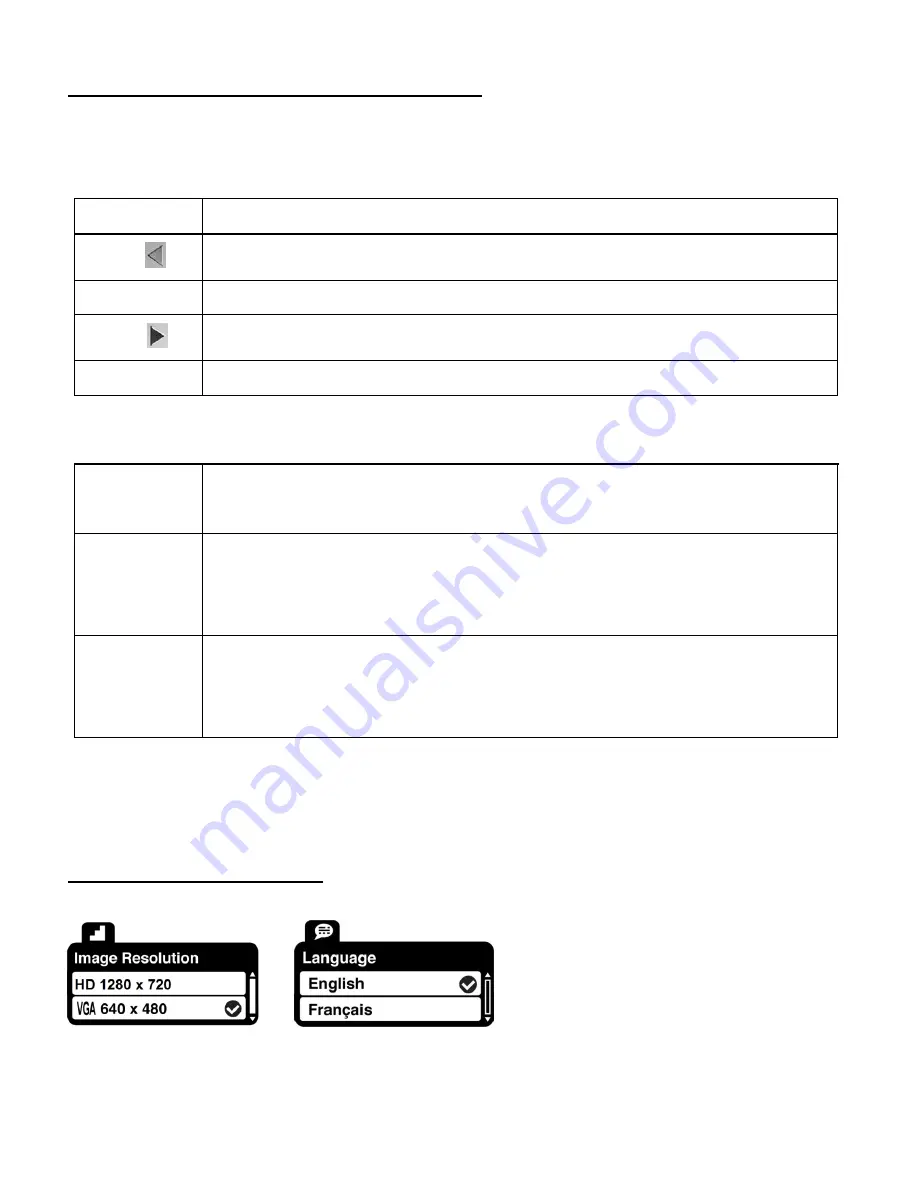
Video Capture Mode Quick Function Buttons 

Your digital video recorder has a four-directional pad and additional buttons that functions as 

Quick Function buttons.   


Button 

Function 

LEFT   


Video Resolution 

– Changes between HD, VGA, QVGA Video Resolution 

UP (T)


Zooms in


RIGHT 


N/A


DOWN (W)


Zooms out


Other 


Shutter/OK


- Starts and stops your video capture 

- Confirms menu selection 

MENU 

Opens the Video Menu options 

Note:

 To navigate through the Menus, use the 

Left

Right

Up

, and 

Down


directions control buttons. 

MODE 

Toggles between the Video Capture Mode, Photo Capture Mode, and 

Playback Mode 

Exits the Video Menu options 


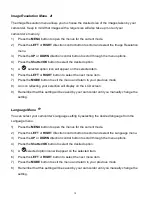
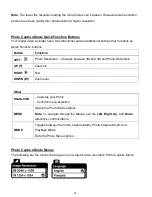
Video Capture Mode Menus 

The following are the menus that appear in your camcorder

‟s Video Capture Mode: 


Содержание iTwist DVR 614HD

Страница 1: ...r with 2ViewScreen User Manual 2009 2011 Sakar International Inc All rights reserved Windows and the Windows logo are registered trademarks of Microsoft Corporation All other trademarks are the proper...

Страница 2: ...Video Recorder 10 Changing Camcorder Mode 11 Navigating the Menus 12 Video Capture Mode 13 Video Playback Mode 16 Photo Capture Mode 19 Photo Playback Mode 22 Installing the Software 26 Connecting the...

Страница 3: ...Your camcorder needs an SD Memory card up to 16GB for normal use SD Memory cards are not included and need to be purchased separately Please read this manual carefully first in order to get the most...

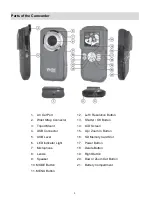
Страница 4: ...tter OK Button 3 Tripod Mount 14 LCD Screen 4 USB Connector 15 Up Zoom In Button 5 USB Lever 16 SD Memory Card Slot 6 LED Indicator Light 17 Power Button 7 Microphone 18 Delete Button 8 Lends 19 Right...

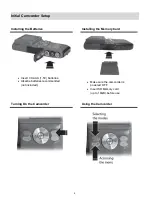
Страница 5: ...Batteries Installing the Memory Card Turning On the Camcorder Using the Camcorder Make sure the camcorder is powered OFF Insert SD Memory card up to 16GB before use Insert 3 X AAA 1 5V batteries Alka...

Страница 6: ...battery power level is low When the battery power is low the battery icon turns red and the camcorder will automatically turn off a few seconds later The energy status of the power is displayed on LC...

Страница 7: ...card 3 Power On Press and hold the POWER button to turn on the camcorder Setting the Camcorder Language You will first be prompted to select a language for the camcorder The Language selection menu w...

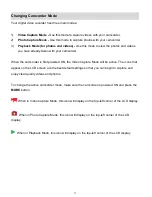
Страница 8: ...de press the MENU button while in the Video Capture mode Photo Capture Mode Use this mode to capture pictures with your camcorder After turning on your camcorder press the MODE button once to open the...

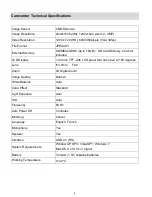
Страница 9: ...splay 1 44 Inch TFT with LCD panel that can open to 180 degrees Lens f 3 0mm F2 8 Zoom 4X Digital Zoom Image Quality Normal White Balance Auto Color Effect Standard Light Exposure Auto ISO Auto Freque...

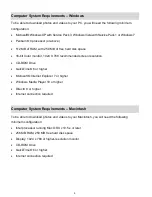
Страница 10: ...8 recommended screen resolution CD ROM Drive QuickTime 6 or higher Microsoft Internet Explorer 7 or higher Windows Media Player 10 or higher DirectX 9 or higher Internet connection required Computer S...

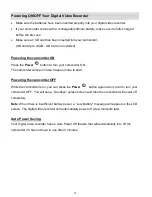
Страница 11: ...r ON The camcorder will be in Video Capture mode to start Powering the camcorder OFF While the camcorder is on you can press the Power button again at any point to turn your camcorder OFF You will see...

Страница 12: ...irst powered ON the Video Capture Mode will be active The icons that appear on the LCD screen are the best default settings so that you can begin to capture and enjoy clear quality videos and photos T...

Страница 13: ...ection 3 Press the Shutter OK button to confirm and select the highlighted menu option 4 If the selection can be remembered by the camcorder a selection icon will appear to the right of the selected m...

Страница 14: ...gain 6 The video will automatically be saved to the camcorder s SD card 7 You can also capture your videos using the iTwist Flip Screen When you would like to quickly and easily include yourself in th...

Страница 15: ...ooms in RIGHT N A DOWN W Zooms out Other Shutter OK Starts and stops your video capture Confirms menu selection MENU Opens the Video Menu options Note To navigate through the Menus use the Left Right...

Страница 16: ...to your previous mode 8 An icon reflecting your selection will display on the LCD screen 9 Remember that this setting will be saved by your camcorder until you manually change the setting Language Men...

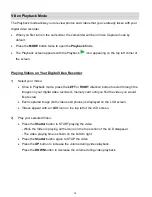
Страница 17: ...FT or RIGHT direction button to scroll through the images on your digital video recorder s memory card until you find the video you would like to view Each captured image both videos and photos is dis...

Страница 18: ...s selected image from the Thumbnail display DELETE Opens the Delete menu options Note To navigate through the Menus use the Left Right Up and Down directions control buttons MODE Toggles between the V...

Страница 19: ...delete 1 Press the MENU or DELETE button to open the Delete menu 2 Press the UP or DOWN direction control button to highlight the Delete this Video option and then press the Shutter OK button confirm...

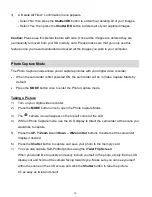
Страница 20: ...e MODE button once to enter the Photo Capture mode Taking a Picture 1 Turn on your digital video recorder 2 Press the MODE button once to open the Photo Capture Mode 3 The camera icon will appear on t...

Страница 21: ...nction LEFT Photo Resolution Changes between 3M and 1M and Photo Resolution UP T Zooms in RIGHT N A DOWN W Zooms out Other Shutter OK Captures your Photo Confirms menu selection MENU Opens the Photo M...

Страница 22: ...enu and return to your previous mode 8 An icon reflecting your selection will display on the LCD screen 9 Remember that this setting will be saved by your digital video recorder until you manually cha...

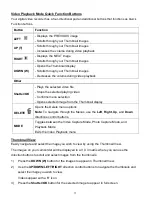
Страница 23: ...press the LEFT or RIGHT direction control button to scroll through the images on your digital video recorder s memory card until you find the image you would like to view Each captured image both vid...

Страница 24: ...ens the Delete menu options Note To navigate through the Menus use the Left Up Right and Down directions control buttons MODE Toggles between the Video Capture Mode Photo Capture Mode and Playback Mod...

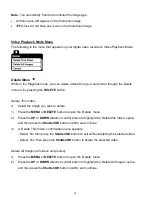
Страница 25: ...tal video recorder s Photo Playback Mode Delete Menu While in the Playback mode you can delete photos from your camcorder through the Delete menu Remember you can also quickly access the Delete menu b...

Страница 26: ...es confirmation menu appears Select No then press the Shutter OK button to exit without deleting all of your images Select Yes then press the Shutter OK button to delete all of your captured images Ca...

Страница 27: ...on s CD DVD drive and click on Setup exe to launch the installer 3 On Macintosh Click the icon that appears on the desktop to install the Vivitar Experience Image Manager 4 If you do not have internet...

Страница 28: ...On PC Click the Close button when the installation is complete Click the Launch Vivitar Experience Image Manager to open the application 13 On Macintosh Click the Quit button when the installation is...

Страница 29: ...3 You can select to download photos videos or both 4 Select your camera removable disk from the device window If your camera is the only USB device connected then it will be selected automatically 5 S...

Страница 30: ...you can Upload and manage photos and videos to and from the most popular photo sharing and social networking sites Facebook Flickr Picasa MySpace Photobucket Twitpic Twitgoo and YouTube Seamlessly tra...

Страница 31: ...folder 7 Do not disconnect the camcorder from the computer during transfer Doing so will cancel the transfer of any files on their way to your computer MACINTOSH 1 Slide down the lever on the side of...

Страница 32: ...D card NOTE iPad SD Card Reader not included This may be purchased separately NOTE After you make the connection your iPad automatically opens the Photos application which lets you choose which photos...

Страница 33: ...rning your defective product postage pre paid for service your package should include 1 Copy of original bill of sale 2 A detailed written description of the problem 3 Your return address and telephon...

Страница 34: ...he photos are not stored in the camera s memory These photos should be uploaded quickly before the camera powers off If the photos are saved to the SD memory card then all the photos should appear Q H...

Отзывы: