


1.
2.
3.
4.
5.
Connecting to Master Zone Thermostat
Easy communication link set up:
ESTABLISHING COMMUNICATION
6
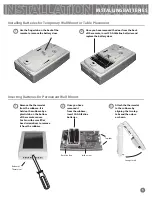
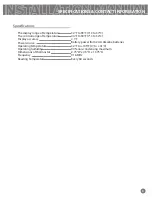
Light button
Wireless icon
Set Zone Number
The Remote Zone Thermostat must be configured to
"ZONING" in the first Tech Setup Step. See next page.
In the next Tech Setup Step, you select the Zone
Number that the Remote Zone Thermostat will be
used to measure/control. (See page 7 for steps to
enter Tech Setup.) This will be Zones 2-5. (The
Master
Thermostat is always Zone 1)
Then set the
Master
Thermostat Zone number to
match the Remote Zone Thermostat. See the
Installation Manual, Tech Setup Step “Zone Remote
Thermostat”.
With both Remote Zone Thermostat and set to the
same zone in their setup steps, press and hold the
light button on the zone thermostat until the Wireless
Icon flashes, approximately 3 seconds.
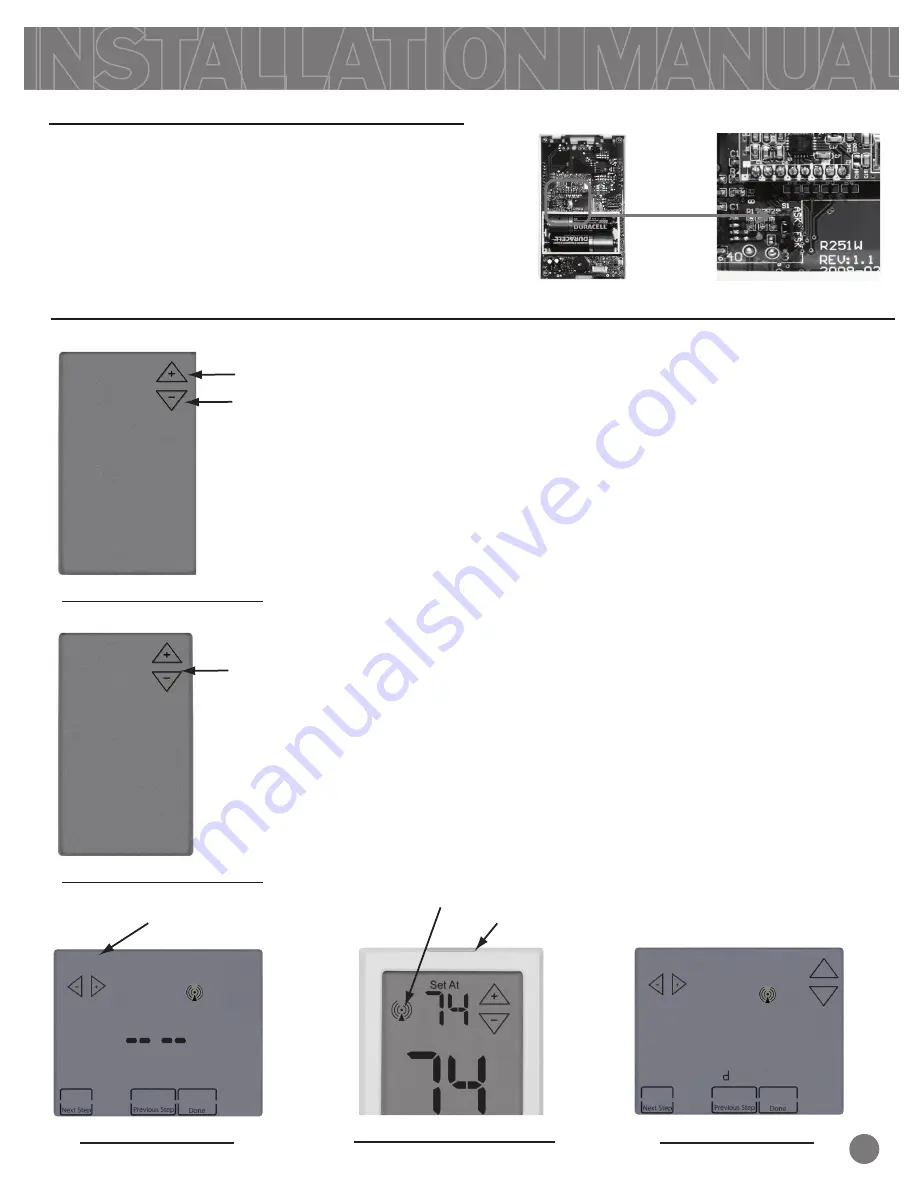
The Master Thermostat should now show the
temperature of the Remote Zone Thermostat, the
Zone number it's configured for(Example-2), and it's
name. If it hasn't been named yet, it will show
Master Thermostat
STEP 3.
STEP 4.
STEP 5.
2
ZONE
ZONING
Set Zone Number
STEP 2.
STEP 1.
Remote Zone Thermostat
Next Step
Change Setting
to “ZONING”
2
2
Foun remote 1
2
+
_
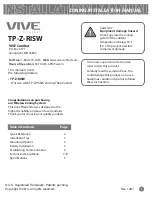
Back of Zone Thermostat
Our Wireless Zoning System contains selectable wireless
communication. Each component has a jumper switch
labeled FSK and ASK. Default setting: FSK. All components
must be set to the same position for wireless
communication. This selectable communication option is
available to you in case you have a device you are pairing
with that only has the ASK option.
FSK/ ASK Switch
Remember
Remote Zone Thermostat
Remote Zone Thermostat
Master Thermostat


