


24
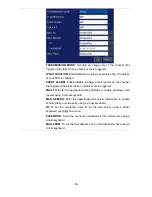
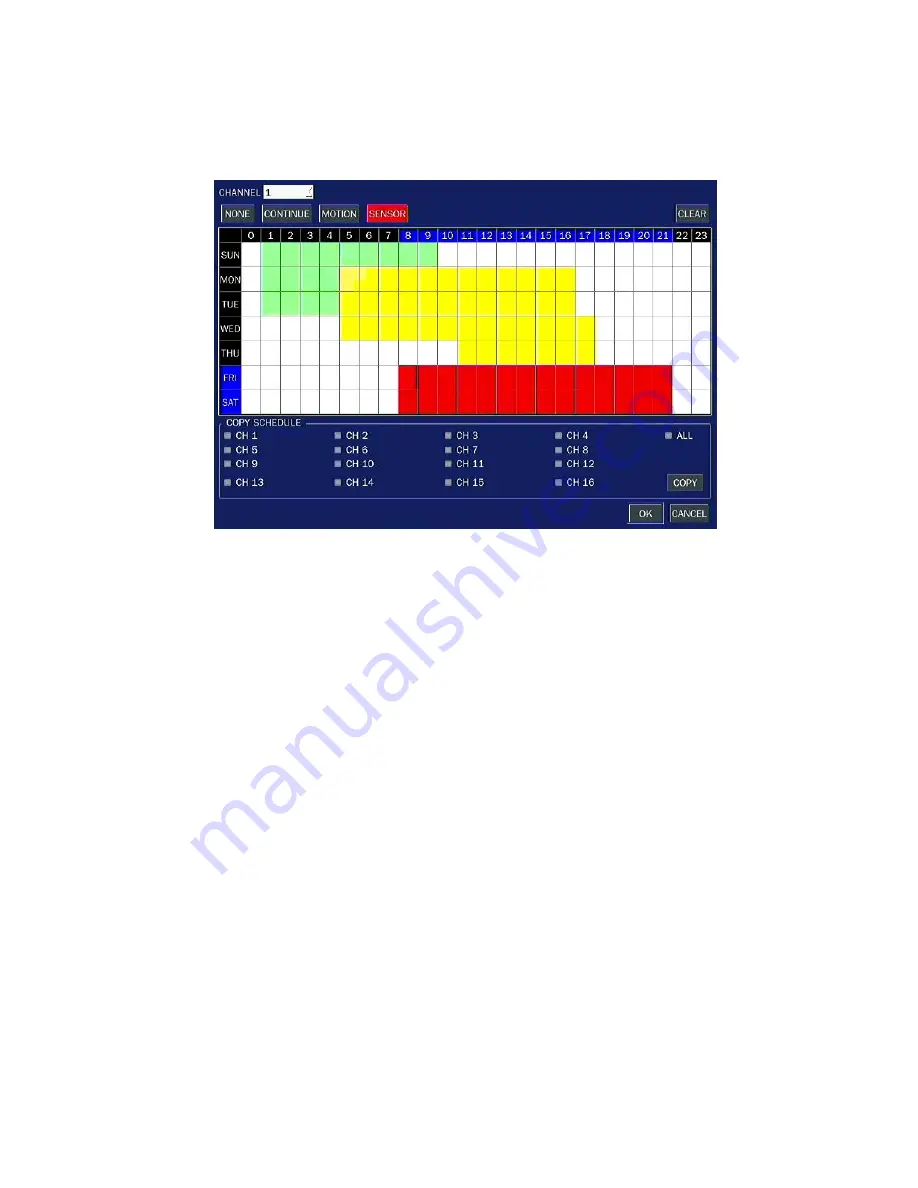
2-3-1. Recording Schedules
To setup a recording schedule, select SCHEDULE in the RECORD menu. Navigate through the items using
the mouse or the control button.
Once the channel 1 is selected, SCHEDULE-CH1 screen is displayed. Select ALL or each day using the
mouse or the control button and set the recording mode using the SEL button repeatedly
.
Figure 4.3.2. Schedule Recording Setup Screen
NONE
: Does not record
CONTINUE
: CONTINUOUS recording, when you select the color will change to Blue Color
MOTION
: MOTION recording, when you select the color will change to Yellow Color
SENSOR
: SENSOR recording, when you select the color will change to Red Color
COPY SCHEDULE
: Select the target channel to copy the schedule that is set as on the table. Press COPY
button to apply.