


40
QNVR Installation Manual V1.2
QNVR installation and user manual
The record mode at the top of the list is the one that takes priority.
In the example above Alarms will take priority to over all else. So when an alarm input is
triggered the record setting for that input will be used.
If there are no active alarm inputs, then the NVR is looking for cameras with motion in the
scene, when motion is detected then the Motion Record settings will be used.
If there are no active alarm inputs and no motion is detected, the NVR will record using the
Normal Time Lapse 1 settings.
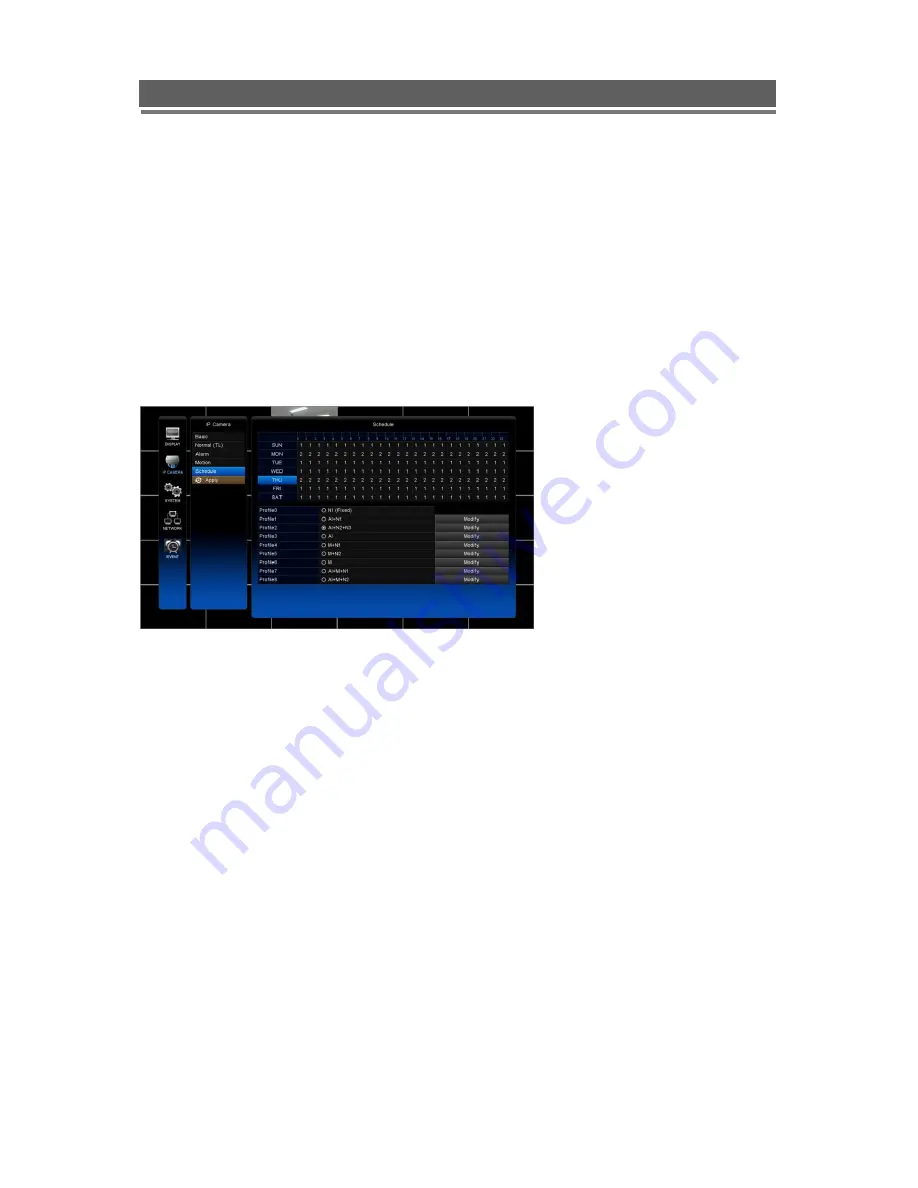
Once the priority settings for all the require profiles have been set, then the timetable can be
programmed for the periods during which each profile is to be used.
To select the hours of the week that each profile is to be used, click in the tick box for that
profile, then click drag on period within the timetable. The Profile number will appear in the
selected boxes, as shown in the next table.
Click
the “Apply” to save and exit.
From the front panel
Setting of the schedule profiles can be carries out using the front panel of the NVR, referring
to the images in the previous section use the following key presses.
Press the Select key to enter the Schedule set up screen.
Amending the profiles priority settings
Select the Modify box using the Up/Down/Left/Right key to display the priority settings and
press the Select key.
Select the priority number using the Up/Down key and press the Select key.
Change the priority settings using the Up/Down key and press the Select key.
Press the Down key to move to OK and press the Select key to confirm the changes.
Change the priority listing
Select one of the profiles using the Up/Down key and press the Select key.
Navigate to required hour on the time table using the Left/Right/Up/Down key.
Press the Select key to change the profile number.
Press the Menu key to confirm and exit.


