background image

26

1.877.4VPULSE or www.virginpulse.com

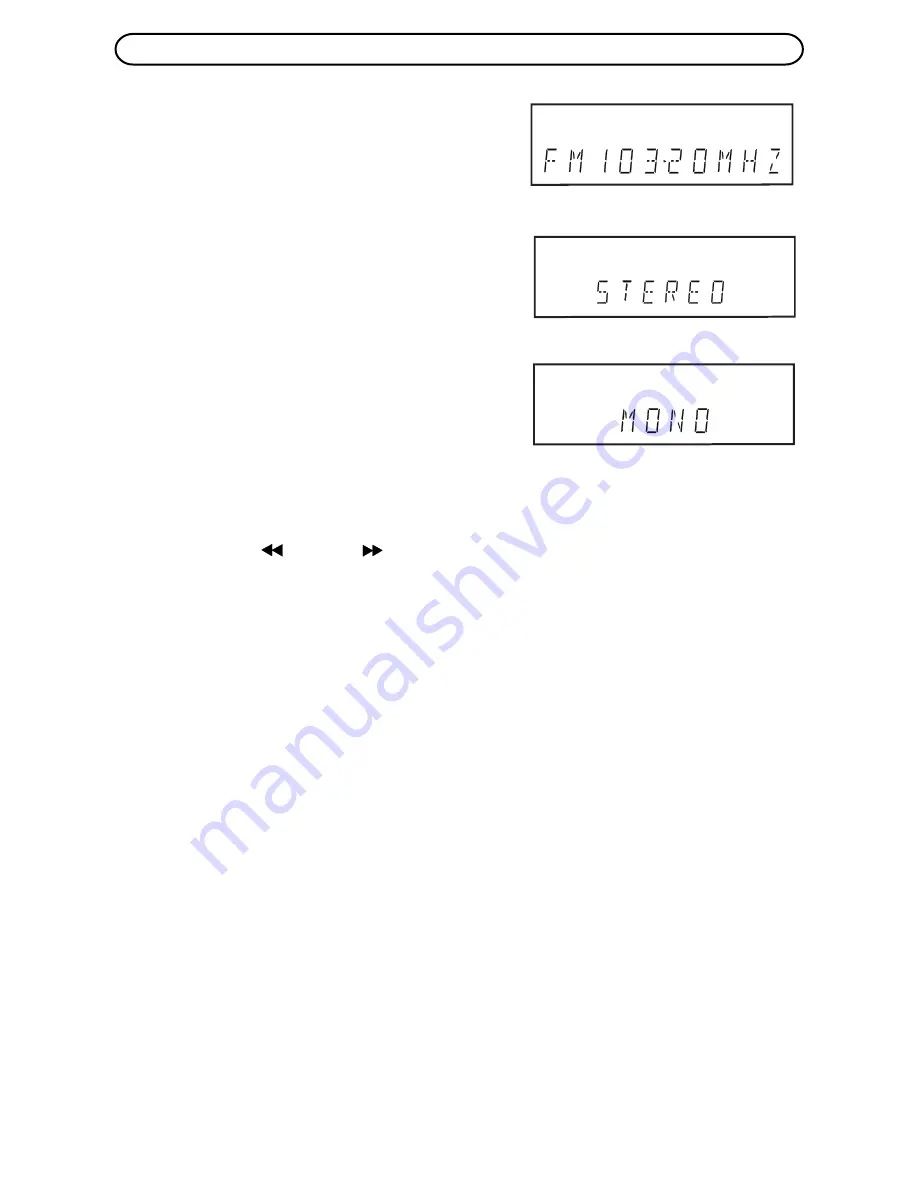
Tuning a Station Manually
1. Press the FUNCTION button until the frequency

band appears on the display.

2. Press the BAND button to select FM or AM.
3. Press the TUNING buttons to tune in a desired

station.

FM Stereo
• Press the FM MODE button on the remote unit

until " STEREO " appears on the fluorescent
display for stations with FM Stereo broadcast.

Weak FM Station Reception
• Press the FM MODE button on the remote unit

until " MONO "  appears on the fluorescent
display to reduce background noise. To restore
stereo reception press the FM MODE button on
the remote.

• Extend the telescopic FM radio antenna. Adjust

its position to obtain the best reception possible.

RADIO OPERATION

Search for a Station Automatically
• Hold down the 

  TUNING 

 buttons for approximately 2 seconds. A search will find

a station automatically.

• The search may not stop at stations with very weak signals.

Presetting Stations
You can tune into a stored station by entering a preset station number.

20 stations on FM band can be preset.
20 stations on AM band can be preset.

1. Press the FUNCTION button until the frequency band appears on the fluorescent display.
2. Press the BAND button to select FM or AM.
3. Press the TUNING buttons to find your desired station.
4. Press the MEMORY button on the remote.
5. Press the NEXT or PREV  button to select the preset number on your desire.
6. Press the MEMORY button again on the remote to store the station.
7. Repeat steps 2-6 to store other stations.

Tuning a Preset Station
1. Press the FUNCTION button until the frequency band appears on the fluorescent display.
2. Press the BAND button to select FM or AM.
3. Press the PRESET button on the top of unit, NEXT or PREV  button on the remote unit

to select the preset station, or enter a number on the remote to select a preset station.
Example: To select preset number 15, press the +10 and 5 buttons.

To select preset number 10, press the +10 and 0 buttons.

Содержание Pulse VP-10

Страница 1: ...OWNER S MANUAL LCD TV with DVD CD Player VP 10 ...

Страница 2: ... play DVDs and CDs It s even MP3 compatible Truly it s an all in one one of a kind wonder But don t let its compact size fool you It may not take up lots of room yet stereo speakers know how to fill a room with sound With all that it can do it s a pretty hard working piece of electronics Hmmm might it be over compensating for something Like its small size perhaps We ll never know ...

Страница 3: ... AC cord grip the plug and not the cord itself Pulling the cord may damage it and create a hazard When you are not going to use the unit for a long period of time disconnect the AC power cord On Condensation When left in a heated room where it is warm and damp water droplets or condensation may form inside the unit When there is condensation inside the unit the unit may not function normally Let t...

Страница 4: ...ization Precautions should be taken so that the grounding or polarization means of an appliance are not defeated 12 Power Cord Protection Power supply cords should be routed so that they are not likely to be walked on or pinched by items placed upon or against them paying particular attention to cords at plugs and at the point where they exit from the appliance 13 Cleaning The appliance should be ...

Страница 5: ... To a Specific Chapter Track 20 Go To a Specific Time 20 CD DVD Programmable Memory 21 Programmable Memory DVD 21 Programmable Memory CD 21 Repeat Playback 22 23 Repeating a Title Chapter DVD 22 Repeating a Single Track Whole Disc CD 22 Repeating a Specific Section DVD 23 Resume Normal playback 23 Playing MP3 and Picture CDs 24 25 PlayingMP3CDs 24 PlayingaPictureFileDisc 25 PlayingaMP3 PictureFile...

Страница 6: ... it each movie would be a separate Title Chapters are sections of titles Audio CDs are divided into Tracks A Track is usually one song on an Audio CD Note Numbers identify each title chapter and track on a disc Most discs have these numbers recorded on them but some do not Notes on Unauthorized Discs You may not be able to play back some DVD discs on this unit if they were purchased from outside y...

Страница 7: ...sed for a long time more than several weeks remove the batteries to avoid damage caused by battery leakage corrosion Do not mix old and new batteries Do not mix ALKALINE standard CARBON ZINC or rechargeable NICKEL CADMIUM batteries WARNING Do not dispose of batteries in fire Batteries may explode or leak 2 Insert two AA or UM 3 size batteries Using the Remote Control Point the Remote Control at th...

Страница 8: ...asses 8 VOLUME buttons Adjust speaker output 9 SETUP button Open and close the SETUP menu screen of the DVD player REP DISC button Repeat chapter of a video disc Repeat single track or whole CD 10 CURSOR buttons Use to highlight selections on a menu screen ENTER button Confirm selections on a menu screen 11 MUTE button Press this button to mute the sound Press again to cancel mute 12 buttons Fast ...

Страница 9: ...utton Open and close a DVD video menu 26 SLOW button Forward playback a DVD slowly 27 STOP button Stop playing a disc PLAY button Press to start and resume playback of a disc PAUSE button Pause playback and frame advance 28 NEXT button Select next title chapter or track on a disc Tune to the next preset radio station 29 ZOOM button Zoom into an image of a video playback TV MODE button In stop mode...

Страница 10: ...s button once instantly to advance a chapters tracks Press and hold button to begin fast scan Four times of normal speed can bereached at the most TUNING buttons Press to select a desired station 9 External TV Antenna Receptacle 10 VOLUME control Adjust speaker output level 11 TV CHANNEL buttons To select a desired TV channel 12 SET button Confirm selected screen picture setting 13 PICTURE setup b...

Страница 11: ...ow other indicators total time etc Freezes the image on the screen or pauses audio playback Unit is verifying disc and reading information A B ANGLE indicator Appears when multiple camera angles are recorded in the section of the DVD that is currently playing TITLE indicator When a DVD is playing this indicator appears along with the title number CHAPTER TRACK indicator When a DVD is playing this ...

Страница 12: ...revent it from falling in the event of an accident When the inside of the 12V car socket is dirty the plug section may become hot due to poor contact Please be sure to clean the 12V car socket before use After use disconnect the 12V car plug adaptor from both the unit and 12V car socket Notes The AC power cord and AC adaptor which come the unit are for use of this particular model only Please do n...

Страница 13: ... OUT jacks on your unit to AUDIO IN jacks on your TV 2 If your TV is equipped with an S Video input you can utilize the S Video jack to connect the unit to your TV with an S Video cable instead of the yellow video cable Please note that the S Video and coaxial cable connection will only carry the video signal from DVD playback Right side of unit Connecting an ANTENNA for TV VCR External TV antenna...

Страница 14: ...rom AUDIO OUT jack on your Unit to the AUDIO IN jack or use a coaxial digital Audio cable to connect to the coaxial in jack on your another equipment Do not connect the yellow video plug 1 Turn on the Unit 2 Turn on your audio equipment and follow the instructions included with it to select the AUDIO IN or DIGITAL IN function Using External Audio Equipment CONNECTIONS CONTINUED Analog Connection D...

Страница 15: ... hand 2 Adjust viewing angle of the unit with other hand Note Do not attempt to exceed the maximum adjustable angle settings as stated above Attempting this will result in damaging the unit and stand Wall Mounting 1 Mark the correct mounting position on the wall use the included template sheet for wall mounting 2 Install the wall mounting brackets with screw s at the marked position on the wall 3 ...

Страница 16: ...equencies Sound Enhance for DVD Press SOUND ENHANCE MOVIE or MUSIC buttons to enhance the sound effect Dolby Digital for DVD Dolby Digital is a sound system developed by Dolby Laboratories Inc that gives movie theatre ambience to audio output when the unit is connected to a Dolby Digital 5 1 channel processor or amplifier through the digital out audio jack This unit automatically recognizes DVDs t...

Страница 17: ...sc door It takes a short while for your unit to load the disc The unit will automatically start playback of the CD DVD for most discs 6 Press PLAY button Notes Use OPEN CLOSE button to open or close the disc door Do not attempt to pull push the disc door by hand or you may cause damage to the unit Let the disc door open completely before removing the disc Press OPEN CLOSE button to close the disc ...

Страница 18: ... 2 Press PLAY button to return to the normal playback speed CD DVD OPERATION CONTINUED Zoom DVD While a disc is playing press ZOOM button While an image is zoomed you can use and button to shift the view and display the part you want To return to the normal view press ZOOM button until the off symbol shows The screen will return to normal When you reach the edge of the image the display will not s...

Страница 19: ...uage Notes After two seconds playback continues with the new subtitle you selected The number of languages recorded differs depending on the disc If no button is pressed within a few seconds playback continues without changing the current subtitle setting This function can only be used for discs on which subtitles have been recorded in multiple languages On some DVDs subtitles are activated from t...

Страница 20: ... Time Remaining Time DISPLAY Function DVD Using DISPLAY you can check and change the current settings of the following items ANGLE AUDIO and SUBTITLE Press the DISPLAY button twice to display the screen shown as below Press the ANGLE AUDIO and SUBTITLE button to change the selected item Angle Setting DVD 1 Press the DISPLAY button twice The FUNCTION menu is displayed on the screen and you can see ...

Страница 21: ...ER button to confirm The unit will start playback in a few seconds Note Pressing the CLEAR button will reset the title number GOTO function This function allows you to skip directly to any part of the disc while a disc is playing Subtitle Setting DVD 1 Press the DISPLAY button twice The FUNCTION menu is displayed on the screen and you can see how many subtitle formats are recorded on the disc 2 Pr...

Страница 22: ... not respond to this process Some scenes may not be located precisely This method for accessing specific locations is available only within the current title of the DVD disc You can move through the menu by pressing the and buttons Pressing the CLEAR button resets the time Go To a Specific Chapter Track DVD CD If you know the chapter track number you want to play you can go to a specific chapter t...

Страница 23: ...utton to start programmed playback Notes If you press the STOP button twice at programmed playback mode the programmed playback function will be cancelled If you press the CLEAR button while you are entering a title or chapter the currently entered numbers will be erased 3 Use or button to other field 4 Repeat steps 2 to 3 5 Press the PLAY button to start programmed playback Note If you press the ...

Страница 24: ...s played repeatedly Resume Normal Playback 3 While the disc is playing press the REPEAT DISC button until the Off indicator displays on the screen REPEAT PLAYBACK You can play a single track of a whole audio CD repeatedly Repeating a Single Track CD You can play the same track repeatedly 1 While the disc is playing press the REPEAT DISC button until the Repeat Single indicator displays on the scre...

Страница 25: ...d of the section Rep A B is displayed 3 The Unit will immediately begin replaying your selection Resume Normal Playback 4 While the disc is playing press the REPEAT A B button until the Off indicator displays on the screen Notes A B repeat can only be used within the same title If the start and end of the section to be repeated are in different titles A B repeat is cancelled The A B repeat functio...

Страница 26: ... ENTER button Notes 1 You can not play in Fast Reverse or Fast Forward during MP3 playback 2 During MP3 playback if you press the STOP button and then press PLAY button again the unit will play from the beginning of the file which you stopped On Screen Display Turn on the LCD for on screen display of MP3 files 1 Press the SCREEN button on the top of the unit or the remote to switch the display on ...

Страница 27: ... all the images or filenames The image you selected will show on the LCD full screen The images will automatically display one by one again at about 6 seconds intervals You can press PAUSE button to interrupt playback and press PLAY button to resume again You also can use GOTO function or use the numbered buttons to enter the number to quickly select any image You can press ZOOM button to enlarge ...

Страница 28: ...stop at stations with very weak signals Presetting Stations You can tune into a stored station by entering a preset station number 20 stations on FM band can be preset 20 stations on AM band can be preset 1 Press the FUNCTION button until the frequency band appears on the fluorescent display 2 Press the BAND button to select FM or AM 3 Press the TUNING buttons to find your desired station 4 Press ...

Страница 29: ...hannel AUTO SCAN Automatically tunes in and presets receivable TV stations ADD ALL CH Add all TV channels DEL ALL CH Delete all TV channels EXIT Exit the TV SETUP menu Auto Scan TV Channels Setting This feature allows you to set all TV stations in the particular area to be automatically preset to the unit 1 Press the TV SETUP button to open the TV SETUP menu 2 Press the TV CH or TV CH button to se...

Страница 30: ... TV CH button to select NTSC CATV or NTSC AIR then press the SET button to enter the sub menu 4 Press the TV CH or TV CH button to select ADD CH or DELETE CH then press the SET button to confirm If adding a channel the procedure is complete If deleting a channel you are prompted to confirm 5 Press the TV CH or TV CH button to select YES then press the SET button to confirm deletion Watching Televi...

Страница 31: ...t Picture Setup menu press the PICTURE button once Standard For normal evening lighting environments Dynamic For brighter day time environments Soft For a darker environment Memory For Picture Memory that you desire Exit Return to previous menu PICTURE SETUP Language Setting You can select the language you wish to display on the LCD screen The language can be set to English German French Spanish o...

Страница 32: ...ure then press the SET button to confirm 5 Repeat steps 2 and 4 above to adjust other items 6 To exit picture setup menu press picture button once Brightness Adjust relative lightness or darkness of the color Contrast Adjust brightness contrast Saturation Adjust strength of color Hue Adjust color from red to green Sharpness Adjust image sharpness Exit Return to previous menu The following table sh...

Страница 33: ...h 5 To exit the FUNCTION SETUP MENU press the RETURN button once VIDEO Setting TV Shape Aspect Ratio 1 Press the FUNCTION button until DVD shows up on the fluorescent display Press STOP button to ensure no disc is being played 2 Press the SETUP button 3 Use or button to select Video then press the ENTER button 4 Use or button to select TV Shape then press the ENTER button 5 Use or button to select...

Страница 34: ... screen video is played this mode clips the right and left sides of the image so that it can be viewed on a conventional screen Some wide screen DVDs that do not permit Pan Scan mode playback are automatically played in letterbox mode black bands top and bottom Explanation of Aspect Ratios Cut off when a wide screen video image is played Brightness 1 Press the FUNCTION button until DVD shows on th...

Страница 35: ... the ENTER button 5 Use or button to select Sharpen Soften Off then press the ENTER button 6 To exit the SETUP MENU press the RETURN button AUDIO Settings This setting affects the output of the digital out audio connector 1 Press the FUNCTION button until DVD shows on the fluorescent display Press the STOP button to ensure no disc is being played 2 Press the SETUP button 3 Use or button to select ...

Страница 36: ... 4 digit security code and then press the ENTER button If you make a mistake before pressing the ENTER button press the CLEAR button and enter your 4 digit security code again You cannot play DVD discs rated higher than the level you selected unless you cancel the parental lock function The parental lock levels are equivalent to the following ratings Level 1 Kid Safe Level 5 PG_R Level 2 G Level 6...

Страница 37: ... takes 3 5 seconds to reset the unit to the factory default Language Language Language STEP 2 STEP 3 STEP 4 Video Video Video Audio Audio Audio Rating Rating Rating Password Parental lock Factory Set Password Parental lock Factory Set 8 Adult No 8 Adult No No Yes Language Language Language STEP 2 STEP 3 STEP 4 Video Video Video Audio Audio Audio Rating Rating Rating Password Parental lock Factory ...

Страница 38: ...olish Pashto Pushto Portuguese Quechua Rhaeto Romance Kirundi Romanian Russian Kinyarwanda Sanskrit Sindhi Sangho Serbo Croatian Singhalese Slovak Language Name Slovenian Samoan Shona Somali Albanian Serbian Siswat Sesotho Sundanese Swedish Swahili Tamil Telugu Tajik Thai Tigrinya Turkmen Tagalog Setswana Tonga Turish Tsonga Tatar Twi Ukrainian Urdu Uzbek Vietnamese Volapük Wolof Xhosa Yoruba Chin...

Страница 39: ...ing cloth NEVER use solvents such as benzine or alcohol to clean the disc Do NOT use irregular shape discs example heart shaped octagonal etc They may cause malfunctions PROBLEM SOLUTION Make sure that you ve select DVD mode The system is in pause mode or in Slow motion Play mode Press the PLAY button to return to normal play mode Fast forward or fast reverse is being performed Press the PLAY butt...

Страница 40: ...d No color of picture No picture and sound Colored patches in picture The plugs and jacks are dirty Wipe them with a cloth slightly moistened with alcohol Clean the disc There is no disc inside No Disc appears on the screen Make sure that the disc is inserted correctly with the label side facing toward you Clean the disc A non NTSC disc has been inserted The unit and disc region number are incompa...

Страница 41: ...t cover customer instruction installation set up adjustment or signal reception problems To obtain warranty service you must take or ship the product freight prepaid with a copy of the sales receipt or other proof of purchase and the date of purchase to a Virgin Pulse Authorized Service Center Due to the possibility of damage or loss it is recommended when shipping the product to a Virgin Pulse Au...

Страница 42: ...er license from Virgin Enterprises Limited VIRGIN and the Virgin Signature logo are registered trademarks of Virgin Enterprises Limited VIRGIN PULSE is a trademark of Virgin Enterprised Limited Customer Care 1 877 4VPULSEor www virginpulse com From VP 10 IB 00800 Rev 5 25 03 ...

Отзывы: