40
Using the Printer
Interpreting the Gap/Mark Sensor Readings
Import the test result .csv file into MS Excel (or any spreadsheet) using comma as
the delimiter. Column “a2d_refl” and “a2d_st” reflects the gap (transmissive) and
mark (reflective) sensor readings respectively.
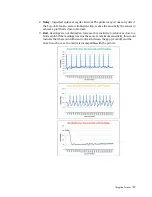
Next, create a line graph using the appropriate column of data.
There are 3 possible types of plot ‐
1.
Normal
‐ Sharp spikes at regular interval indicating that the sensor can clearly
detect a gap (or mark) on the media.
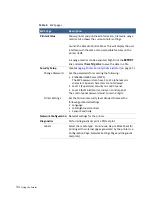
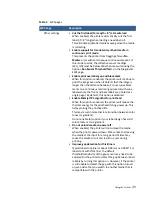
Other settings
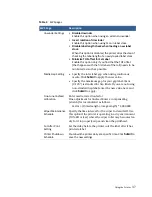
• Display last job page count when printer is idle
When enabled, the number of labels printed will
continue to display on the front panel until the next print
job starts.
•
Disable COM port
When enabled, the printer will ignore or not transmit
signals through the COM port, which is used mainly for
debugging.
•
Disable Input sensor detection while printing
When enabled, the printer will ignore the input sensor.
This feature is useful to prevent the printer from falsely
recognizing the End of the roll where the label stock has
thick liner that makes gap or black mark detection
difficult.
•
Print blank page after every job in Multiple Job Queue
When enabled, the printer will not print on the first label
of the job in the multiple job queue mode.
•
Enable advanced end of roll handling
When the printer encounters End‐of‐Roll while printing
Roll‐Roll with a label in the cutter module, enabling this
feature will pause the printer to allow the user to release
the media from the core first, print the last label before
ejecting the remaining media from the printer. Please
note that the user will need to press the eject button on
the control panel to eject the media.
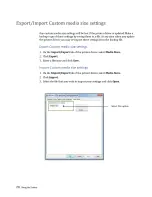
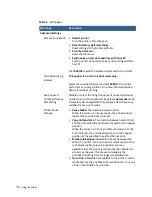
Import/Export Settings
•
Import Settings
Import the
<Advanced Settings>
from another printer.
•
Export Settings
Export the
<Advanced Settings>
to another printer.
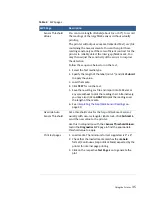
Table 4
EWS pages
EWS Page
Description
Содержание VP7 Series
Страница 1: ...VIPColor U s e r G u i d e VP7xx Printer Series ...
Страница 8: ......
Страница 9: ......
Страница 10: ......
Страница 11: ......
Страница 12: ......
Страница 16: ......
Страница 17: ......
Страница 18: ......
Страница 19: ......
Страница 20: ......
Страница 21: ......
Страница 22: ......
Страница 24: ......
Страница 26: ......
Страница 27: ......
Страница 28: ......
Страница 29: ......
Страница 45: ......
Страница 46: ......
Страница 47: ......
Страница 48: ......
Страница 49: ......
Страница 50: ......
Страница 52: ......
Страница 53: ......
Страница 54: ......
Страница 55: ......
Страница 56: ......
Страница 57: ......
Страница 58: ......
Страница 59: ......
Страница 60: ......
Страница 61: ......
Страница 62: ......
Страница 63: ......
Страница 64: ......
Страница 70: ......
Страница 73: ......
Страница 75: ......
Страница 76: ...76 Troubleshooting ...
Страница 78: ......
Страница 83: ......
Страница 86: ...86 Appendix 8 NC 9 NC Table 7 GPIO Pin Assignment D sub 9 pin Connector Pin Signal Description ...

