background image

16

Section 12:   Information

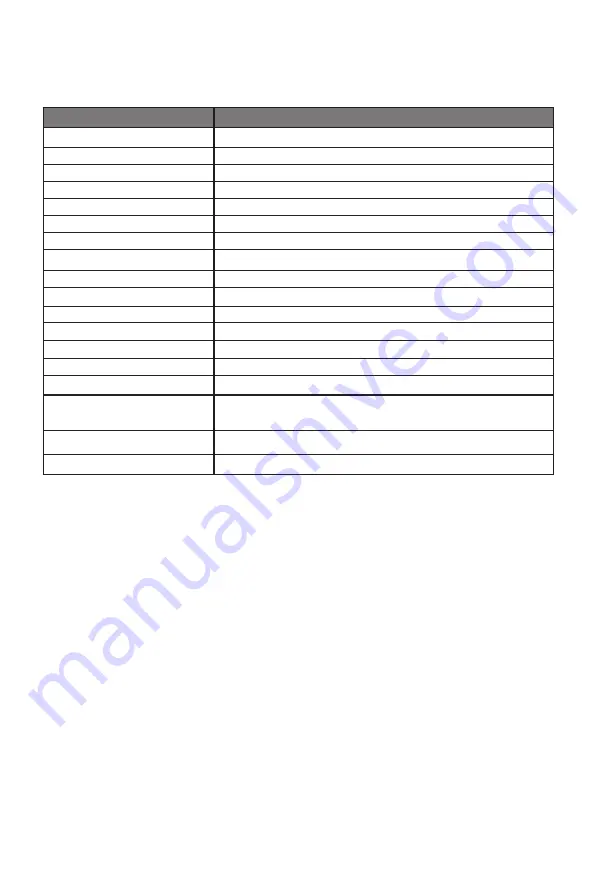
12.1 – Specifications

Item

Detail

Model Number

GFT27DB

Screen Size

27’’

Viewing Angle

170° (H)/160° (V)

Aspect Ratio

16:9

Resolution

2560x1440p

Typical Brightness

220 cd/m2  

Default Color Temperature

6500

Contrast Ratio

1000:1

Dot Pitch

0.2331x0.2331mm

Response Time

3MS (standard), 1MS (OverDrive enabled

Refresh Rate

144Hz

Ports

HDMIx3, DPx1, Audiox1

Power

DC Output 12V, Min 4A

Power Consumption

Typical: 32W, Max: 55W, Standby: 

≤ 

0.5W

OSD Language

English

,简体中文,

한국어,

Español

Usage Temp.

32°F~104°F (Operating), -4°F~ 140°F (Storage), 10-85% RH 

(Non-Condensing)

Dimension (With Stand)

24.3x7.9x17.5in (617.7x200.4x445.5mm)

Weight

9.7lbs (Net) /13.1lbs (Gross)

12.2 – Resolution Compatibility for DP

System Requirements below are the minimum system requirements for your GFT27DB 

monitor. The requirements are recommended in order to properly use all of the monitor’s 

features and ensure high-quality picture. 

Minimum Requirements 

Operating System: Windows® 7 / Windows® 8 / Windows® 10 64-bit (latest service pack) or 

higher, Processor (CPU): Intel® Core™ i5 or AMD Phenom™ II X3 or higher, Graphics Card: 

NVIDIA® GeForce® GTX 950 or AMD Radeon™ R9 380 or higher, Memory: 6 GB RAM

All trademarks and registered trade names are the property of their respective owners.

Содержание GFT27DB

Страница 1: ...providing the best products our product information including our user manuals may receive updates from time to time Please check our website for the latest user manuals and product materials Ver 1 0...

Страница 2: ...ity 8 6 3 DP Connectivity 9 6 4 Connecting Your Earphones 9 Section 7 Basic Operation 10 Section 8 Indicator Light 10 Section 9 OSD 11 9 1 OSD Menu Functions 12 Section 10 LED Effects and Gameplus 13...

Страница 3: ...nitor 5 Do not spray cleaner and or any kind of liquid directly onto the monitor s screen or any part of the monitor 6 Do not insert anything into any part of the monitor especially the ventilation op...

Страница 4: ...Base x 1 Cable Clip x 1 Power Cable x 1 AC 100 240V 50 60Hz NO 1 Screws x 6 NO 2 Screws x 4 for Wall Mounting Decorative Cover x 2 DP Cable x 1 Screwdriver x 1 User Manual x 1 The NO 1 screws come in...

Страница 5: ...I port 10 Power Connector Insert the power cable to supply power to the monitor 7 8 9 10 2 3 4 5 6 1 1 M Menu Button Press to display the OSD menu or enter sub menus 2 Down Button Press to move down i...

Страница 6: ...clip from the package Next use the included screwdriver and two NO 1 screws 14mm to fasten the cable clip and base to the stem Install the pad at the bottom of the base Stand Base Pad Stand Stem Cable...

Страница 7: ...n a desktop or table Remove the extra parts and the foam covering the monitor If the monitor was already attached to the stand remove the stand 2 Follow the directions received with your mount stand o...

Страница 8: ...er cable to the power connector and then plug the other end into an wall outlet Power Cable 6 2 HDMI Connectivity In order for the monitor to receive HDMI signals from the computer use an HDMI cable t...

Страница 9: ...r Earphones Plug in your earphones to receive audio signals from your monitor If your earphones are connected to the monitor and audio devices are connected to your computer at the same time the audio...

Страница 10: ...feature itself is off by default In order to use this feature please note you must have hardware with FreeSync capability a DP or HDMI cable and the latest graphic drivers To use this feature connect...

Страница 11: ...s M to enter the OSD screen DP Resolution 2560x1440 144Hz Input Source Brightness Contrast Color Setting Picture Quality Setting Display Audio Multi Window Other DP HDMI 1 2 0 HDMI 2 1 4 HDMI 3 1 4 Wi...

Страница 12: ...tion levels Picture Quality Setting Bypass On Off Turn the bypass function on off Sharpness 0 100 Adjust display sharpness Response Time Off High Middle Low Adjust response time Noise Reduction Off Hi...

Страница 13: ...OSD V Position 0 100 Adjust the OSD s vertical position OSD Transparency 0 100 Adjust OSD s overall transparency OSD Time Out 5 100 Set how long the OSD remains open after non use OSD Rotation Normal...

Страница 14: ...ensure your video cable is secure The monitor needs cleaning Make sure the monitor has been powered off before cleaning Always use soft non abrasive cloth when cleaning Use dry non abrasive cloth to...

Страница 15: ...rted while X means it is not supported 11 3 PBP Picture by Picture Resolution Information While using this feature and in order to obtain an optimal viewing experience it is recommended to set both pa...

Страница 16: ...140 F Storage 10 85 RH Non Condensing Dimension With Stand 24 3x7 9x17 5in 617 7x200 4x445 5mm Weight 9 7lbs Net 13 1lbs Gross 12 2 Resolution Compatibility for DP System Requirements below are the mi...

Страница 17: ...229 9472 for service requests When a product or part is exchanged any replacement item becomes your property and the replaced item becomes WP s property This warranty only covers technical hardware de...

Страница 18: ...with the instructions may cause harmful interference to radio communications However there is no guarantee that interference will not occur in a particular installation If this equipment does cause ha...

Страница 19: ......

Страница 20: ...COPYRIGHT 2018 VIOTEK ALL RIGHTS RESERVED...

Отзывы: