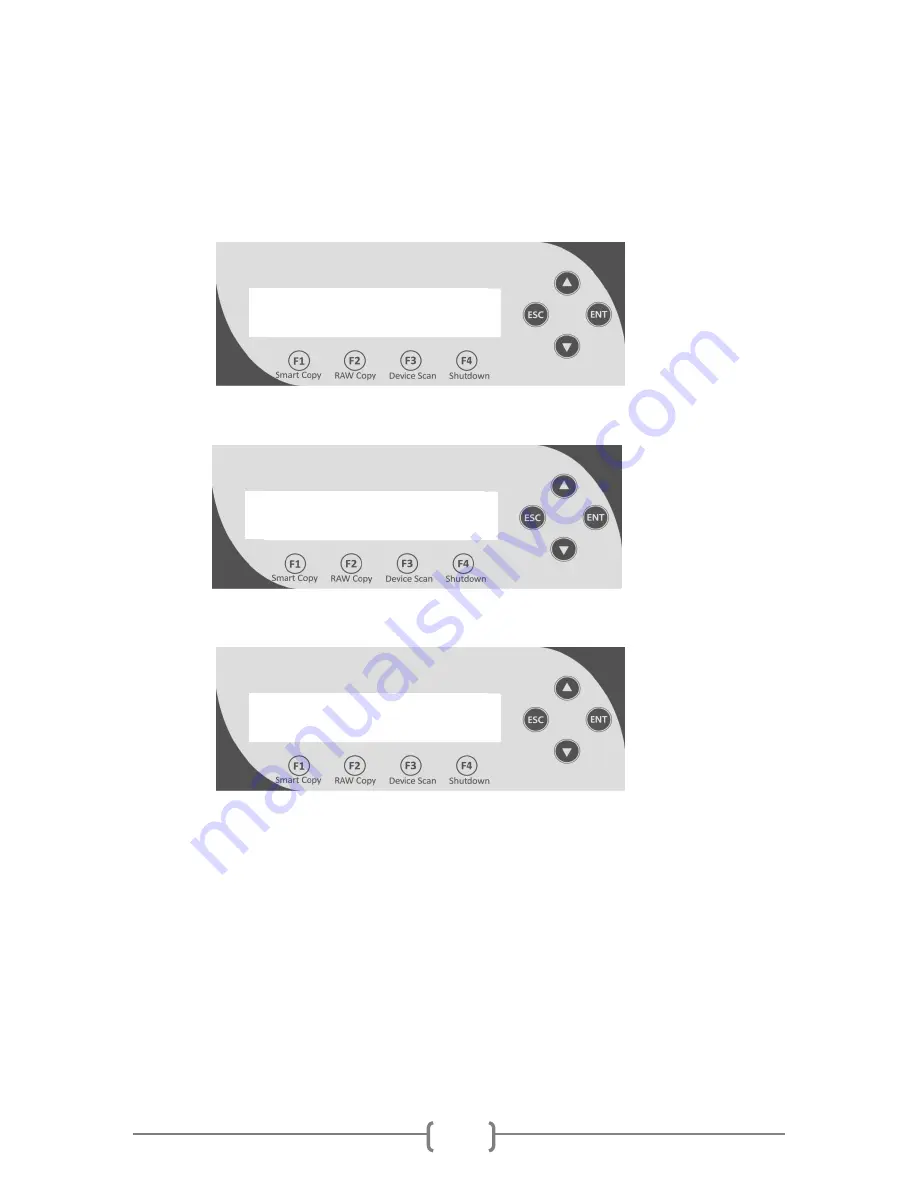
manualshive.com logo in svg
background image


13 

4. 

Copy Mode 

This setting will allow for the selection of a Copy Mode. There are 3 options: 


Smart:  This  mode  is  the  recommended  and fastest  approach  to making  copies 
since it will analyze the source hard drive on supported file systems (FAT16/32, 
NTFS,  exFAT,  ext2/3/4)  and  copy  only  the  area  that  contains  data.  If  the  file 
system  on  the  source  hard  drive  is  NOT  being  supported,  the  system  will 
automatically shifts to RAW mode. 


RAW: This mode is the safest and slowest approach to making copies since it will 
copy the entire source hard drive bit by bit. 


Partition: This mode is like RAW mode, but it will copy only the valid partitions of 
the source hard drive (along with MBR/GPT table) bit by bit instead. 


5. 

Setup 

1) 

Language 

This setting will allow you to choose the display language of the system. 
 

2) 

Buzzer 

This setting will allow the choice to hear a beep sound when a button is pressed 
or when a task has been completed. 


3) 

Screen Saver 

This  setting will  allow  the  choice  to  enable  the Screen Saver  feature  or  not.  By 
enabling this feature, a screen saver will be displayed when the system has been 
idle for an extended period. 


Copy Mode 
SMART


Copy Mode 
RAW


Copy Mode 
Partition


Содержание Hard Drive Duplicator 1.0

Страница 1: ...User Manual For Hard Drive Duplicator V 1 0...

Страница 2: ...WRITTEN MATERIAL IS STRICTLY PROHIBITED WE DISCOURAGE THE USE OF ANY SUCH ACTION THAT GIVES RISE TO CRIMINAL INTENT AND PROSECUTION THE SELLER OF THIS PRODUCT IS NOT RESPONSIBLE FOR ANY POTENTIAL ILLE...

Страница 3: ...ng to know the system 3 System Overview 3 LCD Display Operation Panel 4 HDD Bay Status LED Reference 4 Menu Navigation 5 Chapter 3 Basic Operation Tutorials 6 Making Copies of a Hard Drive 6 Chapter 4...

Страница 4: ...use irreparable harm and prevent the system from functioning properly 2 Maintenance It is very important to operate and keep the system in a dust free clean environment since dust is the number one ki...

Страница 5: ...system Chapter 3 Basic Operations Tutorials This chapter describes how to perform basic operations like Making Copies etc Chapter 4 Menu Overview This chapter describes what each function setting doe...

Страница 6: ...y vary but the unit continues to operate using similar principles Figure 1 1 System Controls and Display The components shown in Figure 1 1 are 1 System Power On Off Button 2 Control Panel 3 Source HD...

Страница 7: ...n Cancel the Setting change F1 Smart Copy Button Shortcut to make a copy under Smart mode F2 RAW Copy Button Shortcut to make a copy under RAW mode F3 Device Scan Button Shortcut to detect available d...

Страница 8: ...on After it has booted up the main menu screen will appear root menu that signifies the system is ready Step 2 Consecutively press the UP or DOWN arrow button until Setup appears Step 3 Press the ENT...

Страница 9: ...o release the tray latch 2 Pull the tray out using the just released latch If you cannot release the latch by press the Tray Button if is likely due to the tray is being locked you may need to flip th...

Страница 10: ...rive into all remaining bays Step 4 Insert the tray with hard drive back to the system by 1 Insert the tray into the bay firmly and completely 2 Close the latch to secure it If you like further secure...

Страница 11: ...on the left should appear signifying the system is ready Press the F1 Smart Copy button to initiate the copying process Step 7 When prompted power on all hard drive included Bays by pressing the corre...

Страница 12: ...the various items on the copy progress screen 88 8G this indicates the amount of data to be copied 3m44s this indicates the time left for the copy operation 30 this indicates the progress of the copy...

Страница 13: ...in this example 12m20s indicates amount of time took for this process 12 minute and 20 seconds in this example S 1 2 3 E indicates the port number S Source Port 1 9 Port 1 9 A E Port 10 14 Source Por...

Страница 14: ...11 Remove all duplicated hard drives Afterwards you can either Duplicate more hard drives by repeat step 1 4 and 7 11 skip step 5 and 6 Or End the job and go back to the main menu by pressing the ESC...

Страница 15: ...tion erases the hard drives s connected to any port other than the Source Port There are three options for this function Quick Erase It will erase only the beginning section of the hard drive which is...

Страница 16: ...opies since it will copy the entire source hard drive bit by bit Partition This mode is like RAW mode but it will copy only the valid partitions of the source hard drive along with MBR GPT table bit b...

Страница 17: ...hard drive By default the system does not skip any writing error which would result in an immediate failure for such target hard drive if any write error occurred during the duplication process Enabl...

Страница 18: ...rform read and write testes to report the read speed for the source hard drive and write speed of all target hard drives 4 Device Info This function will show information regarding the hard drive conn...

Страница 19: ...ministrator The pre defined password for this menu is 0000 1 View User This menu allows for the viewing of the existing user accounts 2 Create User This menu allows for the creation of additional user...

Страница 20: ...etime and press it again If it still does not work turn off the machine and then restart the machine after a minute 4 Copy process completed but the copied hard drives are not readable executable Chan...

Страница 21: ...age capacities vary among different brands of hard drives It might be advisable to turn on the Size Tolerance setting under the Setup menu to avoid unnecessary errors However by doing this there may b...

Страница 22: ...it to a hard drive Confirm the file system of the hard drive is FAT32 Make sure the hard drive is inserted into the source port 261 Wrong update File Description The Firmware Update File is not compat...

Страница 23: ...as been tested and found to comply with the limits for a Class B digital device pursuant to Part 15 of the FCC Rules These limits are designed to provide reasonable protection against harmful interfer...

Страница 24: ...ocate the machine on a solid support surface not on plush carpet that has adequate strength to support the weight of the machine Always unplug this equipment from the electrical outlet before cleaning...

Страница 25: ...bjects into the slots or openings of the machine Electrical shock or fire may result 9 Do not obstruct ventilation openings These openings are used to provide proper cooling to the machine Electrical...

Страница 26: ...There are no parts behind these covers that you can maintain or service Do not use aerosol cleaners Aerosol cleaners can be explosive or flammable when used on electromechanical equipment Regulatory I...

Отзывы: