


30
7.12.1 Configuring a phase to be measured
To measure the power/voltage of phases 2 and 3 (or 1 if previously disabled) you need to enable
them via this submenu and for each one of them set the calibration value of its current probe
01457.
• With
confirm the selection of “
P1
”,“
P2
”or“
P3
”, using
and
you can enable or disable the respective phase by selecting
ON
or
OFF
and
confirming with
.
• After the above setting, if the channel is enabled, the display will prompt you to enter the
3-digit number printed on the label applied to each probe 01457 (for example, 12B); using
,
and confirming with
enter the 3 digits one at a time.
Note: If the channel (1 or 2 or 3) is disabled, the probe will ignore the voltage/power value meas-
ured by that channel; so even if physically there is a power other than 0 which runs through the
disabled phase, the probe will still display the value 0.
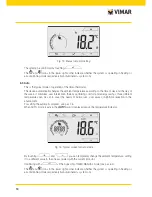
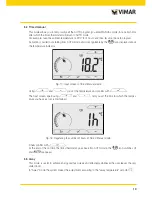
7.12.2 Configuring the “power threshold” alarm
The menu lets you set an overall power level (i.e. the sum of all 3 channels) read by the energy
probe and on exceeding which the timer-thermostat will emit an audible "alarm" warning. This
feature is useful to warn the user of exceeding a defined consumption threshold and give her the
chance to intervene by turning off the source of excessive consumption. This will help to avoid
potential disconnection from the mains supply or to optimize power consumption according to
need.
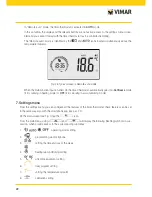
The alarm remains active as long as the measured power remains above the alarm level and stops
when it falls back below that level.
Confirm with
.
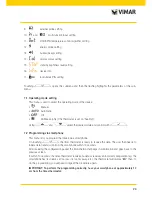
7.13 Buzzer (beep) setting
This menu lets you enable/disable the acoustic signals of the timer-thermostat; if it is disabled there will
no longer be any sound when you touch the buttons or in cases of confirmation/error.
Whereas, in the event of an alarm, the sound signal will always be guaranteed.
Using
and
select “
ON
” or “
OFF
” and confirm with
.
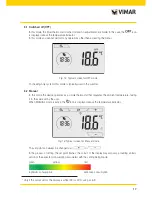
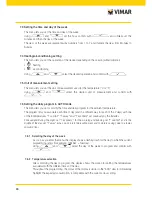
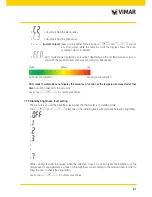
7.14 Setting the display colour
This menu is used to select the background colour of the display.
In addition to the four default colours, you can set a colour to your choice selected from the full range of
colours, or set "ECO" mode in which the display colour is a clue to the expected level of consumption
in the building.
Via
and
you can select:
•
: white default colour
•
: colour matching the Plana series
Содержание 02955
Страница 1: ...Instructions manual Timer Thermostat 02955 Installer Manual ...
Страница 2: ......
Страница 39: ...37 ...