


9
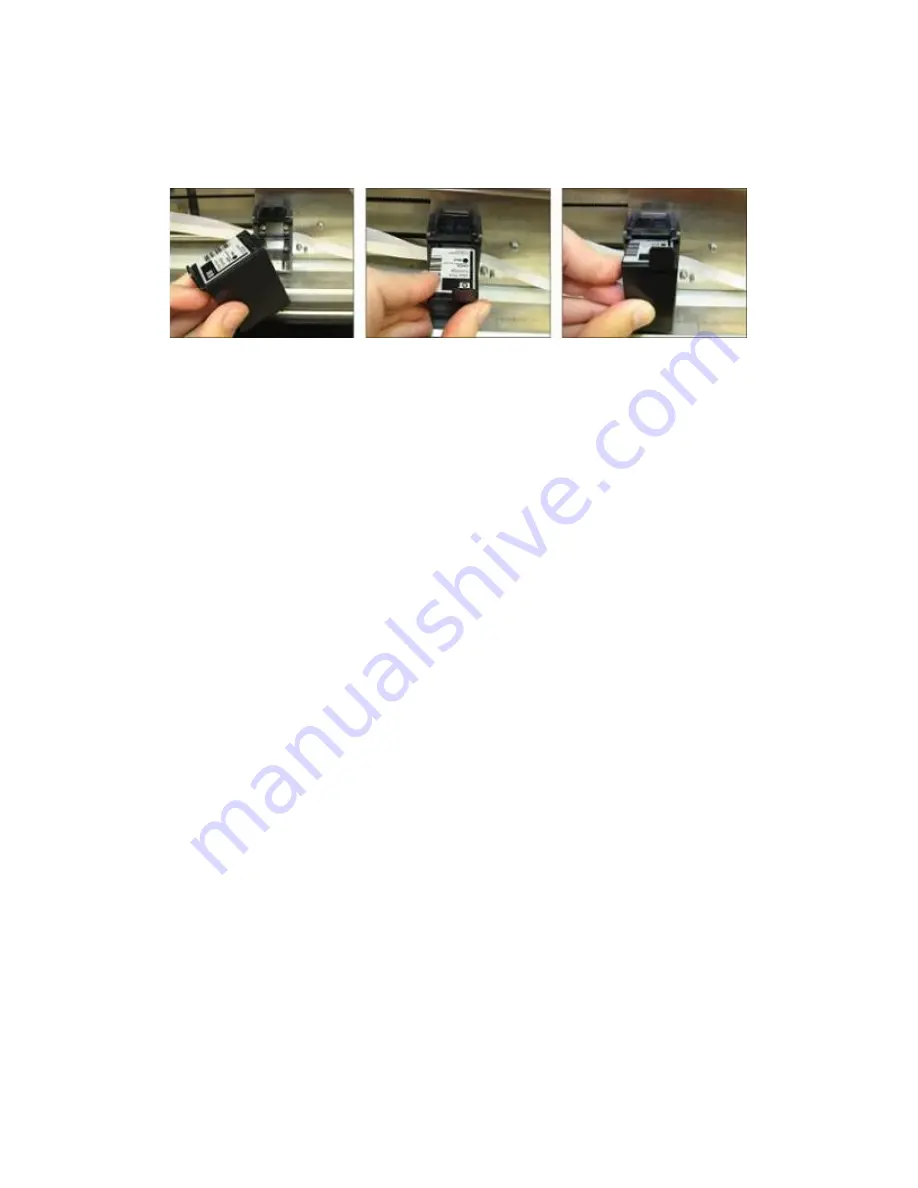
holders by placing the nozzle end in first and then pressing the side with the tab forward into the
InkConnect until the cartridge snaps into the holder.
Shows how to insert an ink cartridge
Install the second cartridge the same way, then close the lid.
The next time a print job is sent to the printer, a dialog will appear for each cartridge stating that a
cartridge change was detected. Choose the 'Yes' button on each cartridge's dialog to confirm that a new
cartridge was installed. This will ensure that the ink fill status of the cartridge is set at 100% when the
cartridge is full.
If an ink cartridge change dialog does not appear for one or both cartridges, or if you would like to reset
the ink fill status immediately without printing, the ink fill status can be set manually instead. To do this,
refer to the instructions for checking the ink fill status in Chapter III, Section C of this manual.
III. Set Defaults for the Printer
A. Windows Printer Defaults
After installation and setup are completed, changing your default settings to settings that will be used the
most often will save time in the future.
To set the default settings on your printer, enter the printer properties page for your Elite or Premier
embosser with InkConnect through Start>Printers and Faxes on Windows XP or Start>Control Panel>
Printers on Windows Vista, right click on your Elite or Premier and choose 'Printer Properties'.
To select the paper size you will most commonly use, click the 'Printing Preferences...' button on the
General tab. On the Layout tab of the Printing Preferences page, click the 'Advanced...' button. You will
now be able to select the paper size you will usually use from a drop down list. Please note that if you
later wish to use a paper size larger than what you have chosen on this page, you will need to adjust this
setting before printing.


