for urinal flushing systemsModel
Year built:
8620.2
from 03/2019
en_INT
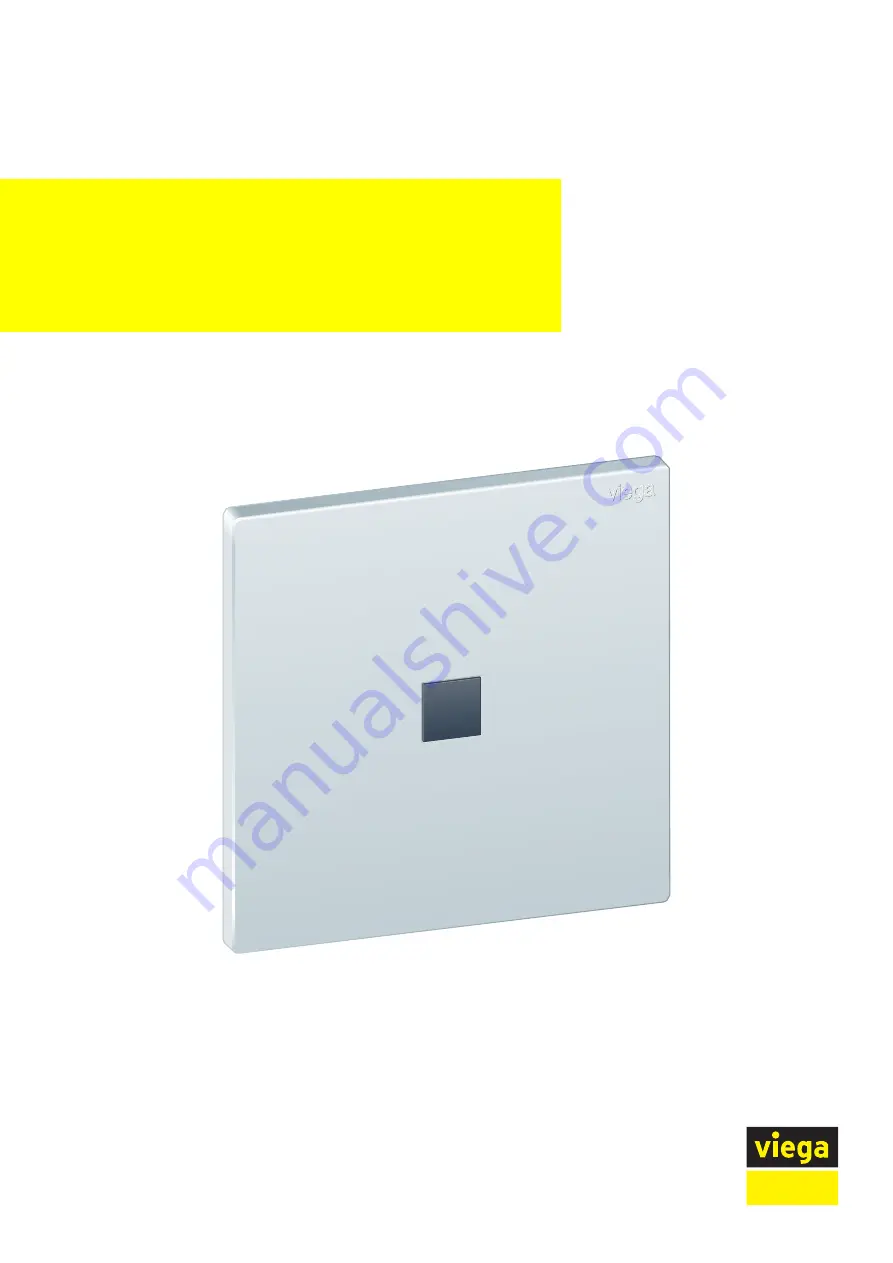
Urinal flush plate for Prevista
Visign for More 200 infrared flush actuation
Instructions for Use
Страница 1: ...for urinal flushing systems Model Year built 8620 2 from 03 2019 en_INT Urinal flush plate for Prevista Visign for More 200 infrared flush actuation Instructions for Use...
Страница 2: ...Urinal flush plate for Prevista Visign for More 200 infrared flush actuation 2 from 27...
Страница 3: ...3 3 Operating mode 9 2 3 4 Setting options 10 3 Handling 12 3 1 Assembly information 12 3 1 1 Mounting conditions 12 3 2 Assembly 13 3 2 1 Inserting the magnet valve 13 3 2 2 Mounting the power pack...
Страница 4: ...s restriction does not extend to possible operating instructions The installation of Viega products must take place in accordance with the general rules of engineering and the Viega instructions for u...
Страница 5: ...in Germany e g DIN DVGW Some passages in the text may refer to technical codes in Europe Germany These should serve as recommendations in the absence of corresponding national regulations The relevant...
Страница 6: ...e Regulations applicable in Ger many Flush flow DIN 3265 Noise class DIN 4109 2 2 Intended use 2 2 1 Areas of use The urinal flush plate is intended for the contact free actuation of flushes in urinal...
Страница 7: ...et valve 3 valve adapter 4 retaining bolt 5 Power pack 6 silicon grease 2 x 2 g 7 clamps 8 installation frame 2 3 2 Technical data The product has the following technical data Product information Urin...
Страница 8: ...sure 0 05 0 5 MPa 0 5 5 bar Calculated flow 0 3 l s Flush flow see Regulations from section Technical data on page 6 0 3 0 7 l s Noise class see Regulations from section Technical data on page 6 2 Pro...
Страница 9: ...area of the infrared sensor for at least 8 seconds If a person leaves the detection area a flush is automatically actuated Depending on the setting the flush duration is between 2 and 15 sec onds A f...
Страница 10: ...nge approx 490 mm so that the automatic flush actuation also works at a greater distance from the urinal Lid in front of sensor This function is intended for the case that an open lid covers the senso...
Страница 11: ...ne flushing The setting determines if respectively how long after non use a hygiene flushing is actuated The following settings are possible n Hygiene function deactivated n Hygiene flush 1 hour after...
Страница 12: ...e oppo site walls n If high gloss wall claddings polished tiles mirrors etc are situated opposite increase the minimum distance to 1500 mm n A minimum distance of 1500 mm must be maintained to urinals...
Страница 13: ...mends installing the power pack outside of the protected zones 0 2 3 2 Assembly 3 2 1 Inserting the magnet valve Requirements n The pre wall element has been mounted n The tiling work is completed n T...
Страница 14: ...shut off with a screwdriver for a few seconds to rinse the pipeline Re close the shut off Remove the seal Grease the sealing elements Place the valve adapter on the magnet valve NOTICE Ensure that the...
Страница 15: ...e power pack DANGER Danger due to electrical current An electric shock can lead to burns and serious injury and even death Only allow electrical work to be carried out by qualified electricians Always...
Страница 16: ...in acc with Installation position of the power pack on page 12 n The connection cable is de energised Push the cables into the terminals Push the power pack into the revision opening Position the pow...
Страница 17: ...lush plate Put on the installation frame Insert the retaining bolts Turn the retaining bolts by 90 in a clockwise direction Handling Urinal flush plate for Prevista Visign for More 200 infrared flush...
Страница 18: ...the magnet valve cable to the control Connect the power pack to the control INFO Stand to the side of the panel so that you are not in the sensor s detection area Open the shut off valve Replace the f...
Страница 19: ...ght during this time The flush plate is operative The calibration of the flush plate may take up to 5 additional minutes During this time the flush plate lights up every 10 seconds 60s Handling Urinal...
Страница 20: ...ene flushing 0 DIP switch position OFF 1 DIP switch position ON Assignment of the DIP switches n The switches 1 2 determine the range of the infrared sensor n The switches 3 4 determine the flush dura...
Страница 21: ...0 1 5 1 0 10 factory setting 0 0 15 1 1 Setting Lid in front of sensor C Lid in front of sensor Position of switch 5 5 OFF factory setting 0 ON 1 Setting the hygiene flushing D Interval in hours Posi...
Страница 22: ...tion area The range of the infrared sensor is set too large Reduce the range of the infrared sensor Setting the range A on page 21 The red LED flashes in the first minute after commissioning The flash...
Страница 23: ...e on page 24 The control is defec tive Replace the base frame The red LED flashes all the time The battery is weak Replace the battery 3 5 Care and maintenance 3 5 1 Care tips Use normal soap or a mil...
Страница 24: ...five minutes 3 5 2 Cleaning the magnet valve Clean the magnet valve if required Proceed as follows Remove the flush plate from the installation frame Disconnect the magnet valve from the control Disc...
Страница 25: ...nti clockwise Turn the retaining bolts 90 anti clockwise Turn the sleeve 90 clockwise to unlatch it Loosen the installation frame Handling Urinal flush plate for Prevista Visign for More 200 infrared...
Страница 26: ...der running water Remove coarse dirt with a soft brush Re mount the magnet valve and the flush plate in accordance with Chapter 3 2 1 Inserting the magnet valve on page 13 Handling Urinal flush plate...
Страница 27: ...of in accordance with valid national legal requirements Electronic components and batteries must not be put in the domestic waste but must be disposed of appropriately in conformity with the WEEE gui...