48
4.9.1Preset Setup
In Figure 3-25, use eight direction arrows to adjust camera to the proper position.
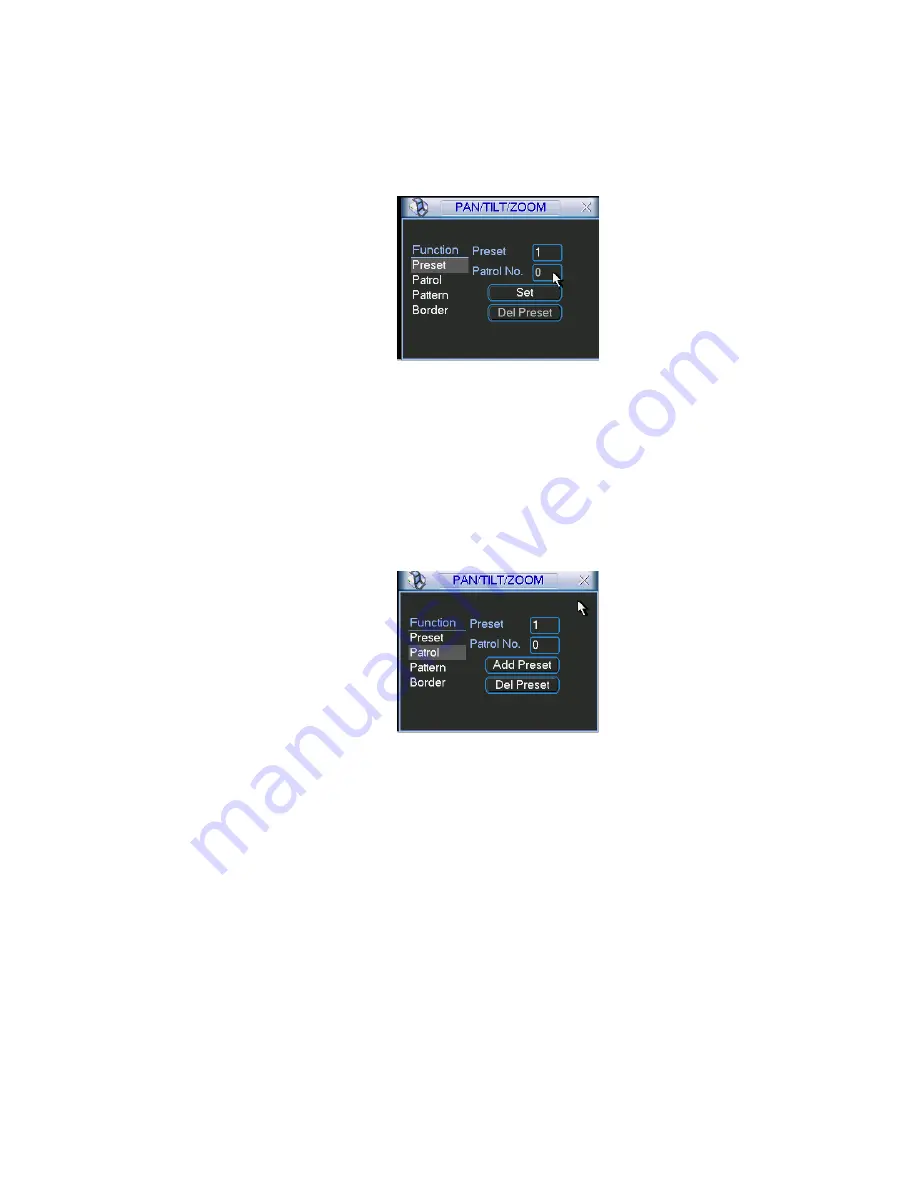
In Figure 3-28, click preset button and input preset number. The interface is shown as in
Figure 3-30.
Now you can add this preset to one patrol (tour).
Figure 3-30
4.9.2 Activate Preset
In Figure 3-29, please input preset number in the No. blank, and click preset button.
4.9.3 Patrol Setup (Tour setup)
In Figure 3-28, click patrol button. The interface is shown as in Figure 3-31.Input preset
number and add this preset to a patrol (tour). For each patrol (tour), you can input max 80
presets.
Figure 3-31
4.9.4 Activate Patrol (tour)
In Figure 3-28, input patrol (tour) number in the No. blank and click patrol button
4.9.5 Pattern Setup
In Figure 3-28, click pattern button and then click “begin” button. The interface is shown as
in Figure 3-32. Then you can go to Figure 3-25 to modify zoom, focus, and iris.
Go back to Figure 3-32 and click “end” button. You can memorize all these operations as
pattern 1.
Содержание SATA series
Страница 1: ...1 SATA series Standalone DVR User s Manual...


