3. Basic operation
7
3.1 Login
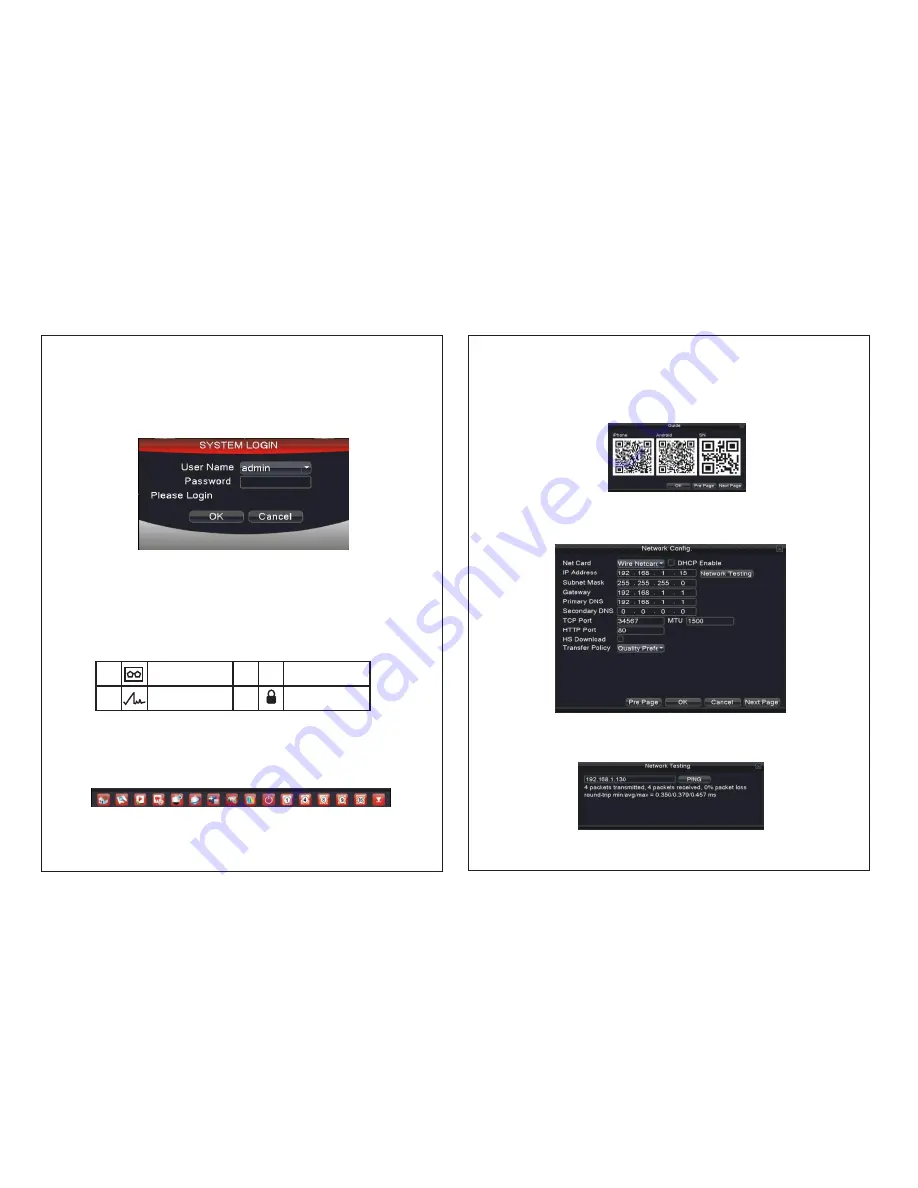
When the NVR boots up, the user must login and the system provides the corresponding
functions with the user right. There are 3 user settings: Admin, Guest and Default. The
default password for Admin user settings is ‘null’ and the user can create guest user
account as per requirement. Admin user is master user having all the rights. Guest and
default users can be allotted the rights as per requirements.
Password protection: The account will be blocked if you enter wrong password
continuously five times and after half an hour the same will be unblocked
automatically. If you enter wrong password for consecutively seven times then
the alarm will start. You can modify the username and password after first login.
3.2 Preview
You can right click mouse to choose the switch between the windows.
The system date, time and channel name are shown in each viewing window. The
surveillance video and the alarm status are also shown in each window.
3.3 Desktop shortcut menu
On the right click of mouse, you will get the desktop shortcut menu as explained in
picture 3.2. The menu includes:
Main Menu, Guide, Playback, Record Mode, PTZ control,
High-speed PTZ, Color Setting, Output Adjust, Info, Logout, View 1, View 4, View 8,
View 9, View 16 and Hide.
Picture 3.2 Desktop shortcut menu
Picture 3.1 SYSTEM LOGIN
1.
2.
3.
4.
Recording status
Motion detect
Video loss
Camera lock
?
3.3.1 Guide
This function can guide user to open ”Cloud service” → “QR code” → “Network config.”
→ “Remote device” and so on.
Picture 3.3 QR code
In“Network config.”, setting IP Address, Network Testing, Subnet Mask, Gateway, Primary
DNS, Secondary DNS, TCP Port, MTU Port, HTTP Port, HS Download, Transfer Policy
and so on. As picture 3.4:
In Network testing, test whether NVR is connected with router or other network device
properly.
Step: Input IP address directly and click PING. Picture 3.5.
Picture 3.5 Network Testing
8


