background image

IP Digital H.264 Video Encoder Series Manual Rev. B 


6


BASIC CONNECTIONS & SET-UP 


With so many technical variables in an installation, the strongest recommendation we can make is to conduct a bench 
test. After verifying that all components of the system are in good working order and connected properly, we can arrive 
on the job site confident that all of our devices will install with the least amount of on-site effort.  
 

Basic Connection Procedure 


1. Physical Inspection of Product  

  Compare the unit to the product photo on the attached specification sheet.  

  Check for physical damage to the devices, contact your distributor or VideoComm Technologies Technical 

Support immediately should you suspect damage to the unit.  


2. Bench Testing Your H.264 Network Video Encoder Device 

  Attach the included rubber duck antenna to the Video Encoder 

(WiFi & 3G Models Only)


  Connect power, using the supplied power adaptor via the 2.1mm 12VDC barrel jack.  

  Use a separate power supply for each device. Do not share power supplies.  

  Connect the Video Output from the camera to the Encoder using standard BNC-Male cable connectors.  

Use an RCA-to-BNC adapter if your camera has an RCA connector.  

  Connect the Video Encoder to your network using the standard network cable with a RJ-45 connector.  

  A pre-amplified speaker and microphone can be connected to provide two-way audio if required. 


Basic Set-up:  

 
The H.264 IP Video Encoder must be connected to a PC or Laptop for configuration. The devices are compatible with 
most operating systems and Internet Explorer 6.0+ browsers.   
 

Setting a Static IP address on your PC or Laptop is essential for configuration prior to connecting the Video 
Encoder to the workstation.    


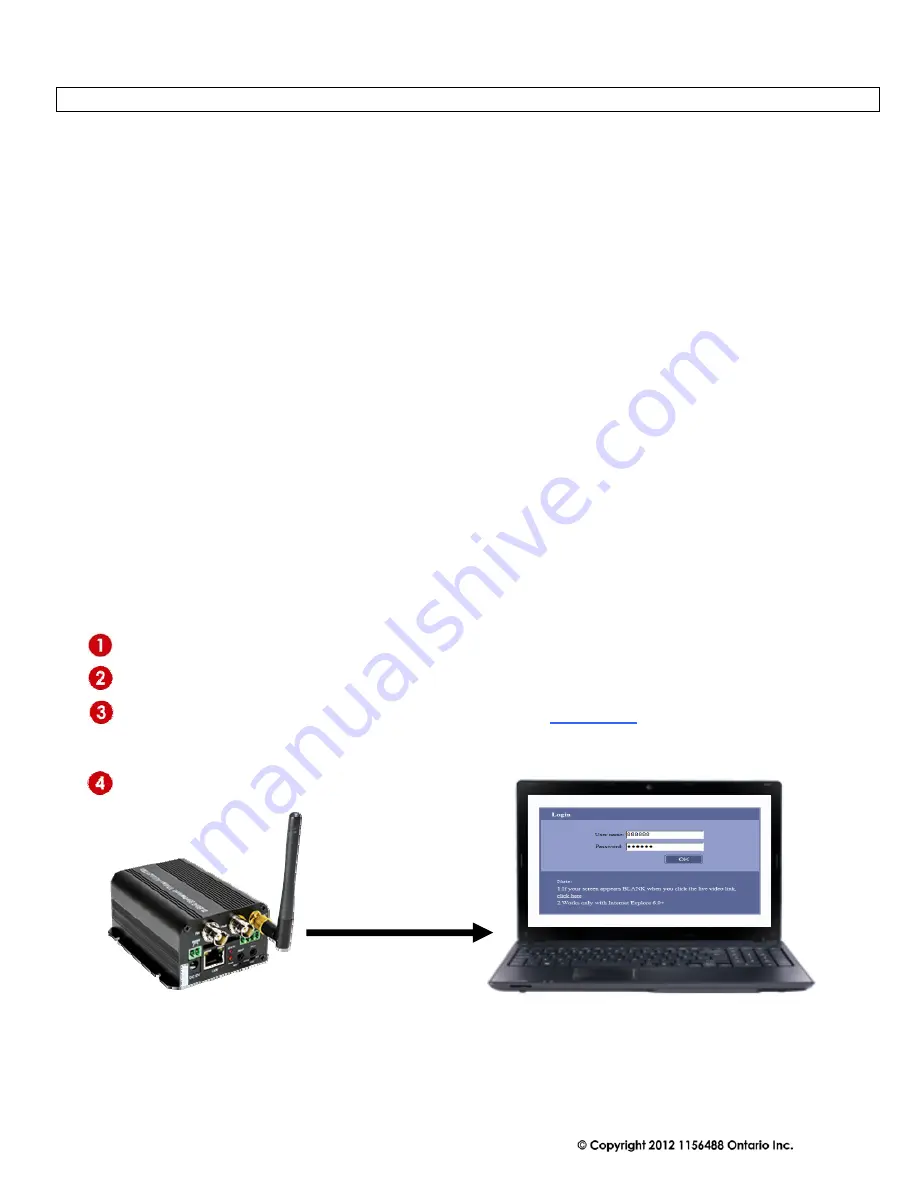
Connect IP Device to your workstation using the supplied 3’ network cable 


Power the IP Device using the 12VDC Plug-In Adaptor 


Open Internet Explorer browser and enter the default IP address 

192.168.1.19 


 If no connection is made, ensure that your workstations RJ-45 LAN connection is enabled. See 

your computers “Control Panel“for more details. 


Enter the Default Login (888888) & Password (888888)  


WARNING!!:

 Once Logged into the embedded web server through your internet browser the video screen may appear 

blank due to restrictions set on your workstation. The video will NOT appear until the settings are configured through 
your operating system.  
 

Содержание IP-720iDVR

Страница 1: ...64 Video Encoder Series Manual Rev B 1 It s About Real Time IP Digital H 264 Video Encoder Series Manual Rev B OWNER S MANUAL 888 379 2666 US Toll Free 905 336 9665 Phone 905 336 9662 Fax www VideoTra...

Страница 2: ...USING WINDOWS 7 7 INTERNET EXPLORER ActiveX CONTROL 7 LOGIN PASSWORD 8 SETTING NEW LOGIN PASSWORD 8 ENCODER IP ADDRESS 8 WIDE AREA NETWORK SETUP 9 UPnP SET UP 9 WIRELESS NETWORK WiFi 10 WIRELESS NETW...

Страница 3: ...o do so may result in damage to the unit and void the warranty V The IP Digital Video Series has been certified by the FCC for use with other products without any further certification as per FCC sect...

Страница 4: ...ents The H 264 Network IP Video Encoder Series includes an embedded web server which provides users full access to all features and settings through a standard web browser To access the device setting...

Страница 5: ...mes solid To confirm a successful Hard Reset access the Encoder through a standard internet browser using the Default IP Address Login 888888 and Password 888888 Repeat these steps should you be unabl...

Страница 6: ...r using standard BNC Male cable connectors Use an RCA to BNC adapter if your camera has an RCA connector Connect the Video Encoder to your network using the standard network cable with a RJ 45 connect...

Страница 7: ...k the Properties button Now Change the IP Address to an available address Click OK when complete You MUST close out of the Network Connection Properties screen before the changes will take effect Usin...

Страница 8: ...the User Management Section Enter your new login and password information into fields Admin User Name Admin User Password Verify Click the OK button then Reboot the encoder to complete the process Log...

Страница 9: ...ults on page 5 of this manual To use UPnP enable the UPnP function on both the ROUTER and IP ENCODER the port forwarding settings will automatically change on the reboot of the encoder NOTE To manuall...

Страница 10: ...ks Select the required wireless network which will appear in the Current Wireless Network field Enter the network password into the Input Password field and click OK Click the Save button then Reboot...

Страница 11: ...elect Settings 3G 3G Online Mode Select Always Online Click Connect See Figure A Click Save Reboot Rebooting will redirect you to the Login Page and may take up to 40 seconds to Reboot Login to the En...

Страница 12: ...ider See Figure E A Disconnected status indicated that the device has not been programmed properly If this occurs repeat steps 4 17 Once the configuration is complete the 3G Video Encoder can now be v...

Страница 13: ...pect to loss of property loss of revenues or profit or cost of removal installation or reinstallation PRODUCT RETURNS 30 Day Product Return Policy If you are not satisfied with a product you may retur...

Страница 14: ...5 8GHz All Weather 8 Channel Series Manual Rev M 14...

Страница 15: ...5 8GHz All Weather 8 Channel Series Manual Rev M 15 NOTES...

Страница 16: ...5 8GHz All Weather 8 Channel Series Manual Rev M 16 IT S ABOUT REAL TIME Direct 1 905 336 9665 Toll Free 1 888 379 2666 www VideoTransmitters com...

Отзывы: