Vicon Roughneck Pro V2360W-12 Скачать руководство пользователя страница 3

V2360W  Panoramic  Fisheye  Series  |  Quick  Guide


2  -   


WARNING 

  This camera operates at 12 VDC/24 VAC/PoE+ (IEEE 802.3at Class 4).   

  Installation and service should be performed only by qualified and experienced technicians and comply 

with all local codes and rules to maintain your warranty. 

  We are NOT liable of any damage arising either directly or indirectly from inappropriate installation which 

is not depicted within this documentation. 

  To reduce the risk of fire or electric shock, do not expose the product to rain or moisture. 

  Wipe the camera with a dry soft cloth. For tough stains, slightly apply diluted neutral detergent and wipe 

with a dry soft cloth. 

  Do not apply benzene or thinner to the camera, which may cause the surface to melt or lens fog.     

  Avoid aligning the lens with extremely bright objects (e.g., light fixtures) for long periods of time. 

  Although this camera is waterproof and suitable for both indoor and outdoor usages, do not immerse the 

camera into water. 

  Avoid operating or storing the camera in the following locations: 


Extremely humid, dusty, or hot/cold environments (recommended operating temperature:   

-40°F to +122°F

/-

40°C to +50°C) 


Close to sources of powerful radio or TV transmitters 


Close to fluorescent lamps or objects with reflections 


Under unstable or flickering light sources 


Get Started 

This quick guide is designed as a reference for installation of the camera. For additional information on the 

camera’s features, functions, and detailed explanation of the web interface controls, refer to User’s Manual for 

details. Please read this quick guide thoroughly and save it for future use before attempting to install the 

camera. From this guide you will get: 


Product Overview: The physical parts, features and dimensions of the camera 


Installation and Connection: The instructions on installation and wires connection for the camera. 


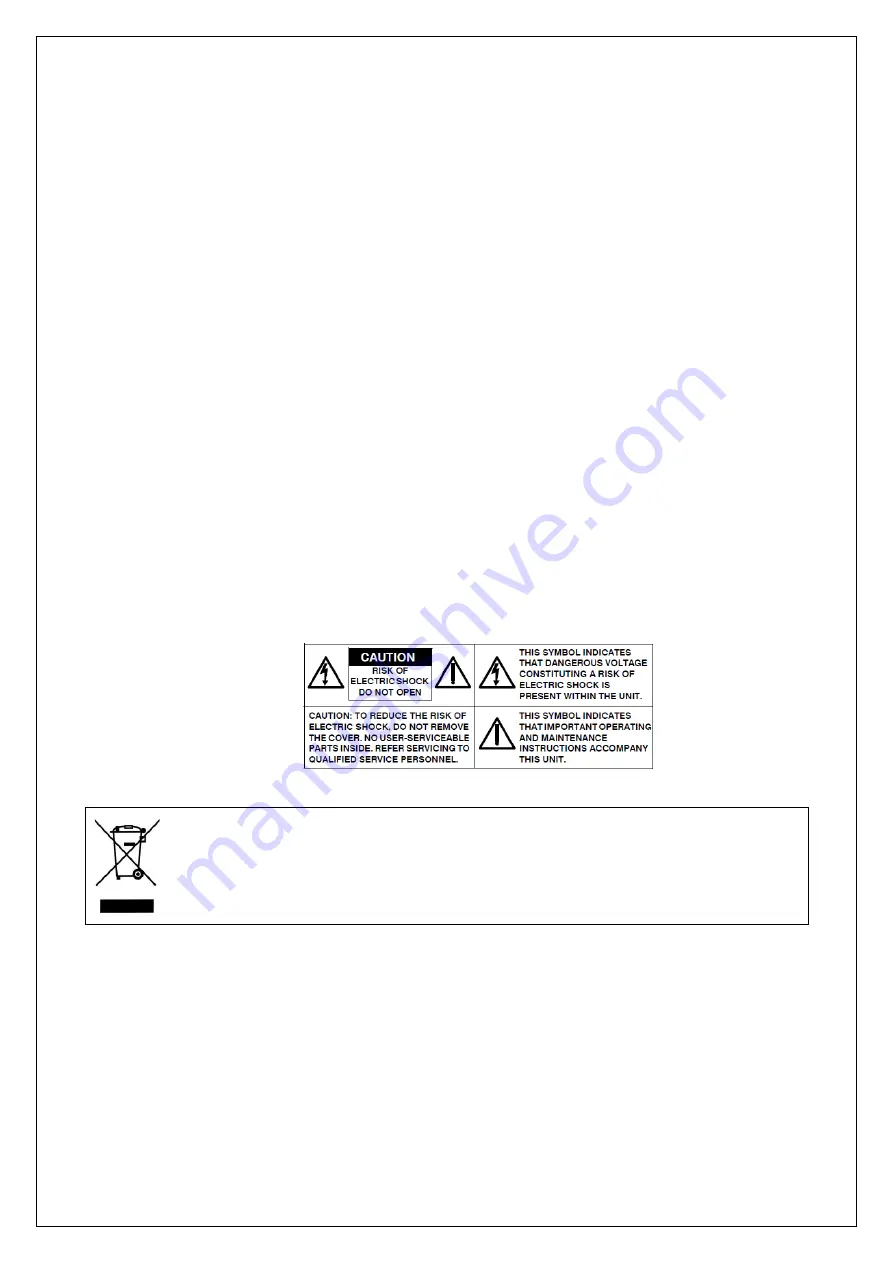
WEEE (Waste Electrical and Electronic Equipment). 

Correct disposal of this product 

(applicable in the European Union and other European countries with separate collection 

systems). This product should be disposed of, at the end of its useful life, as per applicable 

local laws, regulations, and procedures. 

Содержание Roughneck Pro V2360W-12

Страница 1: ...warrant that the functions contained in this equipment will meet your requirements or that the operation will be entirely error free or perform precisely as described in the documentation This system...

Страница 2: ...allation and Connection 8 2 1 Package Contents 8 2 2 Installation 8 2 2 1 Checking Appearance 8 2 2 2 Mounting Camera 9 3 Connection 12 3 1 Network Topology 12 3 2 System Requirements 12 3 3 Connectin...

Страница 3: ...operating or storing the camera in the following locations Extremely humid dusty or hot cold environments recommended operating temperature 40 F to 122 F 40 C to 50 C Close to sources of powerful rad...

Страница 4: ...to try to correct the interference by one or more of the following measures Reorient or relocate the receiving antenna Increase the separation between the unit and receiver Connect the unit to an outl...

Страница 5: ...V2360W Panoramic Fisheye Series Quick Guide 4 1 Product Overview 1 1 Physical Characteristics Figure 1 1 Physical Dimension 2 8 70 150 5 5 150 56 99 2 2 Unit mm in...

Страница 6: ...read 1 4 20 the hole is for attaching an additional bracket sold separately for installation flexibility 8 Security Lock The proprietary security lock design ensures camera is mounted securely onto th...

Страница 7: ...evice into the PoE port for network connection and PoE Power over Ethernet capability 24 VAC 12 VDC Power Ports To power on camera connect 12 VDC or 24 VAC power source to the corresponding 2 pin port...

Страница 8: ...supply terminal adaptor for IO connectors and field wiring should comply with the Class 2 Circuit standard for ensuring safety from electrical fires and providing acceptable protection against electri...

Страница 9: ...Guide 1 Guide Pattern 1 2 2 Installation The following tools might help you complete the process of installation Drill Screwdrivers Wire Cutters 2 2 1 Checking Appearance When unpacking check to see i...

Страница 10: ...hreads as needed 24 VAC 12 VDC power cord to the 2 pin power terminal Ethernet cable to the PoE port and the additional audio and alarm input output cables to the 8 pin terminal block Remove the rubbe...

Страница 11: ...ure 2 1 Mounting The Camera Note The correct size holes for TP4 screws with plastic anchors are of diameter 6 35 mm 0 25 in Seal up waterproof rubber hole with plug when no cable is in use Rubber Plug...

Страница 12: ...event the camera from accidentally falling connect the included safety wire with one end on the mounted bracket and the other end to the safety wire screw on the camera Referring to the figure below f...

Страница 13: ...PU 2 40GHZ RAM 6 GB or above Display NVIDIA GeForce 6 Series or ATI Mobility Radeon 9500 System Software Operating System Windows 7 SP1 Windows 8 Windows 10 Browser Internet Explorer 10 11 Mozilla Fir...

Страница 14: ...2 Check whether the network available between the camera and the computer by executing ping the default IP address To do this simply start a command prompt Windows from the Start Menu select Program T...

Страница 15: ...All Cookies Click OK 2 When a proxy server is used click Internet Options on the Tools menus of Internet Explorer select Connect tab click LAN button and set proxy server 3 Change Security in Interne...

Страница 16: ...ns and set as follows Download signed ActiveX controls Prompt recommended Download unsigned ActiveX controls Prompt Initialize and script ActiveX not marked as safe for scripting Prompt Figure 3 4 Sec...

Страница 17: ...tiveX controls marked safe for scripting Enable Figure 3 6 Security Settings 4 4 Press OK to save the settings Close all browser windows and restart the browser This will allow the new settings to tak...

Страница 18: ...and password for the selected camera and then click Verify for authentication purposes Camera Name Enter a descriptive name for the camera Network Settings If you have a DHCP server on your network to...

Страница 19: ...nd connected to predefined network internet controller User Name Password Enter username and password for the current auto set IP address setting Network Interface Controller Select desired network in...

Страница 20: ...button to select a camera or all the cameras on the firmware upgrade list respectively Click Add or Cancel button to confirm the selected cameras for upgrade or to cancel the selection respectively E...

Страница 21: ......

Отзывы: