


English
|
79
3.
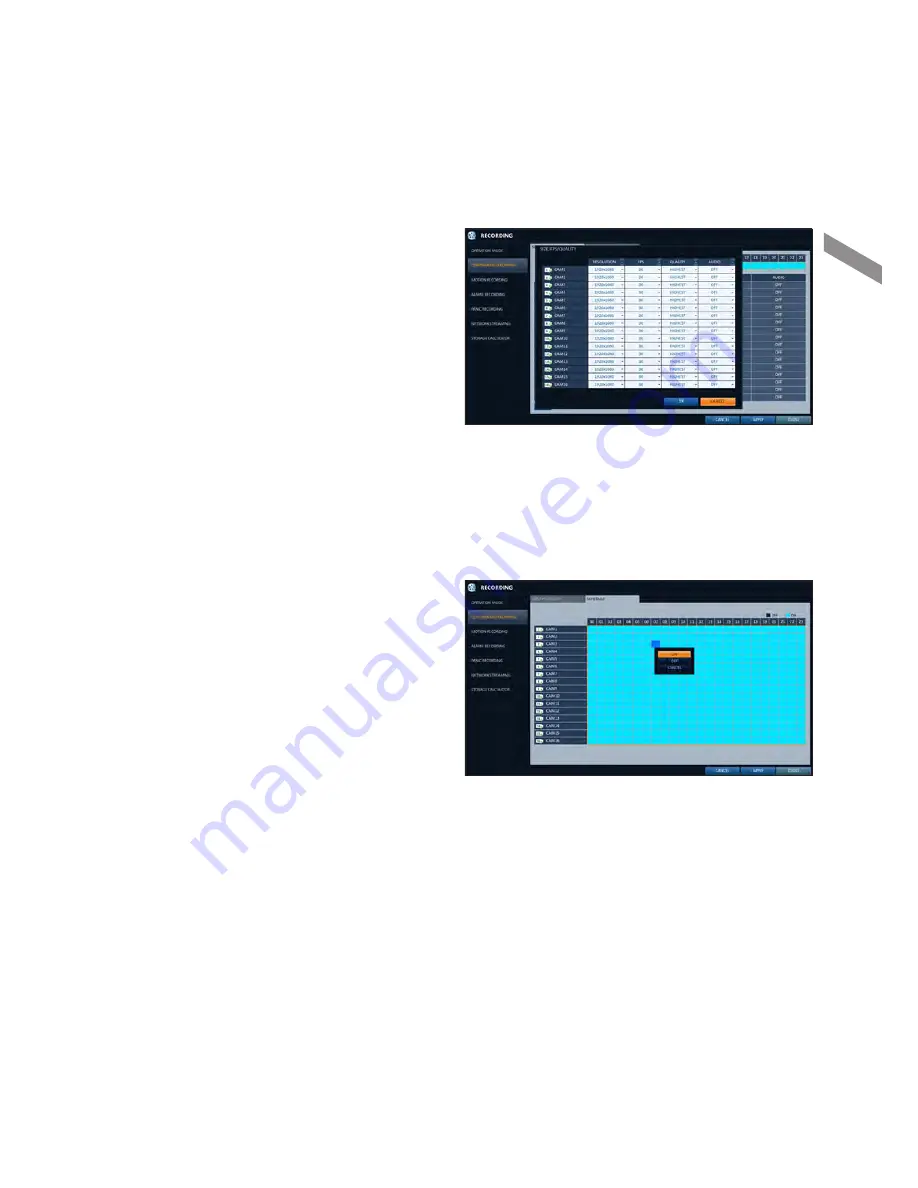
When the cell selection is complete, the "
SiZe/FPS/
QUality
" table appears.
J
Specify the <
RESOLUTION
>, <
FPS
>, <
QUALITY
> and use
of the <
AUDIO
> recording for each channel.
i
RESOLUTION : set the size of the video recording.
i
FPS : set the frame rate per second.
i
QUALITY : set the recording quality.
i
AUDIO : specify the use of the audio recording.
i
HELP : You can view help text regarding the recording
configuration.
4.
When done, click <
ok
>.
You can check the recording size in the size table under the time selection bar.
J
The video size, FPS, quality and audio recording options may differ depending on the specification of the IP camera.
For some IP cameras, the video transfer may be interrupted if some of the options are changed.
Schedule Setting
1.
Select a start day of the week on the schedule.
2.
Click a time cell from which you want to make the
schedule and drag it to a desired cell.
Or use the [
▲▼◀▶
] buttons on the remote control
to move to the cell and press [
enteR
]. Then, use the
[
▲▼◀▶
] buttons to move to a desired cell and press
[
enteR
] again.
3.
When the time selection is complete, you will be
prompted to specify the use of recording in the Record
Setup window.
4.
Click <
coPy SchedUle to
> to check the checkbox
of the date that you want to copy the schedule at.
5.
To apply the change, click <
aPPly
> in the bottom of the screen.
6.
When done, press the [
exit
] button on the remote control or click <
cloSe
> in the lower screen to return to the previous
menu.
Recor
d Setting
Содержание 16CH
Страница 1: ...4CH 8CH 16CH Full HD NVR User Manual ...
Страница 145: ...English 145 Product Overview IPX HUB For 16channel NVR only 305 141 38 Appendix ...
Страница 157: ......
Страница 158: ......


