FVAi-2030 Benchtop Microscope User Guide, 22112369-339 R000, Standard
4-5
Using the FVAi-2030 microscope with FiberChekPRO
Viewing the fiber chamfer with FiberChekPRO
Viewing the fiber chamfer with FiberChekPRO
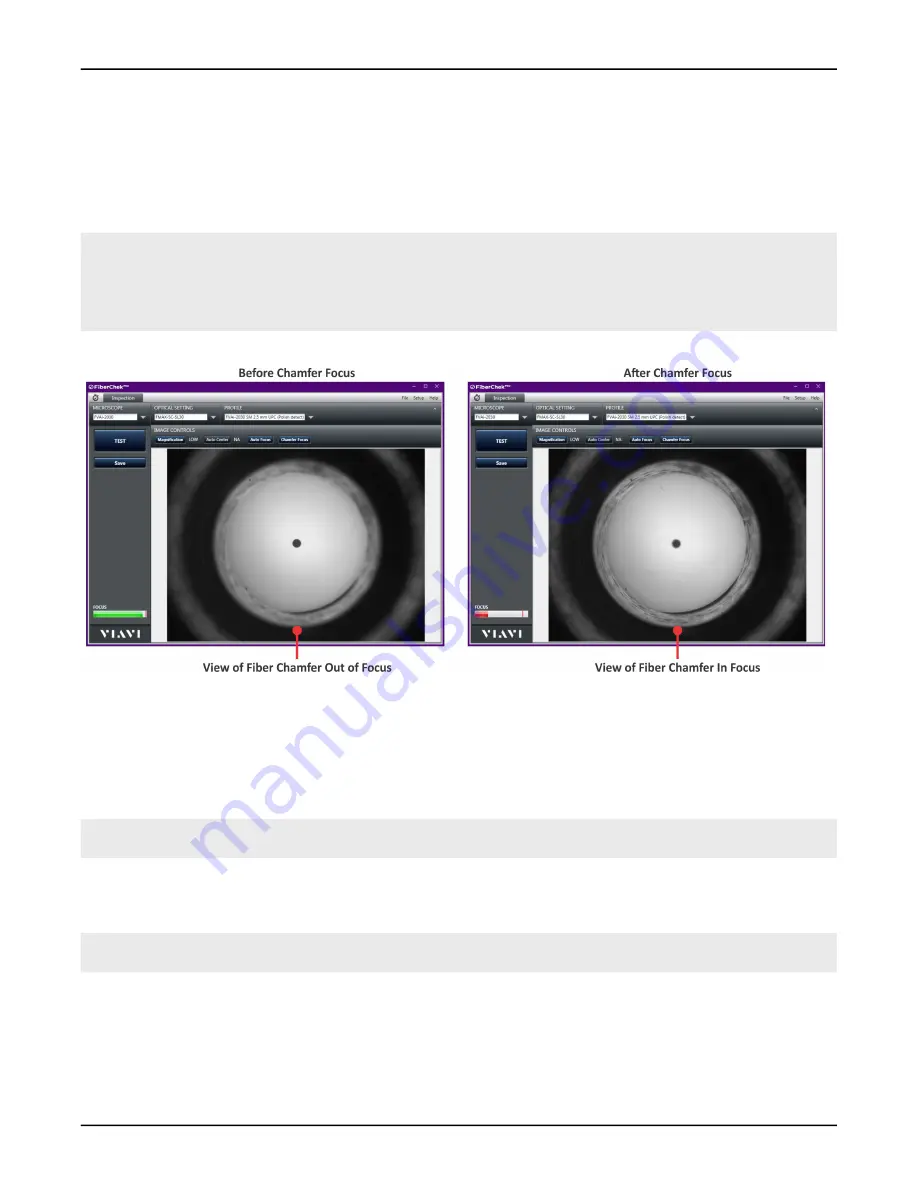
You can visually analyze the fiber chamfer by using the
Chamfer Focus
tool to bring the fiber chamfer into focus
(
). The
Chamfer Focus Offset
setting lets you control the amount by which the chamfer is brought into
focus each time you apply the
Chamfer Focus
tool. Setting a lower value applies less focus than a higher value,
letting you bring the fiber chamfer into focus more gradually.
Notes:
•
The
Chamfer Offset
setting is available via the
Device Settings
option for the microscope. For information
about accessing the
Device Settings
option, see the
FiberChekPRO Automated Fiber Inspection and Analysis
Software User Manual.
•
As
Chamfer Focus
is applied, the view of the fiber end face becomes less focused.
Figure 4-1: Chamfer Focus application
.
“Requirements for Pass/Fail tests” on page 3-2
.
Step 2 Connect FiberChekPRO to the microscope (see
“Connecting to FiberChekPRO” on page 4-2
).
Step 3 In FiberChekPRO, refer to the Focus-quality meter to ensure that the live image is suitable for inspection.
Step 4 Select
Chamfer Focu
s on the
Image Controls
toolbar to bring the chamfer into focus, repeating until the
focus you require is obtained.
Note:
Successive applications of the tool after obtaining a focused view of the chamfer will bring the
chamfer out of focus.
Step 5 Optionally, do any of the following:
▪ Select
Save
, and then navigate to the folder when you want to save the image.
Note:
Refer to the
FiberChekPRO Automated Fiber Inspection and Analysis Software User Manual
for
detailed information about using the tools of the software to save and manage images.
▪ Select
Auto Focus
to reset the focus to the fiber end face.
— End —


