VGo User Guide
v1.4.1
© Copyright 2011 VGo Communications, Inc. All rights reserved.
Page 24
Taking a Snapshot
The remote user can take a still image hi-resolution photo at any time while using VGo.
At the bottom left of the video window, click on the
SnapShot
button
to immediately take a
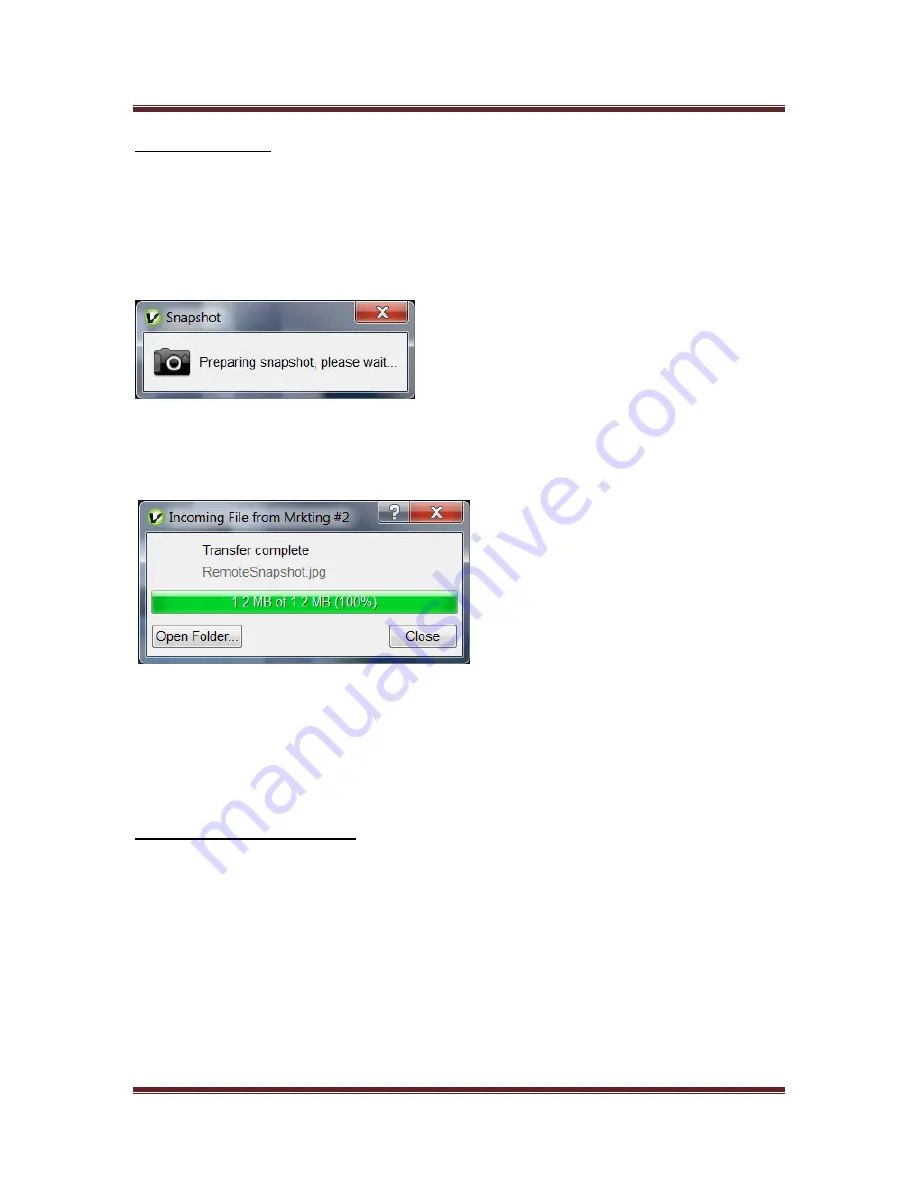
snapshot photo using VGo’s camera. While the VGo is processing the image you’ll see a pop up
message such as this:
The snapshot will then be automatically transferred to your PC and stored in a folder. A popup
window will inform you once the transfer starts. After transfer completion, you can view the
photo immediately. To do so, click on
Open Folder.
Photos are stored in a folder that is specified within
Settings
(bottom section of the
General
tab). The default folder is
VGo Files and Snapshots
and is located in your documents folder.
Snapshots will have a file name of RemoteSnapshot
xxx
.jpg (where x is a number that
increments with each successive snapshot). Snapshot photos remain in the folder until they are
moved or deleted by the user.
Using Auxiliary Camera Lights
A set of small LED lights surround the camera on the VGo. These lights are normally off. They
can be toggled on and off remotely. In normal lighting conditions, they will not show a
noticeable difference in the video picture. In very low light or dark rooms, these lights can
provide enough illumination to successfully drive around.
Click on the
Lights
button to toggle lights on and off (a little green light appears in the
button indicating the lights are on).
The lights will turn off automatically when you disconnect from the VGo.


