


Quick Start Guide of PRO-NVR-Smart
13
You must change this default password to better protect against security
risks, such as the unauthorized access by others to the product that may
prevent the product from functioning properly and/or lead to other
undesirable consequences. For changing the password, please refer to the
help file of the operating system for detailed configuration.
For your privacy, we strongly recommend changing the password to
something of your own choosing (using a minimum of 8 characters, including
upper case letters, lower case letters, numbers, and special characters) in
order to increase the security of your product.
Proper configuration of all passwords and other security settings is the
responsibility of the installer and/or end-user.
2. In the pop-up User Account Control dialog, click
Yes
to allow the Watchdog to run.
Network Parameters Settings
You need to properly set the network parameters before you can access the station via
network.
Before you start:
NVR should be properly connected to the network.
Steps:
1. Enter the Control Panel of the operating system. For how to access the control panel,
refer to the help file of the operating system.
If using Category view, find the Programs category, and click
View network
status and tasks
.
If using Small icons or Large icons view, select
Network and Sharing Center
.
2. Click the Ethernet with internet connection and click
Properties
in the pop-up
window.
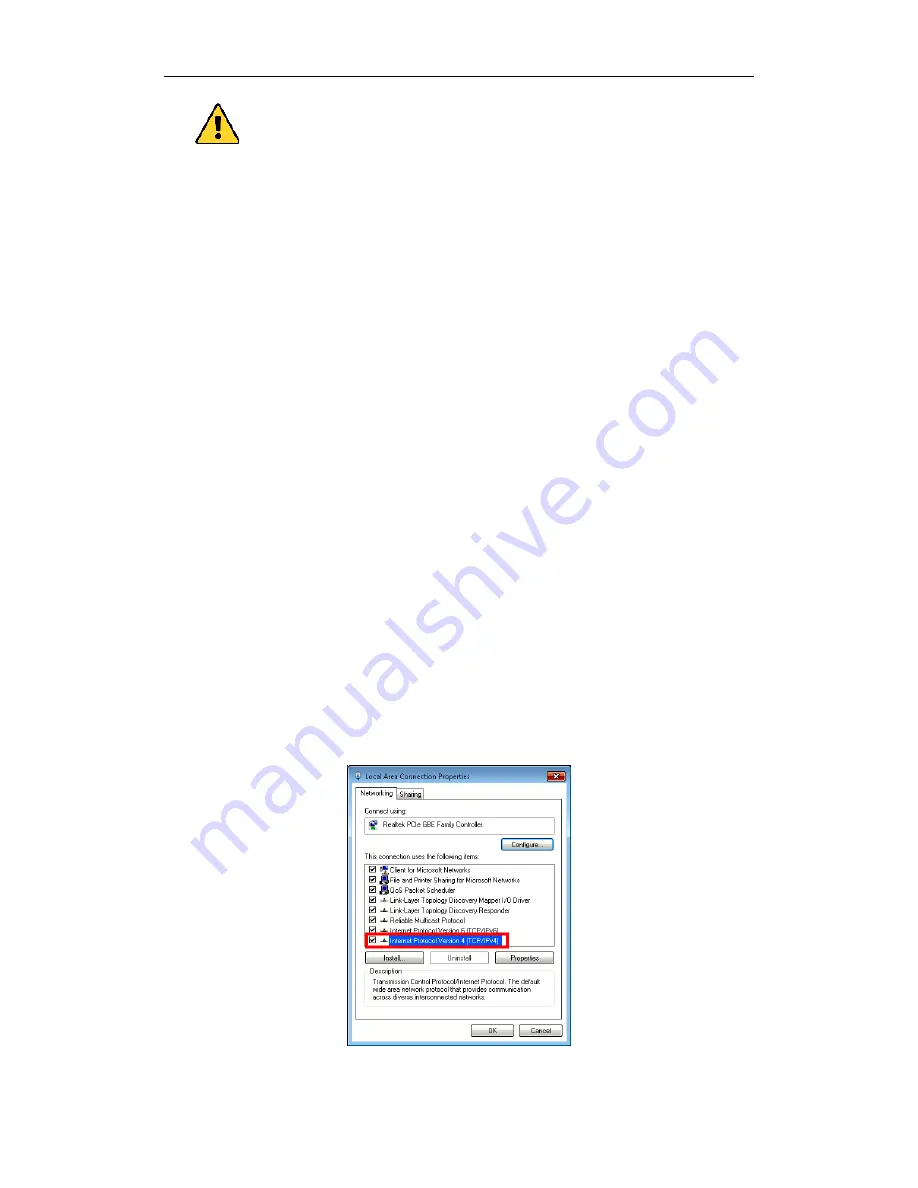
3. In the
This connection uses the following items:
field, double-click
Internet
Protocol Version 4 (TCP/IPv4)
.
4. In the pop-up window, set the network parameters.
Содержание PRO-NVR-Smart
Страница 1: ...Quick Start Guide...
Страница 30: ...Quick Start Guide of PRO NVR Smart 29...


