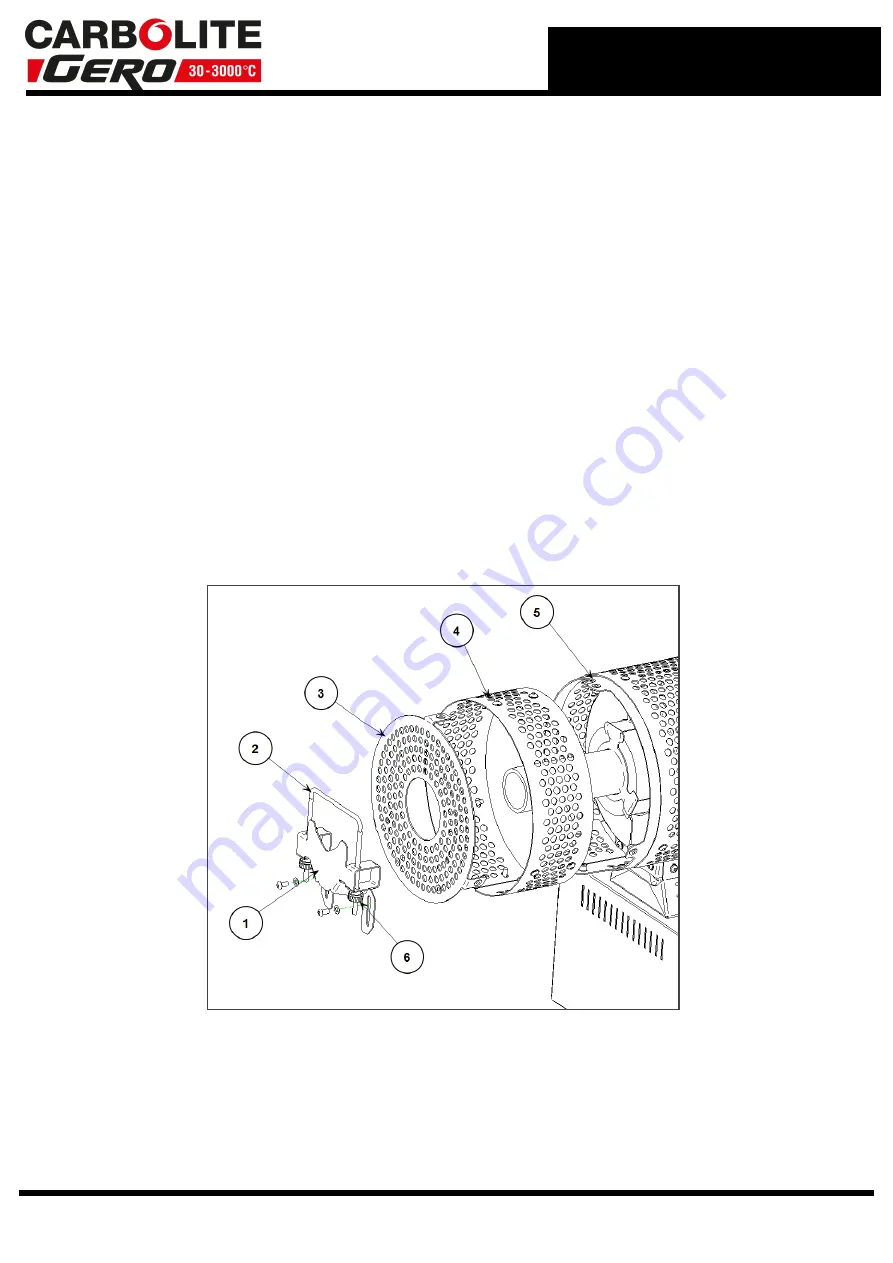
Fitting of the work tube is as follows with reference to Figure 2.3.2 to 2.3.8.
l
Before the extended work tube can be fitted, the work tube end stops for the stand-
ard length work tube (item 5 in figure 2.3.2 ) must be removed from both ends of
the furnace. This is done by removing the furnace end guard (8) and the work tube
adaptor brackets (4) to release the work tube end stop (5). The brackets should
then be refitted.
l
Fit the tube support bracket, (5), figure 2.3.4. Use the M6 button head screws and
washers supplied.
l
Fit the extended work tube guard, (4), figure 2.3.5. Use the M6 button head screws
and washers supplied.
l
Re-fit furnace end guard, (3), figure 2.3.6. Use the M6 button head screws and wash-
ers supplied.
l
If supplied, fit the optional tube end seal assembly as shown in figures 2.3.9. and
2.3.10.
Refer to manual MEN-ENDSEALS-01
for detailed fitting instructions.
l
Fit the tube support bracket, (1), figure 2.3.7. Use the M6 button head screws and
washers supplied.
l
Finally, fit tube support collar, (2) and secure figure tight using (6) until the tube is
secure to be used in a vertical arrangement. The fitting arrangement is shown in fig-
ure 2.3.8.
l
Figure 2.3.3 - shows an exploded view of all the required parts.
l
Figure 2.3.8 - shows the assembled parts as they would be used.
Figure 2.3.3
11
2.0 Installation
Содержание CARBOLITE GERO E Series
Страница 12: ...2 0 Installation Figure 2 3 4 Figure 2 3 5 Figure 2 3 6 Figure 2 3 7 Figure 2 3 8 12 ...
Страница 25: ...3 6 Navigation Diagram 25 3 0 2416 Controller ...
Страница 38: ...6 0 Operation than inert gases such as nitrogen 38 ...
Страница 52: ...11 0 Wiring Diagrams 11 3 WA 12 30 52 ...
Страница 59: ...Notes Service Record Engineer Name Date Record of Work ...


