21
The next screen allows you to assign any of the current users
13.
to your new group. When done with this form, press
Next
to
continue.
The next screen allows you to assign share access privileges for
14.
the new group. Each of the existing shares may be setup for no
access, read-only access, or full read/write access. When done
with this form, press
Complete
.
Add New Shared Folder
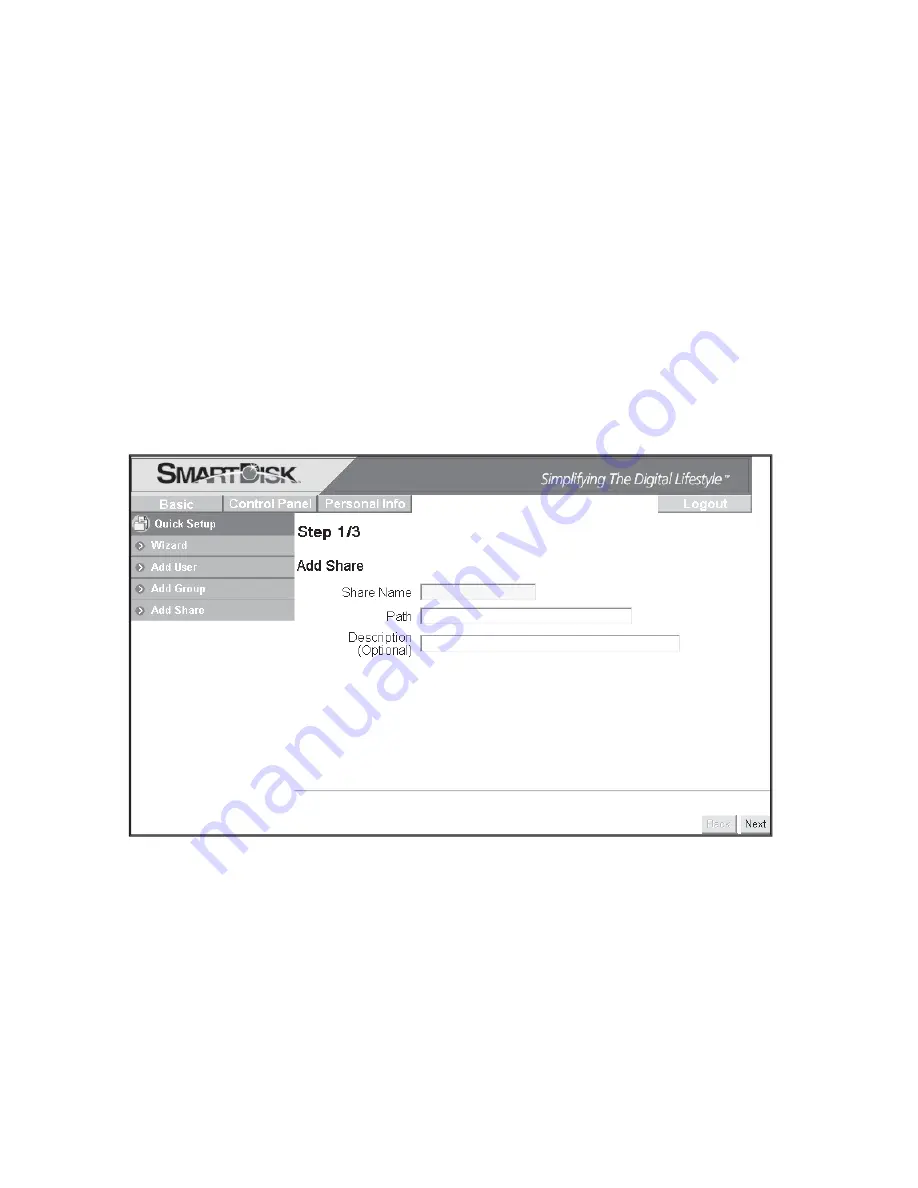
The fi nal procedure for Quick Setup allows you to optionally
15.
setup a new share. If you do not want to set up a share at this
time, you may exit the administrator as described in Step 18.
Begin share setup by selecting the
Quick Setup
/
Add Share
button.
Fill in the initial screen with a name for your new share. The
share name must be lower-case and may be a maximum of 20
alphanumeric characters, without spaces. The share name must
begin with an alphabetic character. After entering the name,
the path for the new share will automatically be displayed. A
description of this share may optionally be entered in the fi eld
provided. When done with this form, press
Next
to continue.
The next two screens allow you to assign access privileges for the
16.


