Chapter 1 — Getting Started
23
Software Installation
Changing or Uninstalling Vela System Software
To modify or remove Vela system software, go to the Windows Control Panel and
open the “Add/Remove Programs” application. Look for an entry containing the
phrase “Vela System Software” and click on it, then click on the “Change” button.
A versatile and helpful “Application Maintenance” window (Figure 1-15) will
appear. From this application you can choose to:
• Change which application features are installed. Basically, it displays the
Select Features screen, explained earlier, which configures individual
features and applications.
• Reinstall corrupt or missing files, Registry keys and shortcuts. Note that
preferences stored in the Registry may be set to default values.
• Completely uninstall and remove Vela system software. If this selection is
made, an uninstall screen will appear. Click Next on the window to uninstall
all Vela system software. Note that a checkbox allows you to keep the cur-
rent application database(s) you may have created for clips, playlists, etc.
Note that if the checkbox is cleared, all Vela-specific databases will be
deleted.
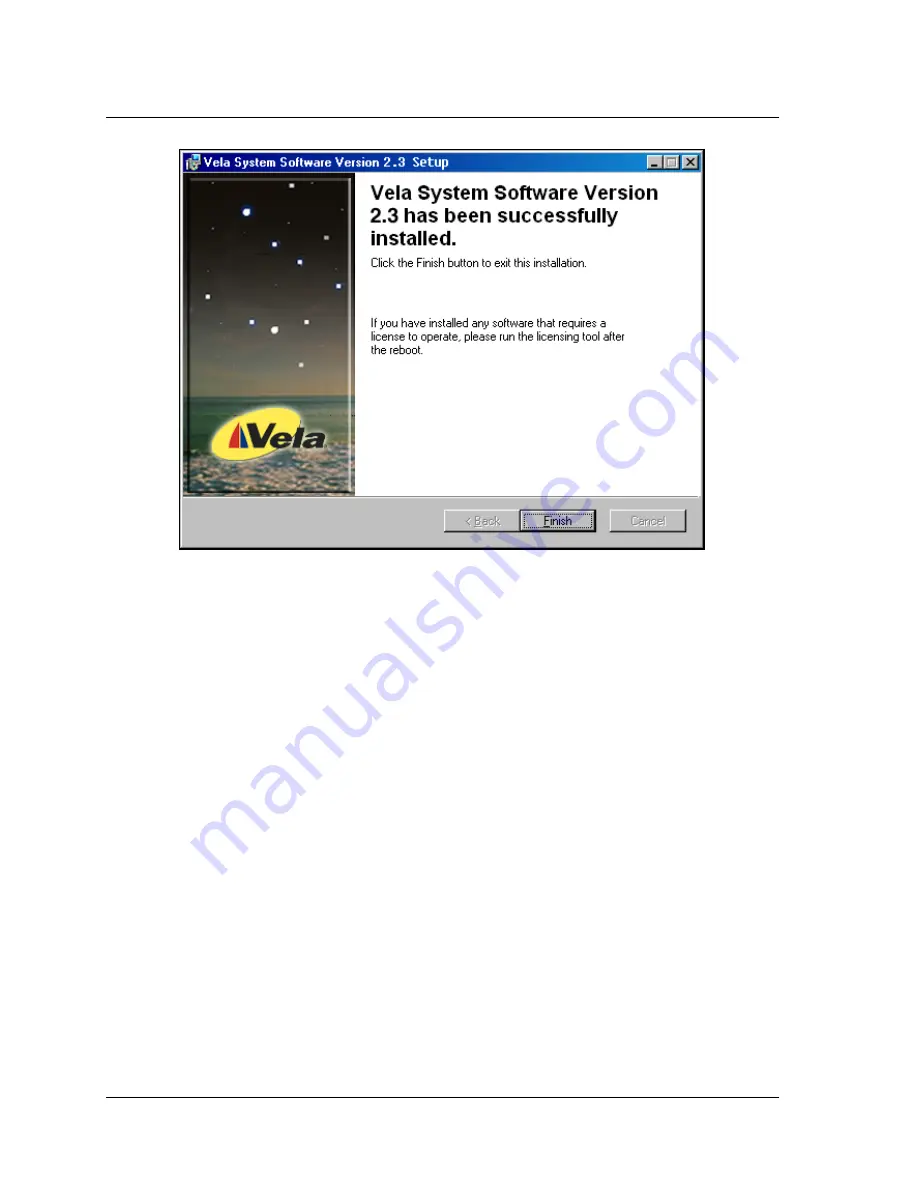
Figure 1-14 Installation Wizard Completion Screen


