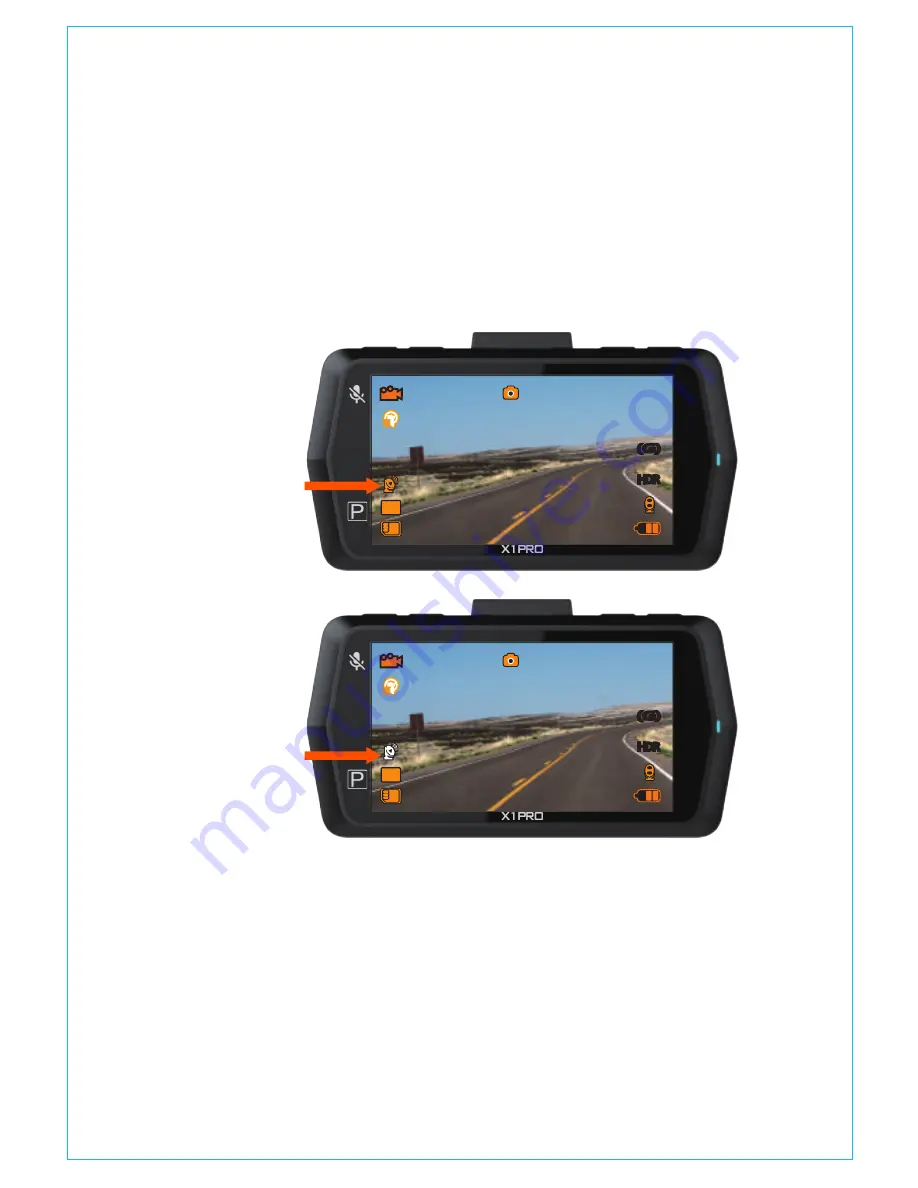
3. Once it gets charged, the camera turns on; and if it is has
microSD card inserted, it will start recording, press Confirm
button to stop recording first. Press MENU button to enter the
setup interface, go to “GPS Setup”>“GPS Setup” to turn on the
GPS function on the camera.
4. The GPS receiver starts to search and receive GPS signal, and
the GPS icon is gray on the screen. Once it gets GPS signal
=successfully, the icon will turn orange.
5. You can include GPS tracking and vehicle speed on the video
footage, go to “Record Setup”
>
“Stamp”>“GPS Location Stamp”
and “Speed Stamp” to set.
6.You can review recorded video using the VANTRUE GPS Viewer
(available for download on www.vantrue.net).
Press MENU and go to “Files”>“Normal”, “Files”>“Event” or “Files”>
4.11 Viewing video and photos
- 16 -
HDR
HDR
(G)
(G)
1440FHD
00:12:34
12:34:56
12/01/2017
5
5
5
5
+ 0
-
HDR
HDR
(G)
(G)
1440FHD
00:12:34
12:34:56
12/01/2017
5
5
5
5
+ 0
-
Содержание OnDash X1 PRO
Страница 1: ...User Manual OnDash X1 PRO Dash Cam ...


