


9
5.2 The introduction of each MODE
:
Setting Individual Mode:
Installation
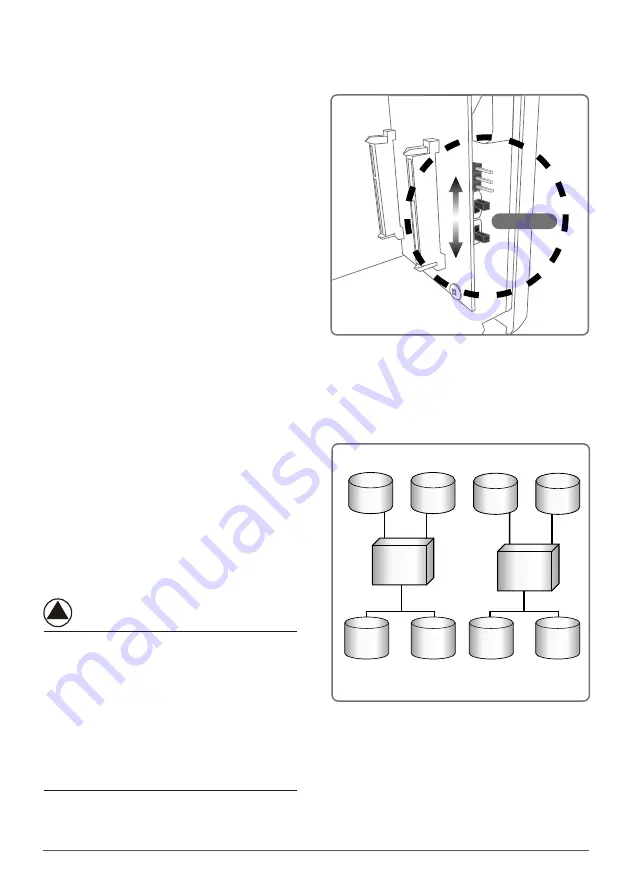
1. Adjust the switches as shown in Figure A.
Turn on the power and press the "adjusting
key" button. When the "Normal" on the
front panel is lit, Individual Mode is active
and complete.
In individual Mode, each hard disk is displayed as an
individual device.
Attention! If you use e-SATA please consult with the
manufacture of the motherboard or of the computer
and check if their product supports SATA Port
Multiplier.
There is no limit if you use USB interface.
NST-360MX
Port 0
Drive A
Drive B
Drive A
Drive B
Port 1
NST-360MX
Port 0
Port 1
Equal hard drives
Unequal hard drives
Volume A
Volume B
Volume A
Volume B
NOTE :
( Figure A )
( Figure A )
( Figure B )
( Figure B )
2. Please refer to 5.3
Adjusting key
Содержание NexStar-3 MX
Страница 1: ...JBOD RAID 3 5 SATA...
Страница 4: ...1 20 2 21 3 22 4 23 5 24 6 35 7 38 8 38 2...
Страница 22: ...20 1 3 3 5 SATA 3 3 5 SATA SATAI II JBOD 4TB RAID 3 3 5 SATA 3 5 SATA NST 360MX SR...
Страница 25: ...4 23 3 MX 3 5 SATA 1 2 JBOD RAID 0 RAID 1 USB 2 0 eSATA SATA...
Страница 26: ...5 5 1 24 3 3 5 SATA 1 3 MX 2 3 MX 3 SATA A A B B C C...
Страница 27: ...25 4 3 5 6 D D E E F F...
Страница 33: ...31 5 3 1 2 Individual Mode JBOD Mode...
Страница 34: ...32 RAID 0 Mode RAID 1 Mode...
Страница 35: ...33 3 G G H H I I 4 5 1...
Страница 36: ...34 6 7 8 NTFS 9 J J K K L L M M N N...


