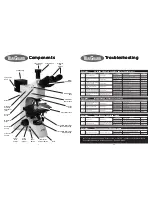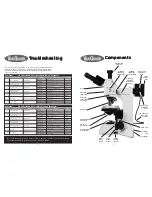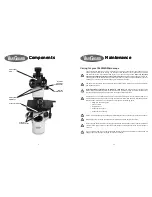
Components
Components
Components
Components
Components
7
Maintenance
Maintenance
Maintenance
Maintenance
Maintenance
22
1.
Remove the fuse holder from the rear of the microscope by using a slotted
screwdriver to push downward on the fuse comparment door slot while
prying outward (figure 60).
2.
Remove the fuse from the fuse holder (figure 61).
3.
If the fuse is blown replace by inserting a new fuse into the fuse holder.
4.
Push the fuse holder back into the fuse holder slot until fully seated.
Replacing the Fuse
Before attempting to replace or remove the fuse,
UNPLUG THE MICROSCOPE FROM ANY POWER
SOURCE.
!
Replacement Fuse
- 3A 250V (Cat. No. 1400-FS5)
If the microscope is plugged in but the illuminator is not turning on, the fuse
could be blown. The instructions below detail how to check for a blown fuse.
You can usually tell a blown fuse by if the wire inside is broken, or the glass is
blackened. Sometimes there will be no visible indication though and it will be
necessary to check the fuse with a conductivity meter or to replace it with a
new fuse.
For information about parts, accessories, or service -- contact your dealer directly
or contact VanGuard Microscopes at 1-800-423-8842.
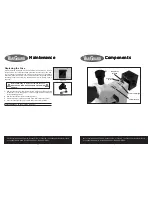
Figure 60
Figure 61
Colored Filter
Wheel
Field Diaphragm
Lamp Housing
Set Screw
For information about parts, accessories, or service -- contact your dealer directly
or contact VanGuard Microscopes at 1-800-423-8842.
Aperture Diaphragm


