background image

7

© Vallox Oy - All rights reserved

The

 Change mode

 button changes the ventilation mode or 

the operating status used.
The

 Mode information

 button allows you to view the 

currently active mode information.
The 

Temperature

 button displays temperature and sensor 

information.
The 

Settings

 button opens the settings menu.

The 

Back

 button takes you backwards in the menu.

The

 Left arrow

 button takes you leftward in the menu.

The

 Right arrow

 button takes you rightward in the menu.

The 

OK

 button accepts the selected option.

Press the

 Cancel

 button to cancel selection.

Press the 

Select

 button to select the desired option.

The

 Edit

 button allows you to edit settings.

The

 Plus

 button allows you to:

•  Increase the value of the selected setting.
•  Move to the next menu item.
•  Move from a one-day view to a week view in the 

temperature, relative humidity of air, carbon dioxide or 

VOC level graphs.

The

 Minus

 button allows you to: 

•  Reduce the value of the selected setting.
•  Return to the previous menu item.
•  Move from a week view to a one-day view in the 

temperature, relative humidity of air, carbon dioxide or 

VOC level graphs.

The

 Up arrow 

button takes you upward in the menu.

The

 Down arrow 

button takes you downwards in the menu.

The

 Statistics

 button opens the temperature, relative 

humidity of air, carbon dioxide or VOC level graphs (1 day or 

1 week).
This icon indicates when the feature is turned off at your 

user level.

 BUTTON   DESCRIPTION 

CONTROL PANEL BUTTONS

NOTE

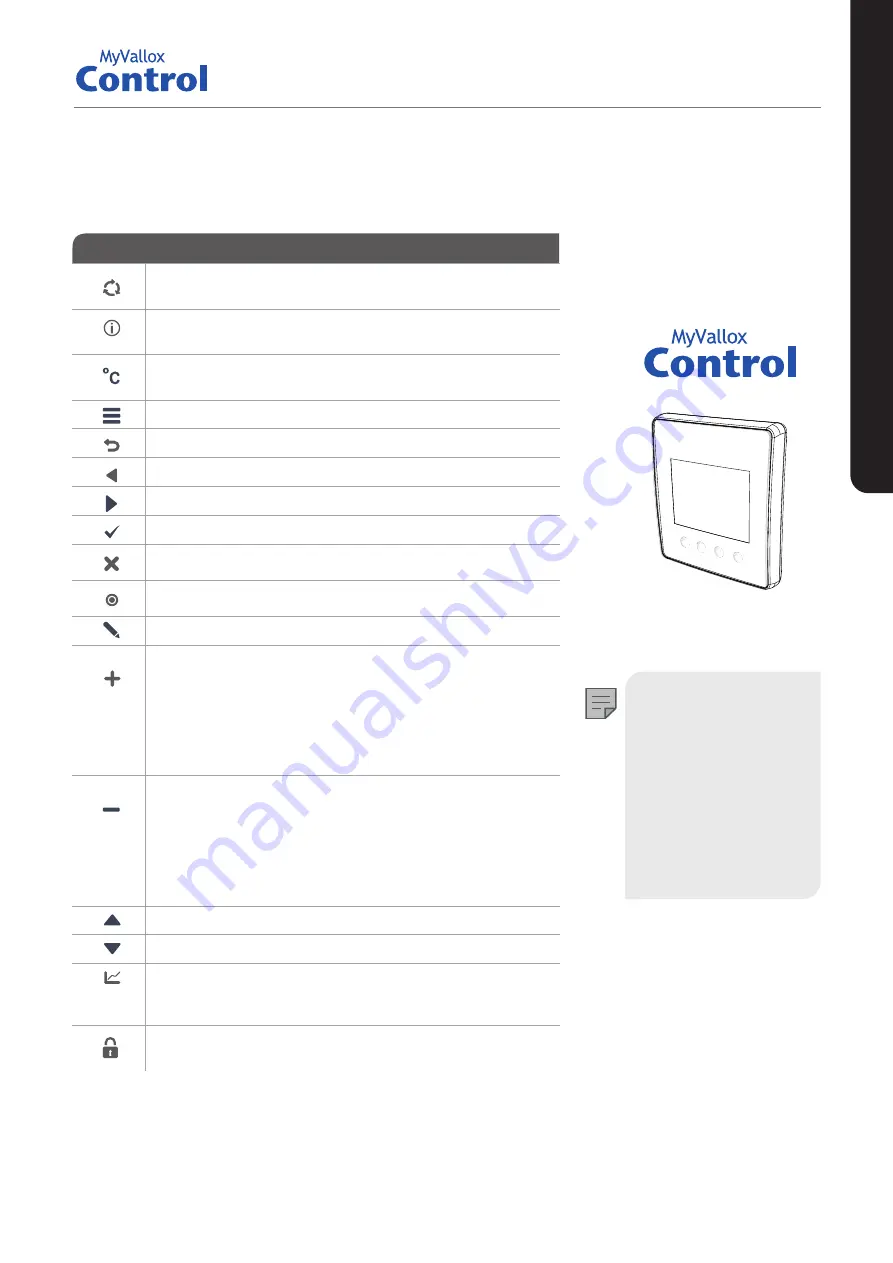
The MyVallox Control 

panel contains the 

buttons described in 

the following table. You 

can press the graphical 

user interface buttons 

by using the buttons 

below the control panel. 

The control panel 

does not have a touch 

screen.


INTRODUCTION

Содержание MyVallox Control

Страница 1: ...Manual Model MyVallox Control Document D5311 Valid from 04 02 2020 Updated 31 03 2020 Control panel MANUAL ...

Страница 2: ...ireplace mode information 17 Editing the ventilation mode settings 17 Timer functions of the Fireplace and Boost modes 17 Temperatures and sensors 18 Viewing temperature data 18 Viewing temperature statistics 18 Viewing the relative humidity of air and the carbon dioxide and VOC levels measured by the sensors 19 The relative humidity of air and carbon dioxide and VOC level statistics 19 Settings 2...

Страница 3: ...ns concerning transportation installation use or maintenance Structural or electronic modifications or changes made to the software INTENDED USE All Vallox ventilation units have been designed to provide appropriate and continuous ventilation so as to present no threat to health and to maintain structures in good condition IMPORTANT In order to ensure that the indoor air presents no harm to health...

Страница 4: ...TIBILITY OF THE MYVALLOX CONTROL PANEL The control panel is compatible with the following ventilation units MODELS TYPE Vallox TSK Multi 50 MV ValloMulti 200 MV EH ValloMulti 200 MV Vallox TSK Multi 80 MV ValloMulti 300 MV EH ValloMulti 300 MV ValloMulti 300 MV EHX 3609 A3609 3609 1 A3609 1 3608 A3608 B3608 3608 1 A3608 1 B 3608 1 3608 2 A3608 2 B3608 2 EH post heating EHX post heating and additio...

Страница 5: ... or Modbus messages In addition to the integrated carbon dioxide and humidity sensors ventilation can also be adjusted automatically by using the optional external carbon dioxide VOC and humidity sensors When these are used ventilation remains optimal even when the dwelling is unoccupied Each user can use the week clock to adjust the ventilation to fit their individual lifestyle SYSTEM DESCRIPTION...

Страница 6: ...allox Cloud service opens A unique identification number of the ventilation unit will be automatically generated into the field 7 Enter the following information on the form Ventilation unit name Enter the ventilation unit name of your choice in this field Language Select the desired language from the drop down menu Country Select the desired country from the drop down menu Select username Enter t...

Страница 7: ... next menu item Move from a one day view to a week view in the temperature relative humidity of air carbon dioxide or VOC level graphs The Minus button allows you to Reduce the value of the selected setting Return to the previous menu item Move from a week view to a one day view in the temperature relative humidity of air carbon dioxide or VOC level graphs The Up arrow button takes you upward in t...

Страница 8: ...te Do not alter the file name you have downloaded at the root of the control panel the control panel will be displayed on your computer as a mass memory or a removable disk drive When the file has uploaded onto the control panel remove the USB cable Next the control panel will take a while to load the update The control panel will now start to load the update file onto the motherboard This can tak...

Страница 9: ...e the Plus and Minus buttons to set the hours 2 Select Right arrow 3 Use the Plus and Minus buttons to set the minutes 4 The time is now set 5 Proceed to the next phase by selecting Right arrow Set the 24 or 12 hour clock The 24 hour clock is used by default To use the 12 hour clock 1 Select Down arrow The 24 Hour time setting value is changed to Off 2 Proceed to the next phase by selecting Right ...

Страница 10: ...tilation unit information and modify some of its settings Limited The user can change the ventilation mode and view the ventilation unit information For more information on user levels see Chapter User level diagrams 1 Use the Arrow buttons to set the user level 2 The user level is now set Proceed to the next phase by selecting Right arrow Lock code NOTE The default lock code is 0000 i e the lock ...

Страница 11: ... carry out extra defrosting cycles in sub zero temperatures thus making adjustment of the air flows more complicated Check the air flows by measuring them at the valves and fine tune the percentage values as required NOTE If the outdoor air is extremely cold below 10 C on an aluminium cell or below 3 C on a plastic cell the ventilation unit may have to defrost the heat recovery cell If this happen...

Страница 12: ... to the structures of the building 4 Use the Plus and Minus buttons to set the extract air fan ratio as a percentage of the maximum output ratio The fan speed rpm will change accordingly Measure and adjust the extract air flows from the valves 5 Select OK Supply and extract air flow settings are now complete 6 Record the set percentages in the measurement log Do not change the output ratio between...

Страница 13: ...rmal Droplet and two shaded bars The relative humidity of air is slightly higher than normal Ventilation efficiency needs to be boosted When the automatic fan speed control based on the relative humidity of the air is turned on ventilation is boosted automatically Droplet and three shaded bars The relative humidity of air is significantly higher than normal The fan speed will be automatically incr...

Страница 14: ...Arrow buttons to turn the automatic fan speed control based on relative humidity of air on or off 8 The automatic fan speed control based on the relative humidity of air is now set 9 Proceed to the next phase by selecting Right arrow 10 Use the Arrow buttons to turn the automatic fan speed control based on carbon dioxide or VOC level on or off 11 The automatic fan speed control based on the carbon...

Страница 15: ... speed control based on carbon dioxide or VOC level on or off 15 The automatic fan speed control based on the carbon dioxide or VOC level is now set 16 Move to the settings of the next mode by selecting OK Fireplace mode 1 Use the Arrow buttons to select whether the mode timer function is used or not The options are On When the timer is in use The Fireplace mode is only used for the period specifi...

Страница 16: ...d its set value in brackets if the supply air is warmer than the set value Outdoor air Indicates the outdoor temperature USING THE UNIT 10 Use the Plus and Minus buttons to set the extract air fan speed of the Fireplace mode as a percentage of the maximum output ratio 11 The extract air fan speed of the Fireplace mode is now set 12 Select OK IMPORTANT The timer function of the fireplace mode can b...

Страница 17: ...ensors If a VOC sensor has been installed it indicates the VOC level Replace filters Indicates the next recommended filter replacement date Time in operation Indicates how long the device has been running Browsing the Fireplace mode information 1 Open the main display of the fireplace mode 2 Select Mode information 3 The information display shows the following information Duration Indicates the du...

Страница 18: ...tes the temperature of the air flowing outdoors from the unit TIP The temperature and sensor data can also be viewed by pressing the temperature button on the mode display Viewing temperature statistics 1 Select Settings Temperatures and sensors 2 Select OK 3 Select Statistics 4 A graph appears on the display showing the indoor air temperature over the past 24 hours 5 Use the Plus and Minus button...

Страница 19: ...or the carbon dioxide or VOC levels 1 Select Statistics next to the sensor group you wish to view 2 A graph opens on the display showing the relative humidity of air or the carbon dioxide or VOC levels recorded over the past 24 hours by the sensor with the highest values 3 Use the Plus and Minus buttons to alternate between weekly and daily statistics 4 To exit the menu press the Back button NOTE ...

Страница 20: ...intenance section After replacing the filters enter the replacement date 1 Select Settings Filters 2 Select OK 3 Select Edit 4 Select OK if you want to update the filters as having been replaced today NOTE Based on the set reminder interval the unit will automatically set the service to provide a reminder to replace the filters at the due time Setting the Filter replacement reminder interval 1 Sel...

Страница 21: ...ect OK 3 Use the Plus and Minus buttons to set the Sleep time 4 Select OK TIP The MyVallox Control panel automatically switches to the sleep mode when the pre set Sleep time has elapsed To reactivate the MyVallox Control panel press any button Adjusting the display brightness 1 Select Settings Display settings 2 Select OK 3 Select Right arrow 4 Use the Plus and Minus buttons to set the display bri...

Страница 22: ...minutes 6 Select OK Selecting the 24 or 12 hour clock The 24 hour clock is used by default To use the 12 hour clock 1 Select Settings Time and date 2 Select OK 3 Select Right arrow 4 Select Down arrow The 24 Hour setting value is changed to Off 5 Select OK Automatic daylight saving time By default automatic daylight saving time is turned on To use the manual daylight saving time setting 1 Select S...

Страница 23: ...he mode manually when the week clock is on the selected mode will remain active until the week clock switches to the next mode in the program If ventilation is being controlled by the humidity carbon dioxide or VOC sensors they will adjust the fan speed regardless of whether a mode has been manually selected or selected by the week clock Setting and editing the weekly program 1 Select Settings Wee...

Страница 24: ...kly program settings 1 Select Settings Week clock on or Week clock off 2 Select Remove all settings 3 Select OK to accept deletion of the weekly program The weekly program has now been deleted Example of setting a weekly program In this example the following weekly program has been set Mon Fri 8 17 Away Mon Fri 17 7 At home Sat 8 17 At home Sat 18 20 At home with a ventilation boost needed for coo...

Страница 25: ...res It also reduces the risk of moisture damage TIP To re start the ventilation unit press any key The figures above show the aforementioned settings in the week clock USING THE UNIT To set the week clock proceed as follows 1 Open the week clock 2 Select Monday and input the following settings 3 For 08 00 select the Away mode 4 For 17 00 select the At home mode 5 Then input the corresponding setti...

Страница 26: ...ge Supply air temperature The supply air temperature is too high The operation of the post and additional heating resistor must be checked Contact the service centre Error message Bus fault Problems with the data transfer bus Ensure that the control panel and any external sensors are connected correctly and are functioning properly The ventilation unit is not working the control panel is not worki...

Страница 27: ...it Edit Edit Edit Edit Edit Next reminder Unit information HR cell defrost Save and restore settings Control settings Basic fan settings I O and bus settings Lock code and access rights Defrost settings Relay settings Input settings Panel address Modbus settings Turn unit on Setup Away At home Boost Fireplace mode Menu Away information At home information Boost information Fireplace information Se...

Страница 28: ...D5311 04 02 2020FIN 05 02 2020ENG PDF www vallox com Vallox Oy Myllykyläntie 9 11 32200 LOIMAA FINLAND Customer service 358 10 7732 200 Aftersales 358 10 7732 270 Vallox Oy All rights reserved ...

Отзывы: