4
5
Assembly and installation 81389
Assembly and installation 81552
The length of the overflow pipe can be adjusted by pulling apart or pushing together
the inner and outer overflow pipes.
Should you need to reduce the length even more, pull the outer overflow out of the
collet, cut both the outer overflow pipe and the inner overflow pipe to the required
length, remove any burrs and reassembly.
Ensure all calculations are correct before cutting pipes.
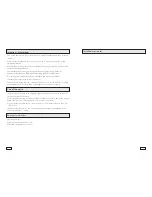
Remove the blanking plug(s) from the overflow assembly. Using PTFE tape fit the inlet
elbow(s).
Push the rubber seal onto the overflow/waste assembly, and from the outside push
the shaft through the bath overflow hole and hold in place.
Slide the overflow housing onto the waste assembly and push up until it meets the
bath, make sure that the slots for filling and overflow are on the underside. Secure
using the retaining nut and tighten (do not over tighten as this may damage the parts
and/or the bath).
Push the handle onto the assembly, with the small lever at the 12 o’clock position,
secure the handle using the grub screw in the underside and tighten with the
supplied allen key, push on the screw cover.
Connect to the supply pipework.
Overflow/waste
assembly
Retaining nut
Rubber seal
Overflow
housing
Handle
Inlet elbow
Screw cover
Inlet elbow
Cable to pop
up waste
Inner overflow pipe
Outer overflow pipe
Collet
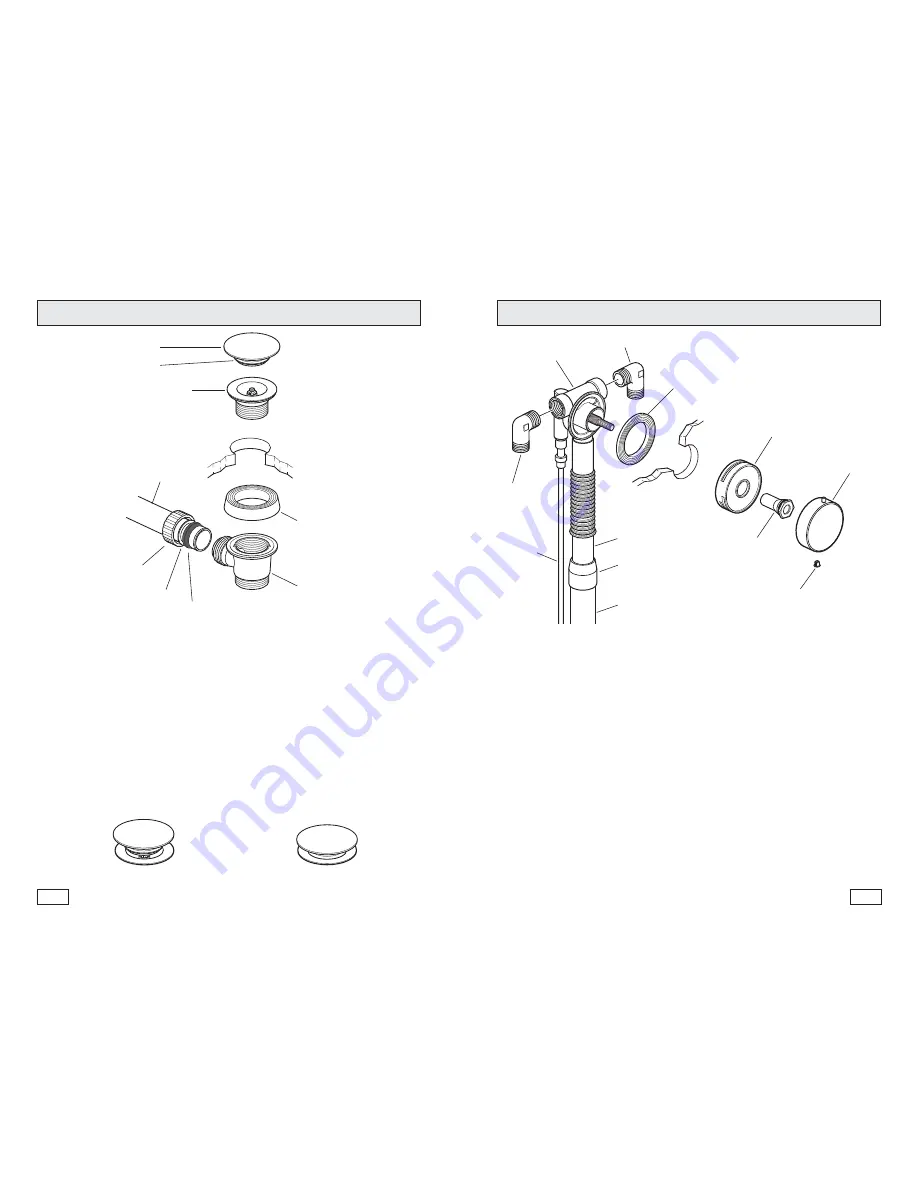
Push the seal onto the waste assembly
From below push the assembly up under the hole in the bath, and hold in place.
From inside the bath screw the waste flange into the assembly and tighten by hand,
(do not over tighten as this may damage the parts and/or the bath).
Slide the compression nut, washer and seal over the pipe, push the pipe fully into the
waste assembly, slide along the seal and washer and finally screw on the nut, hand
tight only.
Screw on the plug.
Decreasing the pipe length.
The pipe can be shortened by carefully cutting, removing any burrs.
Ensure all calculations are correct before cutting the pipe.
Finish by following the above procedure.
Operation
Plug
Seal
Seal
Compression
nut
Washer
Seal
Overflow/waste
assembly
Overflow pipe
Waste flange
with seal
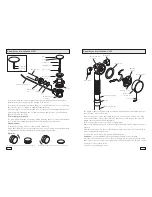
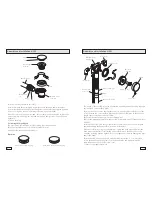
Push down again to close the plug.
Push down to open the plug.


