page 18 of 63
Documents are only to be used and distributed completely and unchanged. It is strictly the users´ responsibility to check carefully
the validity of this document with respect to his product. Manual-no.: 999188 / 19/05/2009
Max. permitted pressure at the pressure transducer: 1.5 bar
(absolute).
☞
The display flashes at a pressure higher than 1080 mbar.
Release pressure immediately.
Risk of bursting!
☞
Inside a vacuum system where evaporation occurs (e.g.
rotary evaporator) the vacuum is not uniform, e. g. a con-
denser acts as pump or the vacuum in the pipeline is lower
than in the system. Therefore carefully choose position
where to connect an
external gauge head
(if applicable).
☞
Condensate and deposits in the pressure transducer affect the measuring result.
☞
Clean pressure transducer if necessary, see section “maintenance“.
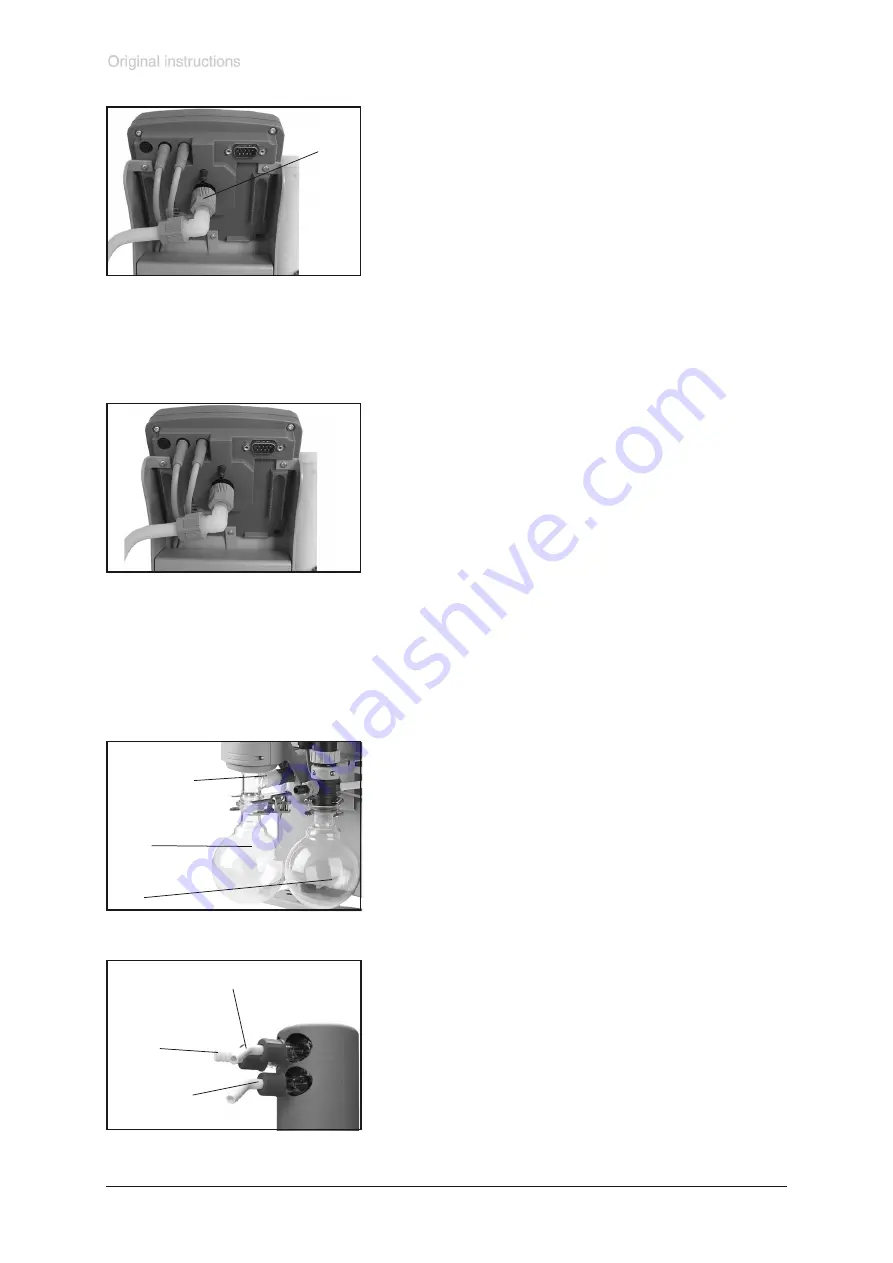
Connection of components at the controller
At the rear side of the controller are connections for coolant
valve and/or external pressure transducer and/or external
venting valve, a venting connection and a serial interface RS
232C.
- Insert cable of components into the controller. Do not cant
when assembling or removing plug connections!
outlet
(gas!; hose nozzle
10 mm)
Separator at the inlet and exhaust waste vapour condenser
Round bottom flasks:
The catchpot at the inlet prevents droplets and particles from
entering the pump.
☞
Lifetimes of diaphragms and valves are enhanced.
☞
Improves vacuum in case of condensation.
Both round bottom flasks are coated with a protective layer to
prevent disintegration in case of breakage or implosion.
➨
Assemble the catchpots at the inlet and at the outlet using
joint clips.
Exhaust waste vapour condenser:
➨
Assemble hose nozzles for coolant inlet and coolant outlet
pipelines at the exhaust waste vapour condenser.
The
exhaust waste vapour condenser
enables an efficient
condensation of the pumped vapours at the outlet.
☞
No backflow of condensates.
☞
Controlled recovery of condensates.
☞
Next to 100% solvent recovery.
☞
The isolation cover protects against glass splinters in case
of breaking, acts as thermal isolation to avoid condensa-
tion of humidity and is intended to absorb shocks.
coolant outlet
(hose nozzle 6-8 mm)
coolant inlet
(hose nozzle 6-8 mm)
overpressure
safety relief
device
catchpot at the
outlet
catchpot at the
inlet
Assembling the hose nozzle with union nut at the inlet:
➨
Take the hose nozzle with attached compression ferrule and union nut out of the
round bottom flask and put onto inlet connection.
➨
Tighten the union nut by hand until you can feel the stop. Then tighten an addi-
tional 1/4 rotation with an open-ended wrench size 17 for final installation.


