


Содержание FC2107-UK Series
Страница 2: ......
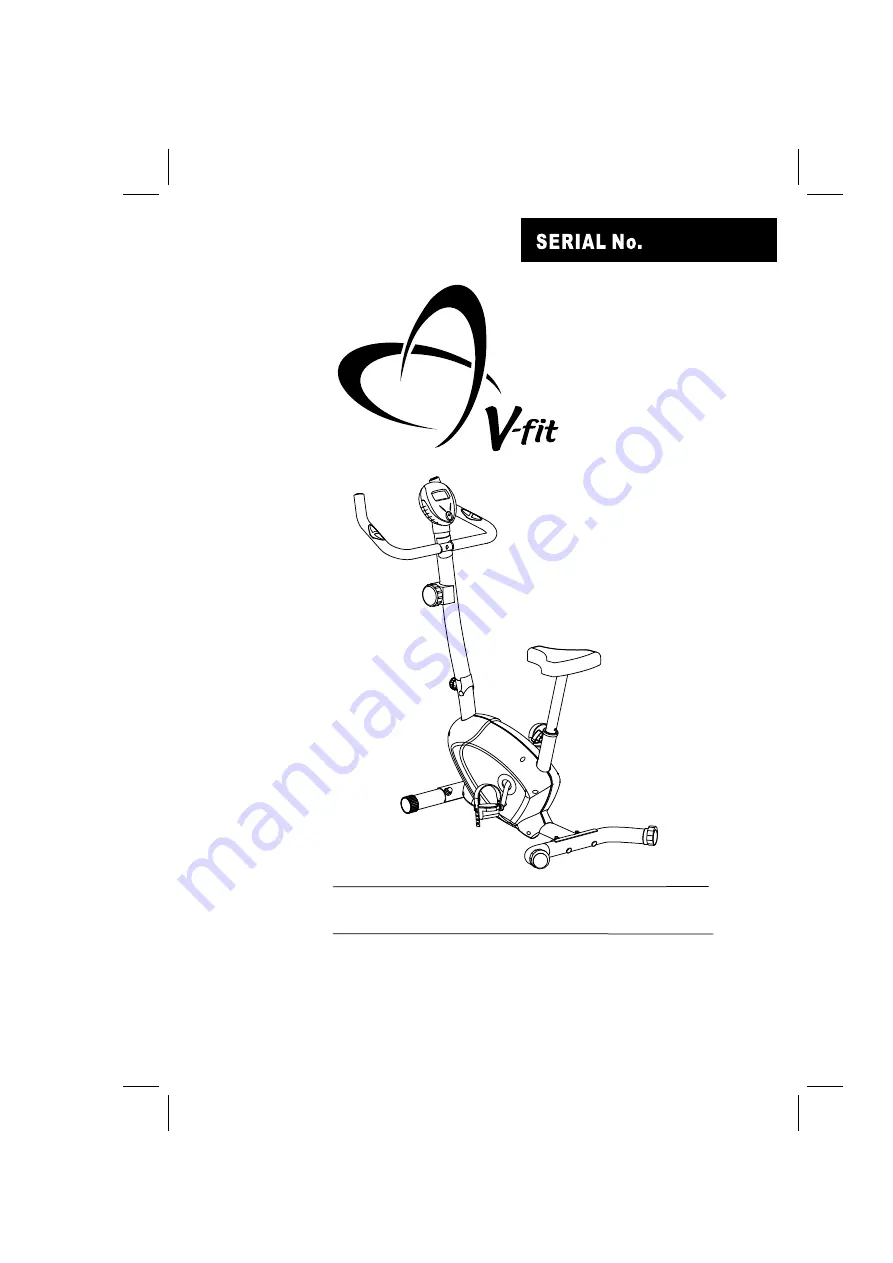
Серия "V-fit FC2107-UK" - это надежные тренажеры для домашнего использования. Скачайте бесплатное руководство по сборке и использованию на manualshive.com. Научитесь правильно настраивать и использовать упражнения для достижения ваших фитнес-целей.
Страница 2: ......


