


8
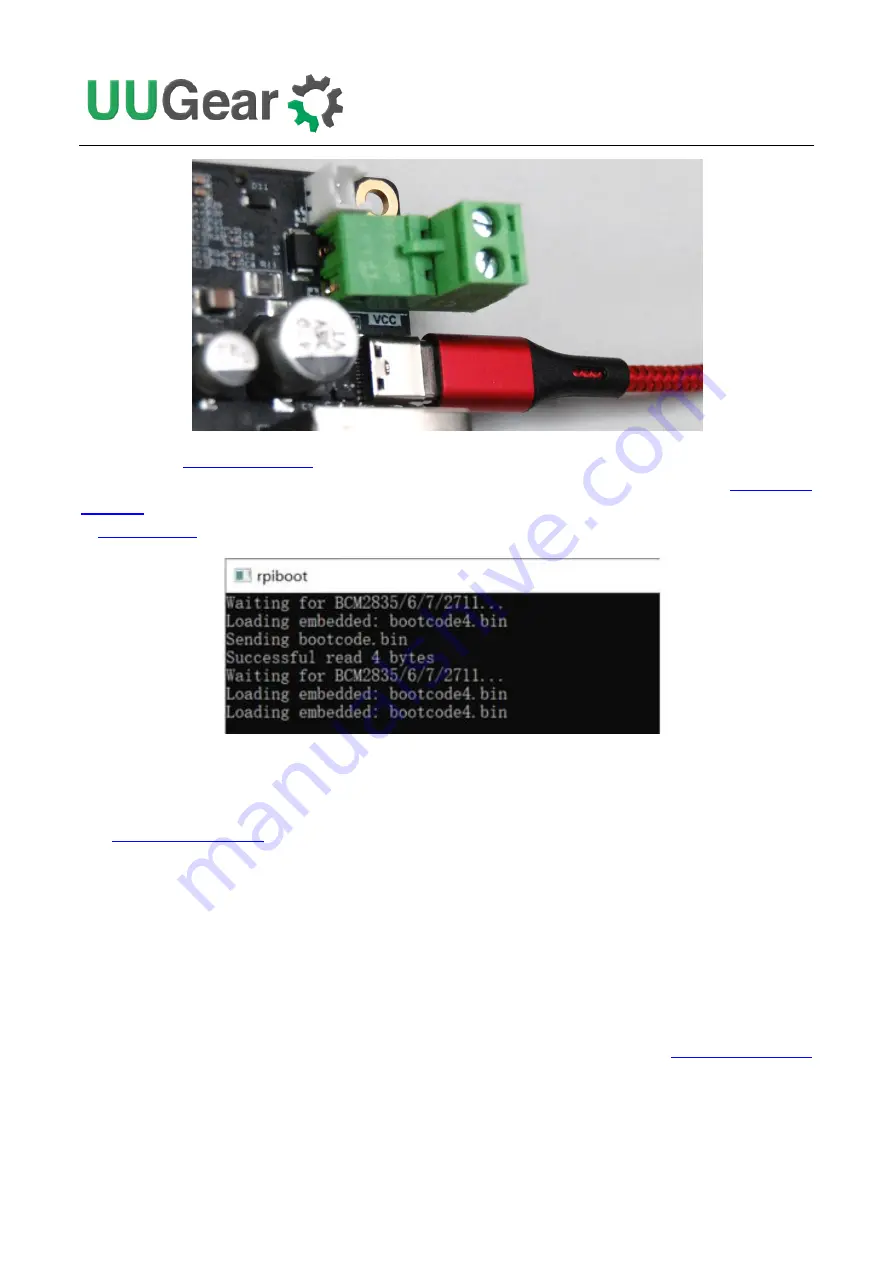
to turn the Raspberry Pi device into a USB Mass Storage Device. If
your computer is running Windows, you can download and run the "rpiboot_setup.exe" in
to install the usbboot tool. If you are using Mac OS X or Linux, please follow the instructions
in
file to build the tool and then run it.
You will then see a drive with label "boot" appear in your computer. The next step is to flash the OS
disk image into this drive. You can achieve this with different kinds of tools. For example, you can use
Win32DiskImager under Windows, or use "dd" command under Mac OS X or Linux. You can also
After flashing the OS disk image into the "boot" drive, please don't forget to remove the jumper cap
from the "Disable eMMC Boot" jumper, so that your PiGear Nano now works as a standalone
computer system.
5.2 For Raspberry Pi CM4 Lite (without eMMC)
If you are using Raspberry Pi Compute Module 4 Lite, which does not come with eMMC, you can
flash the OS image into an SD card. This procedure has no difference than installing the OS into SD
card for other models of Raspberry Pi. If it is something new to you, you can read
from the Raspberry Pi documentation.
Содержание PiGear Nano
Страница 5: ...2...


