


9
3. Installation
3.1 Unpacking and inspection
1) Unpack the packaging and check the package contents. The shipping
package contains:
●
A UPS
●
A user manual
●
A communication cable
2) Inspect the appearance of the UPS to see if there is any damage during
transportation. Do not turn on the unit and notify the carrier and dealer
immediately if there is any damage or lacking of some parts.
3.2 Input and output power wiring and protective earth
ground
installation
3.2.1 Notes for installation
1) The UPS must be installed in a location with good ventilation, far away
from water, inflammable gas and corrosive agents.
2) The UPS should not be tilted. The air inlet port at the lower part of the
front panel and the fan outlet port on the rear panel should not be
blocked so as to ensure good ventilation (Allow at least 0.5m of space on
each side).
3) In case if the UPS is unpacked, installed and used at very low
temperatures, condensation of water drops may appear. It is necessary
to wait until the UPS is fully dried inside out before proceeding to
installation and use. Otherwise, there may be a risk of electric shock.
3.2.2 Installation
Installation and wiring must be performed in accordance with the local
electric code and the following instructions by professional personnel. For
safety, please cut off the mains power breaker before installation. The
battery breaker also needs to be cut off if it is a long backup time model.
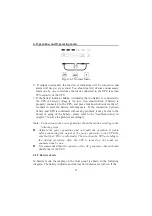
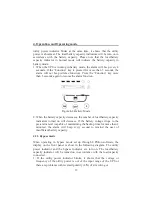
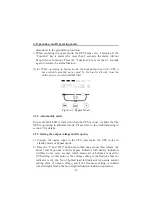
1) Open the terminal block cover located on the rear panel of the UPS
(please refer to the appearance diagram).
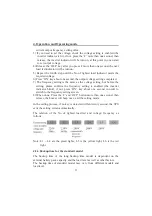
2) For 6K(L) UPS, it is recommended to select the UL1015 10AWG (6mm
2
)
wire or other insulated wire which complies with AWG Standard for
the UPS input and output wirings.
Содержание Queen Star Series
Страница 1: ...USERMANUAL Queen StarSeriesOnline UPS 6K 20KVA ...
Страница 5: ...4 BACK VIEW OF 6K 1 Brief introduction BACK VIEW OF 6KL BACK VIEW OF 10K ...
Страница 6: ...5 1 Brief introduction BACK VIEW OF 10KL BACK VIEW OF 31 10KL ...
Страница 15: ...14 3 Installation ...
Страница 16: ...15 3 Installation ...


