Unisight Digital Technologies
Channel List: Using the Channel List you can select the desired channel by left-clicking
on the channel name. You can configure different settings for each individual channel or
apply them to multiple channels using the
Copy To
button.
Video Scheme: You can configure up to three different video schemes and apply them
at different times using the Schedule tab. 10 levels of Compression are available. 1 is the
most compression which will give you the smallest file size but with lower video quality. You
can set the Frame Rate from 1fps to 30fps. The higher the frame rate, the smoother the
video. You can also choose to encode the video using VBR by enabling the VBR Enabled
check box. VBR is Variable Bit Rate. During low motion situations the bit rate will decrease
creating a smaller file size. There are four different resolutions available to record: QCIF –
176x144, CIF – 352x240, DCIF – 528x360, 2CIF – 704x240. The Video and Video/Audio
radio buttons set the audio recording mode – either video recording only or video recording
with associated audio channels. The Change On Alarm feature allows a separate Video
Scheme to be used during an alarm condition. Use the
Setup
button next to the Change On
Alarm check box to configure the video settings. Compress Trans, if enabled, allows you to
set a different video quality for all the client connections by using the
Setup
button next to the
Compress Trans check box. This allows you to raise or lower the client video quality to adjust
the bandwidth usage for varying network speeds.
Others: The Disk Group drop down box selects which Disk Group each video channel
records to. The Signal Lost Alert will write a log entry when a video feed is disconnected from
the DVR when enabled. The Show Preview check box will toggle the Live Video Preview on
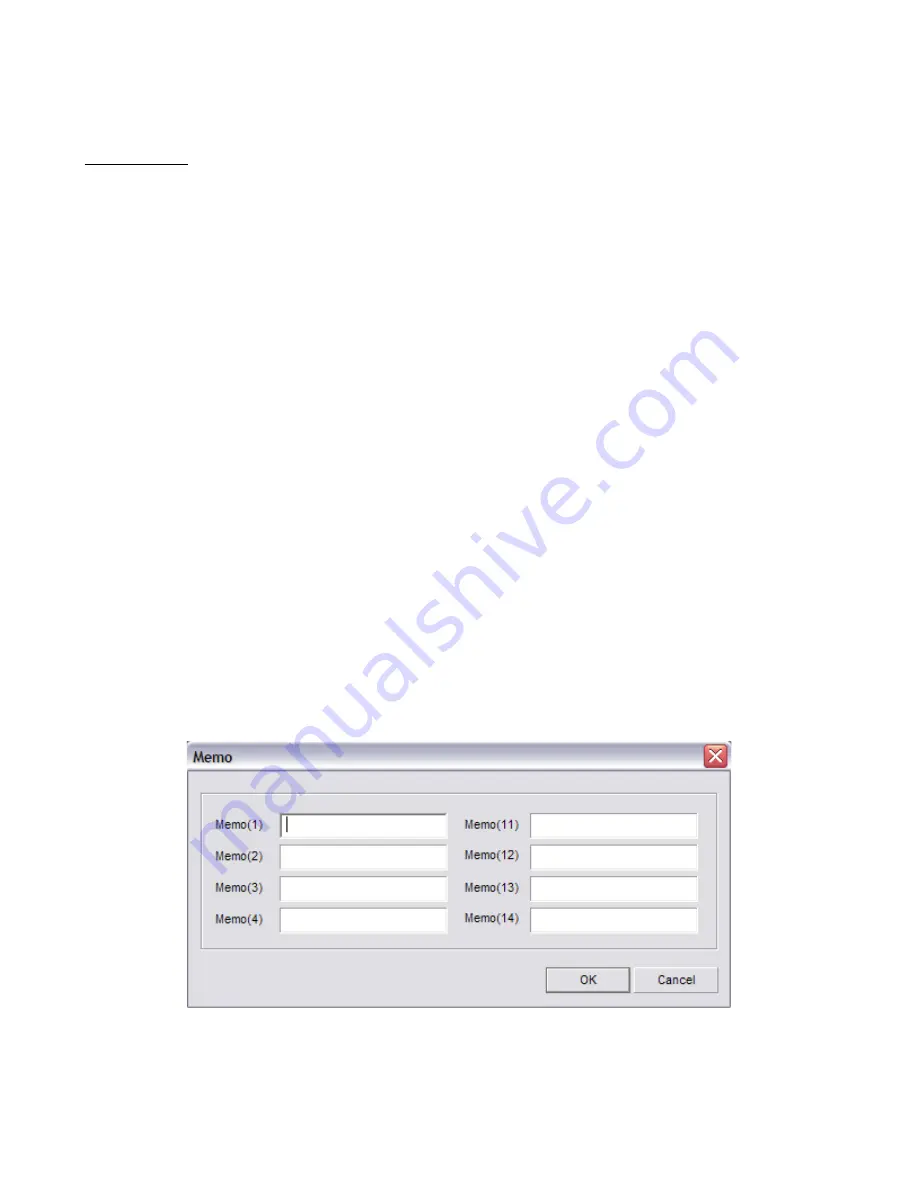
the main DVR screen. The Memo feature allows an additional description for the video
channel to be input when the
Manual Record
button is pressed. (Fig. 2-1) The Allow
Network Access check box toggles the ability for remote clients to connect to that video
channel. The OSD Position will allow you to move the On Screen Display based on X and Y
coordinates. X is the horizontal position, Y is the vertical position.
(Fig. 2-1)
11
Содержание TZHC Series
Страница 1: ...Unisight Digital Technologies Unisight DVR Manual TZHC Series Server 1...
Страница 17: ...Unisight Digital Technologies Fig 2 8 Fig 2 9 Fig 2 10 17...
Страница 36: ...Unisight Digital Technologies Fig 3 4 Fig 3 5 36...
Страница 49: ...Unisight Digital Technologies Fig 5 10 Fig 5 11 49...


