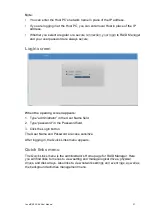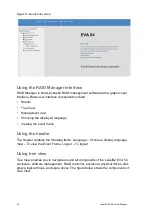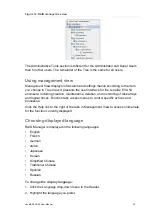
LenelS2 EVA 54 User Manual
21
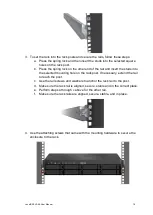
3. Pull the cover straight back to remove. Be careful not to drop the cover.
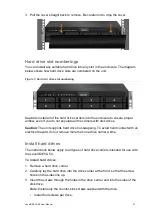
Hard drive slot numberings
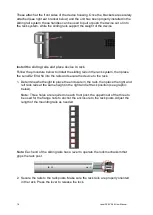
You can install any suitable hard drive into any slot in the enclosure. The diagram
below shows how hard drive slots are numbered on the unit.
Figure 7: Unit hard d
rive slot numbering
Caution:
Install all of the hard drive carriers into the enclosure to ensure proper
airflow, even if you do not populate all the carriers with disk drives.
Caution
: The unit supports hard drive hot-swapping. To avoid hand contact with an
electrical hazard, do not remove more than one drive carrier a time.
Install hard drives
The instructions below apply to all types of hard drive carriers intended for use with
the LenelS2 EVA 54.
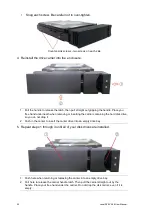
To install hard drives:
1. Remove a hard drive carrier.
2. Carefully lay the hard drive into the drive carrier at the front, so that the screw
holes on the sides line up.
3. Insert the screws through the holes in the drive carrier and into the sides of the
disk drive.
Note:
Install only the counter-sink screws supplied with the drive.
• Install four screws per drive.

