Digital Video Network Surveillance System
Unisight Digital Technologies, Inc
14
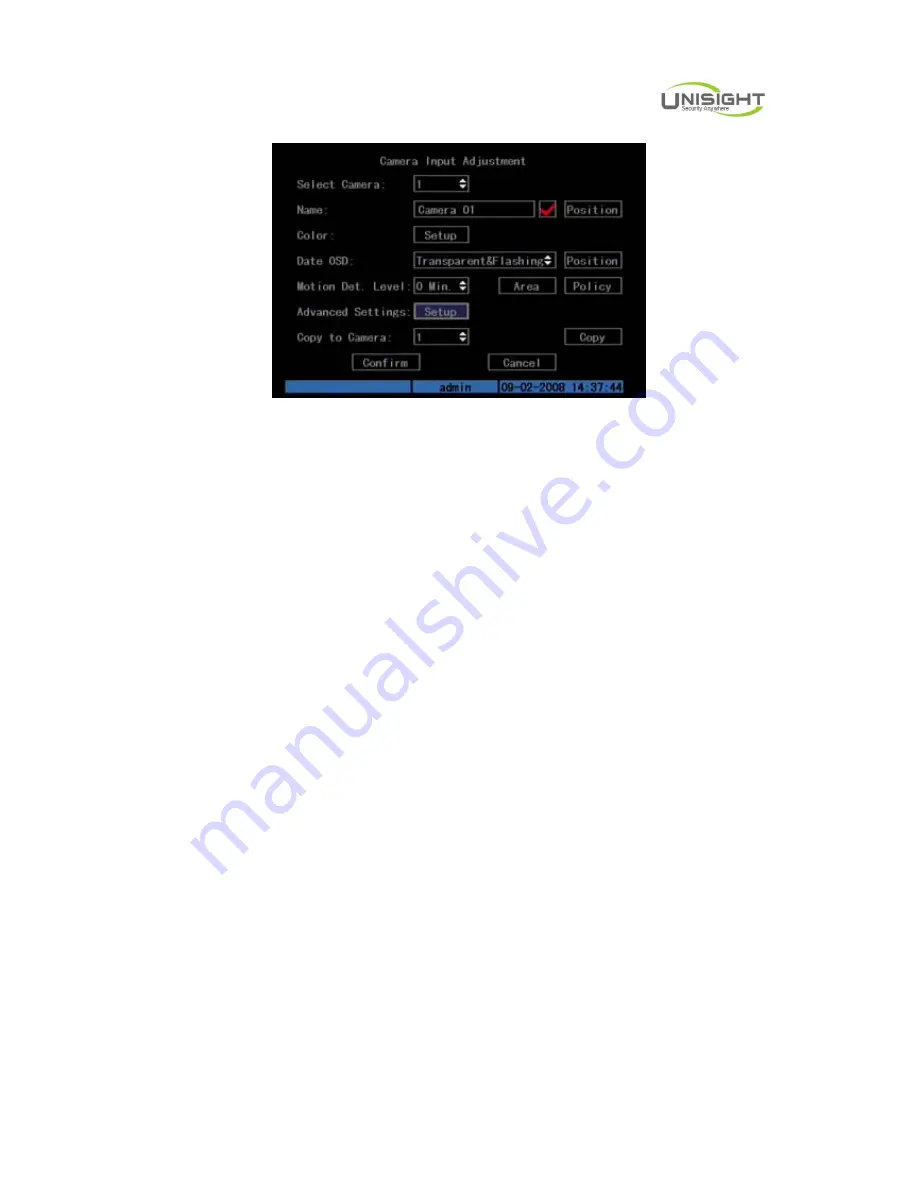
Fig. 3.4 Camera input adjustment
Each menu contains different kinds of items. There is a small rectangular frame
named “Active Frame” which is pointing to the selected item. This “Active Frame”
can be moved by direction keys (
[
↑
][
↓
][
←
][
→
])
. There are several kinds of menu items
as follows:
1.
Check Box: Provides two options, “
9
” means enable and “×” means
disable. You can use [ENTER] or [EDIT] key to switch over.
2.
List Box: Provide more than 2 options. Only one of them can be selected.
After pressing [EDIT] you can use [
↑
] and [
↓
] to select one option. For
example, on the right side of “Select Camera”, there is a list box for you to
select one camera.
3.
Edit Box: This is for you to input characters. Press[EDIT]key to enter the
edit status, you can input text there:
a)
Press[A]key to select number, upper case, lower case or symbols;
b)
Use
[
→
]
and
[
←
]
keys to move cursor;
c)
Use[EDIT]key to delete the character in front of cursor;
d)
Press [ENTER] to save & [ESC] to exit without saving.
4.
Button: Trigger a special function or enter the next sub-menu. For
example, press “Policy” button to enter the sub-menu. Press [Confirm] to
save parameters and return to main menu. Press [Cancel] button to cancel
and return to main menu. The button in grey means it can be operated only
after being enabled.
How to exit menu
Press [PREV] key to exit menu and return to preview mode.


