13
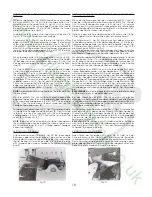
MOUNTING AND SETTING THE PRESSER FOOT
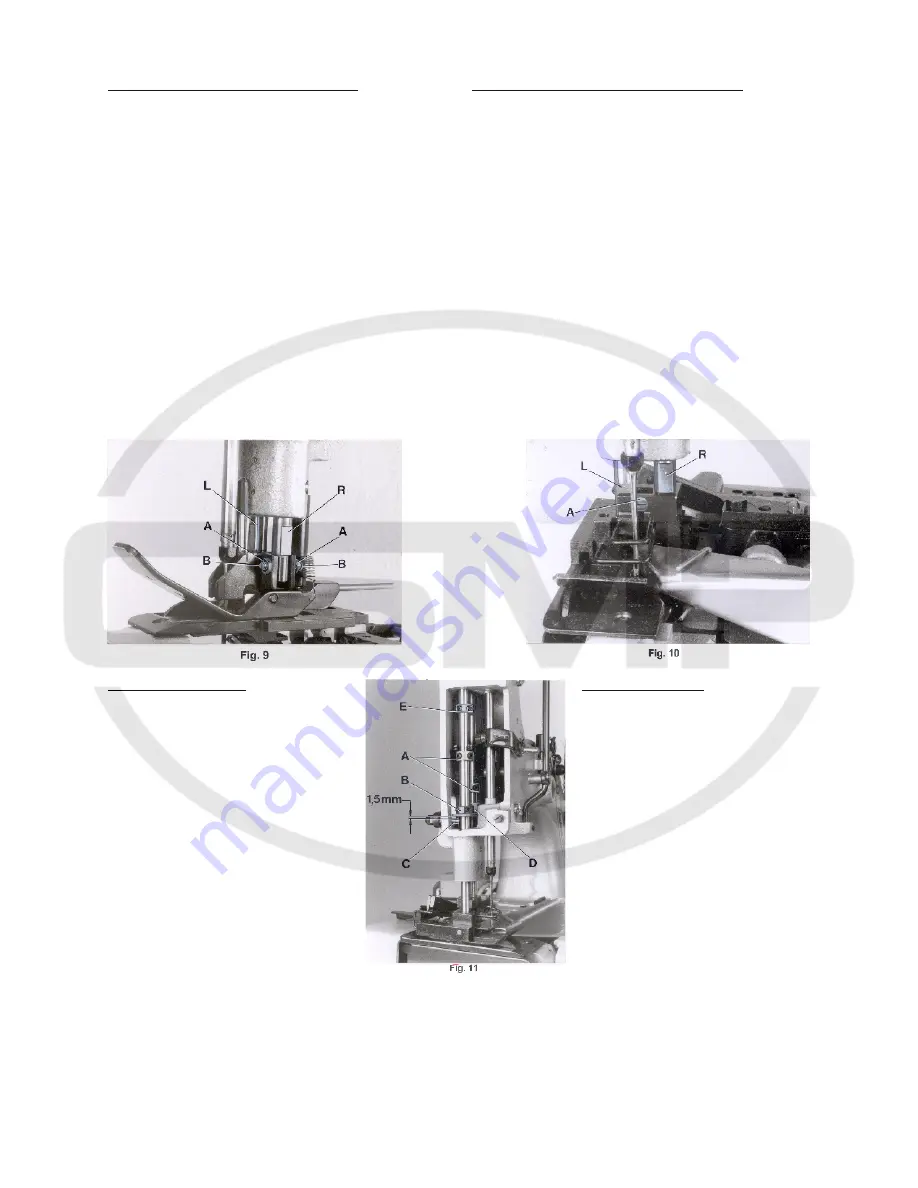
Remove the needle and rotate the pulley until the feed
dog is below the throat plate. Depress the presser foot lifter
lever and insert the presser foot in the two presser bars (L
and R, Fig. 9). The right presser bar (R) should only engage
with its pivot in the groove of the presser foot shank.
Loosen the two lock nuts (A, Fig. 9) and align with the two
set screws (B) the needle slot in the presser foot with the
needle slot in the throat plate. Secure this setting with the
two lock nuts (A). Note: The two set screws (A) should just
contact the pivot of the right presser bar (R) but not be
tightened. Now tighten the two set screws left in the presser
foot shank on the left presser bar. Insert the needle.
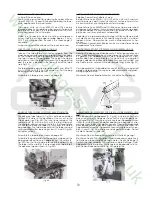
Styles 80800TL, TAL, U, UA, UL and UAL have a two-piece
presser foot. Insert the right presser foot part on the pivot
of the right presser bar (R, Fig. 10) and align the flats on
the left presser bar (L, Fig. 10) to the guide fork of the presser
foot shank. The flats on the left presser bar should slide freely
in the fork, this can be adjusted with screw (A). Secure this
setting with the lock nut. Now insert the left presser foot
part on the pivot of the left presser bar (L) and align it with
needle slot and feeler slot to the throat plate. Tighten set
screws in both presser foot shanks.
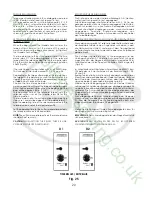
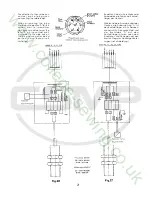
PRESSER FOOT PRESSURE
Rotate the pulley until the feed dog is
below the throat plate. Remove the face
cover left on machine arm and turn out
the T-screw (H, Fig. 12) on the top of the
machine arm, until it does not excert any
pressure on the leaf springs. In this position,
the pressure excerted on the presser foot,
should be just strong enough to keep it flat
on the throat plate. By relocating the
collars (A, Fig. 11), which serve as a leaf
spring rest, on the left and right presser bar,
the pressure can be changed. Raising the
collars increases the pressure, lowering the
collars decreases the pressure.
On styles 80800TL and TAL the collar for the
leaf springs on the right presser bar is
pressed up slightly more when setting, than
the collar on the left presser bar, so that
the pressure excerted on the right presser
foot part is slightly higher than the pressure
on the left presser foot part.
Set the presser bar lifter collar (B, Fig. 11) on the left presser
bar so, that there is a distance of approx. 1.5 mm (1/16")
between lifter lever stud (C) and lower surface of the lifter
collar (B), when the presser foot rests on the throat plate
(see Fig. 11). Set the collar (D) on the right presser bar close
to the fork of the presser bar lifter collar (C) on the left
presser bar.
EINSETZEN UND EINSTELLEN DES DRÜCKERFUSSES
Entfernen Sie die Nadel und drehen Sie an der Riemenscheibe
bis der Transporteur unter der Stichplatte steht. Drücken Sie den
Drückerfuß-Lifterhebel und setzen sie den Drückerfuß in die bei-
den Drückerfußstangen (L und R, Fig. 9) ein. Die rechte Drücker-
fußstange (R) darf nur mit dem Zapfen in die Nut der Drückerfuß-
nabe eingreifen.
Lösen Sie die beiden Kontermuttern (A, Fig. 9) und richten Sie mit
den beiden Gewindestiften (B) das Stichloch im Drückerfuß zum
Stichloch der Stichplatte aus. Sichern Sie diese Einstellung mit den
beiden Kontermuttern (A). Beachten Sie: Die beiden Gewinde-
stifte (A) sollen am Zapfen der rechten Drückerfußstange (R) ge-
rade anliegen aber nicht drücken. Ziehen Sie jetzt die beiden
Gewindestifte links in der Drückerfußnabe auf der linken Drücker-
fußstange an. Setzen Sie die Nadel wieder ein.
Die Maschinen 80800TL, TAL, U, UA, UL, and UAL haben einen zwei-
teiligen Drückerfuß. Schieben Sie das rechte Drückerfußteil auf
den Zapfen der rechten Drückerfußstange (L, Fig. 10) und rich-
ten Sie die Flächen auf der linken Drückerfußstange (L, Fig. 10)
nach der Führungsgabel der Drückerfußnabe aus. Die Flächen
der linken Drückerfußstange müssen in der Gabel leicht gleiten
können, dies kann mit der Schraube (A) eingestellt werden.
Sichern Sie die Einstellung mit der Kontermutter. Nun schieben
Sie das linke Drückerfußteil auf den Zapfen der linken Drücker-
fußstange (L) und richten es mit Stichloch und Tasterschlitz zur
Stichplatte aus. Ziehen Sie die Gewindestifte in beiden Drücker-
fußnaben an.
DRÜCKERFUSSDRUCK
Drehen Sie an der Riemenscheibe bis der
Transporteur unter der Stichplatte steht.
Entfernen Sie den Stirndeckel links am
Maschinenarm und drehen Sie die
Knebelschraube (H, Fig. 12) oben auf dem
Maschinenarm soweit heraus, daß sie nicht
mehr auf die Blattfedern drückt. In dieser
Stellung soll der Druck auf den Drückerfuß
gerade noch so stark sein, daß er auf der
Stichplatte aufliegt. Durch Verstellen der als
Blattfederauflage dienenden Stellringe (A,
Fig. 11)auf der linken und rechten Drücker-
fußstange kann der Druck verändert werden.
Verstellen der Stellringe nach oben verstärkt,
verstellen nach unten verringert den Druck.
Bei den Maschinen 80800TL und TAL wird der
Stellring für die Blattfedern auf der rechten
Drückerfußstange beim Einstellen etwas mehr
nach oben gedrückt als der Stellring auf der
linken Drückerfußstange, so daß auf dem
rechten Drückerfußteil ein etwas größerer
Druck als auf dem linken Drückerfußteil ist.
Stellen Sie den Drückerfußstangen-Lifterstellring (B, Fig. 11) auf
der linken Drückerfußstange so ein, daß zwischen Lifterhebel-
bolzen (C) und Unterseite Stellring (B) ein Abstand von etwa 1,5
mm ist, wenn der Drückerfuß auf der Stichplatte aufliegt (siehe
Fig. 11). Stellen Sie den Stellring (D) auf der rechten Drückerfuß-
stange so, daß er an der Gabel des Drückerfußstangen-Lif-
terstellrings (B) auf der linken Drückerfußstange anliegt.
www.college-sewing.co.uk
Содержание 80800R
Страница 24: ...24 w w w c o l l e g e s e w i n g c o u k ...
Страница 26: ...26 w w w c o l l e g e s e w i n g c o u k ...
Страница 28: ...28 w w w c o l l e g e s e w i n g c o u k ...
Страница 30: ...30 w w w c o l l e g e s e w i n g c o u k ...
Страница 32: ...32 w w w c o l l e g e s e w i n g c o u k ...
Страница 34: ...34 Loctite 262 CE66 w w w c o l l e g e s e w i n g c o u k ...
Страница 36: ...36 w w w c o l l e g e s e w i n g c o u k ...
Страница 38: ...38 w w w c o l l e g e s e w i n g c o u k ...
Страница 40: ...40 w w w c o l l e g e s e w i n g c o u k ...
Страница 42: ...42 w w w c o l l e g e s e w i n g c o u k ...
Страница 44: ...44 w w w c o l l e g e s e w i n g c o u k ...
Страница 46: ...46 w w w c o l l e g e s e w i n g c o u k ...
Страница 48: ...48 w w w c o l l e g e s e w i n g c o u k ...
Страница 50: ...50 w w w c o l l e g e s e w i n g c o u k ...
Страница 52: ...52 w w w c o l l e g e s e w i n g c o u k ...
Страница 54: ...54 w w w c o l l e g e s e w i n g c o u k ...
Страница 59: ...59 NOTES NOTIZEN w w w c o l l e g e s e w i n g c o u k ...
Страница 60: ...w w w c o l l e g e s e w i n g c o u k ...


