unigreen
15
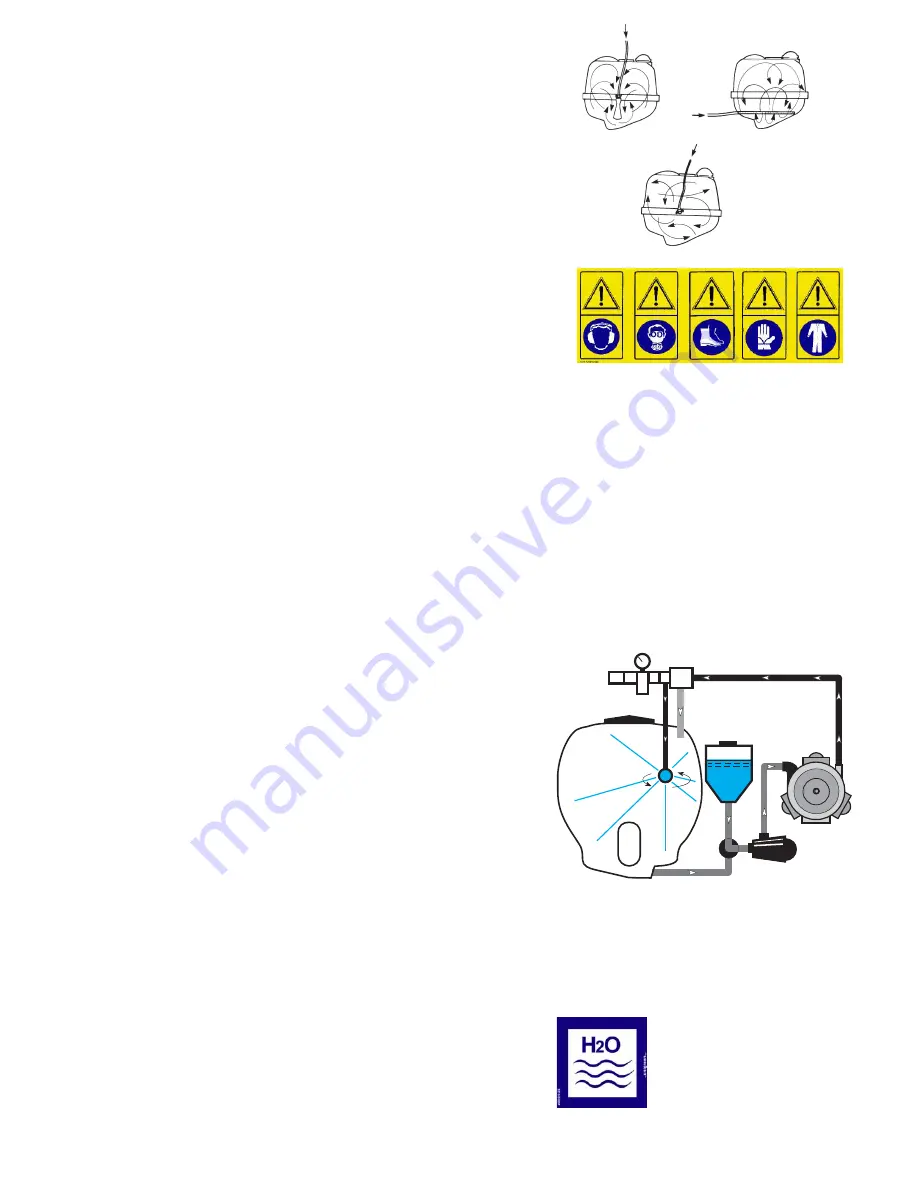
FIG. 13
FIG. 14
FIG. 15
a)
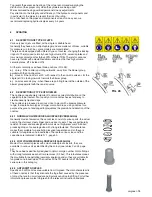
high-pressure machines from 30 to 60 bar (FIG. N° 13): run the stirrer (or
ejector) for roughly 10-15 minutes at the maximum pressure available
b)
low pressure machines, max 20 bar
=
with a drilled pipe on the drain, run the pump at roughly 540 RPM with the
pressure regulator on drain for at least 10-15 minutes. (FIG. N° 14)
=
with the stirrer on a delivery, run the pump supplying the stirrer (or ejector)
at the maximum pressure available for at least 10-15 minutes. (FIG. N° 13)
Some models
with very small tanks aren’t equipped with mixers, you should
use the drain of the pressure regulator: run the pump at roughly 540 RPM with
the pressure regulator in the drain position for at least 10-15 minutes. (FIG. N°
15)
4.12.1 MANUAL PREMIXING
Dilute the active principle by hand before introducing it into the tank, (you
must wear suitable protective clothing such as rubber gloves, a mask or
goggles, overalls, etc.).
4.12.2 PREMIXER ON COVER (OPTIONAL):
Open the cover and pour all of the chemical powder into the filter, close the
cover and open the supply tap until all of the powder has dissolved.
4.13 WASHING THE ATOMISER
After every treatment, thoroughly clean the equipment, washing it with water
inside and out. Dirty equipment is very dangerous for people and in particular
for children.
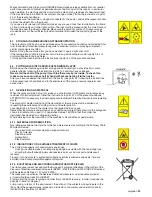
Discharging the residues of washing in the environment without taking
precautions is forbidden as this pollutes water courses. Distribute the residues
on the field or the crops where they won’t cause any damage.
4.13.1 CIRCUIT WASHER AND TANK WASHER
Some machine models are fitted with a circuit washer tank (FIG.16). This tank
must be filled with clean water and used to rinse the entire circuit including the
suction, delivery, pump, pressure regulator, jets and nozzles. Thanks to the
practical rotary nozzle it also rinses the inside surfaces of the tank.
NB: To completely clean the tank and the pipes of any residues of the various
active principles, we recommend adding 2kg of soda to the washing liquid for
every 100 L of water.
At the end of the treatment, wash the circuit and the tank.
a)
Stop the diaphragm pump disengaging the power-takeoff.
b)
Check you have filled the circuit washer tank (C).
c)
Make sure the main control of the pressure regulator is OFF and that all
the boom sectors are closed.
d)
Turn suction deviator A to the circuit washer position (H2O).
e)
Start the diaphragm pump by engaging the power-takeoff.
f)
Increase the engine speed until all of the liquid in circuit washer tank C
has been sucked up.
g)
Turn the diaphragm pump off and turn deviator A to the work position
(TANK).
h)
Turn the main control to ON, so there is pressure in the circuit.
i)
Start the diaphragm pump again and use the tank washing tap on the
regulator (or on pump P) that supplies jet B.
j)
After a few minutes you can close the tank washing tap
k)
Distribute the washing residues over a portion of the field where it won’t
cause damage.
l)
After you have finished washing, stop the diaphragm pump.
NB: at the end of the washing cycle, if there is the risk of frost, pour roughly
500 grams of normal antifreeze for auto vehicles into the tank.
A
B
C
F
P
This symbol identifies
the clean water tank
on the machine used
to wash the circuit
WARNING: using the taps on the pump or in any
case on the front of the machine puts the
operator near the cardan shaft. Despite the
presence of protections at CE rule, it is
compulsory to switch off the engine and to take
the key off.
FIG. 16


