


12
BASIC CONFIGURATION
Basic configuration lets you use the DVR's internal menu system to access all DVR features. The
easiest way to get started is to go through the Wizard quick setup and then fine tune specific areas
(such as screen resolution, etc.).
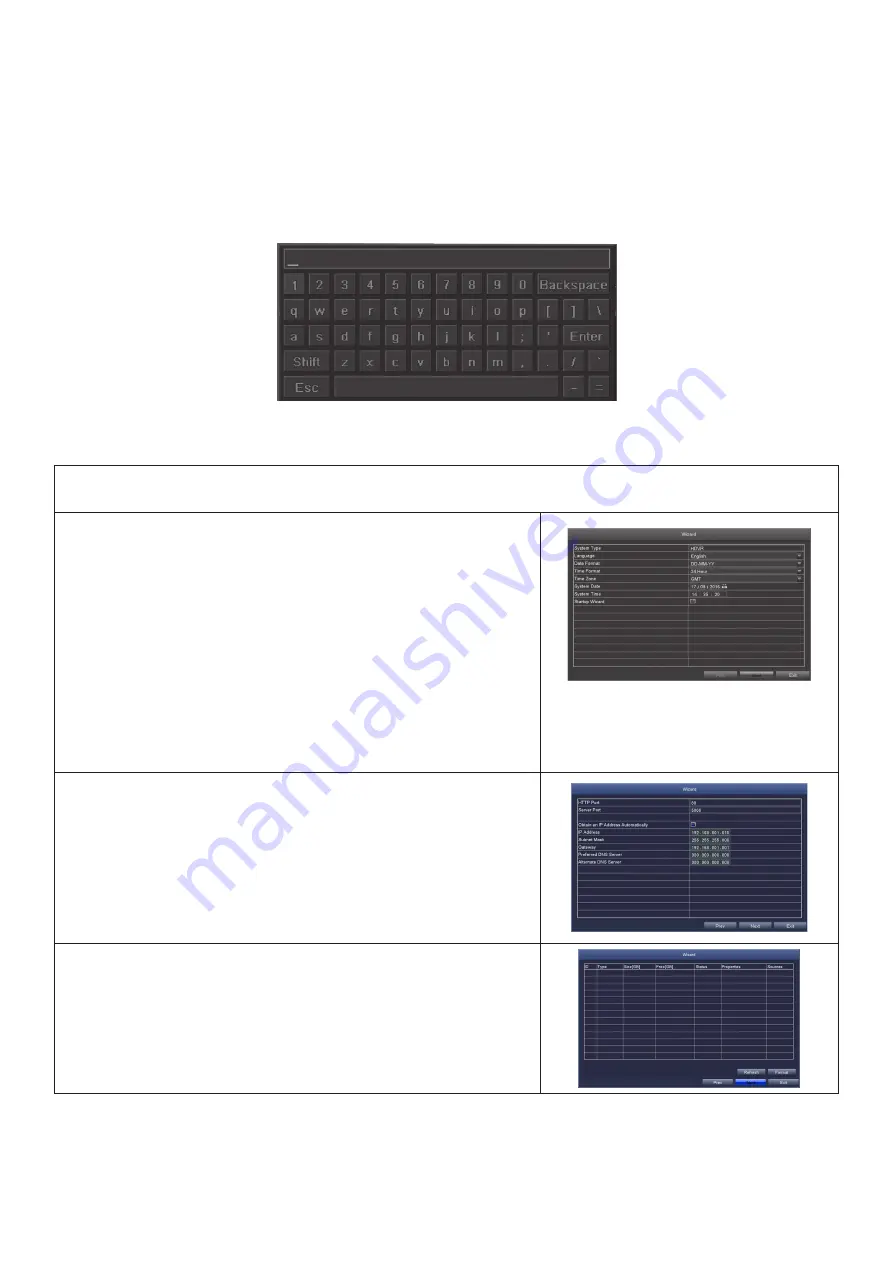
Some fields may require keyboard input. Select the field and a pop-up keyboard displays. This
keyboard supports alphanumeric and symbol keys. Shift once to input a capital letter; shift again to
return to lower case. Click
Esc
to close the keyboard.
POWER ON AND ACCESS WIZARD
1. If your DVR is already connected to power, disconnect it. Reconnect the DVR to the power
supply; the DVR powers up and the POWER and HDD LEDs on the front light up.
2. After the DVR powers up and the UNIDEN welcome
screen displays, the first of three Wizard screens
displays. Fill in the date and time information. The most
commonly used time zones for this system are:
• GMT-05:00 - Eastern Standard (Default)
• GMT-06:00 - Central Standard
• GMT-07:00 - Mountain Standard
•
GMT-08:00 - Pacific Standard
• GMT-09:00 - Yukon Standard
• GMT-10:00 - Alaska-Hawaii Standard
3. Select
Next
.
4. The second Wizard bscreen sets up DVR monitoring
through the internet. Set the Http Port to 8091 and
the server port to 5000. Click
Obtain an IP address
automatically
to get network information or fill in the
fields manually. Click
Next
.
5. The last Wizard screen displays storage status. Review
the information and then click
Finish
to save the Wizard
setting. Live video displays.
LOGIN
You need to log into the system to continue setting it up.


