24
IX. IPViewer Instructions
This chapter mainly provides some information, tricks and tips about the
IPViewer
for Windows® and
the
IPViewer
for Java®. The operation of
IPViewer
for Android® is similar and will be omitted here. To log
in the
IPViewer
for Windows® and the
IPViewer
for Java®, refer to section 7.4
IPViewer applications
.
9.1 Title Bar and Menu Bar
■
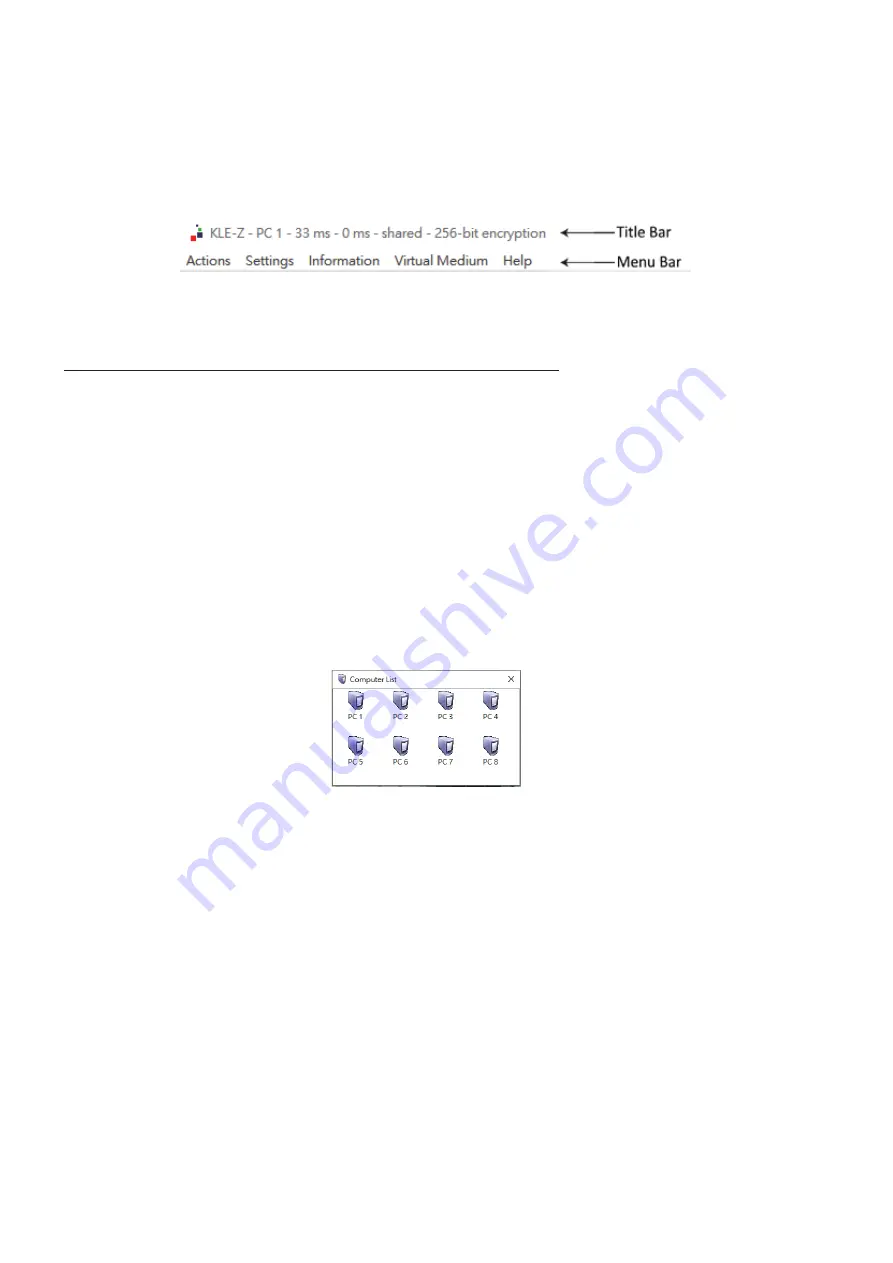
The title bar of the
IPViewer
window includes some basic information about the current connection.
These data are important for the technician when requested. Below is an exemplary title bar information:
KLE-Z - Computer 1 - 33ms - 0ms - shared - 256-bit encryption
●
Server Name
- The name given to the current video server, such as
KLE-Z
.
●
Computer Name
- The name given to the attached computer, such as
Computer 1
.
●
33 ms
- The time taken to capture a frame of the current image.
●
3 ms
- The time used to transmit a refreshed frame.
●
shared
- Currently setting of the session mode.
●
256-bit encryption
- Encryption mode.
■
The menu bar could be hidden for the
IPViewer
for Windows®. To retrieve the menu bar, please move
the cursor over the title bar of the
IPViewer
window then click the right mouse button on "
Show Menu
Bar
" option.
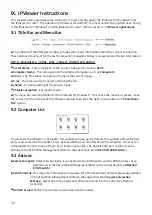
9.2 Computer List
As you enter the
IPViewer
, a Computer List window will pop up. By default, this window defines 8 KVM
ports represented by 8 computer icons. As those KVM ports are attached with computers, the user can
immediately connect to any of them by a simple mouse click. The default KVM port numbers can be
defined in the KLE-Z Web Management (Refer to the subsection 8.4.4
Attached KVM Switch
.)
9.3 Actions
■
Select Computer:
Relevant when KLE-Z is connected with a KVM switch and the KVM hot-keys have
been set up in the
KLE-Z Web Management
(Refer to the subsection 8.4.4
Attached
KVM Switch
).
■
Send Shortcut:
This menu item provides a drop-down list of the keyboard shortcuts previously defined
in the
KLE-Z Web Management
(Refer to the subsection 8.4.3
Viewer Connection
Settings
). Select one of the keyboard shortcuts to send it to the currently attached
computer.
■
Refresh Screen:
Perform an overall screen refresh when needed.


