Chapter 2 Installing the DSL/Cable Gateway
Installing the DSL/Cable Gateway
Follow these steps to install the DSL/Cable Gateway:
Step 1
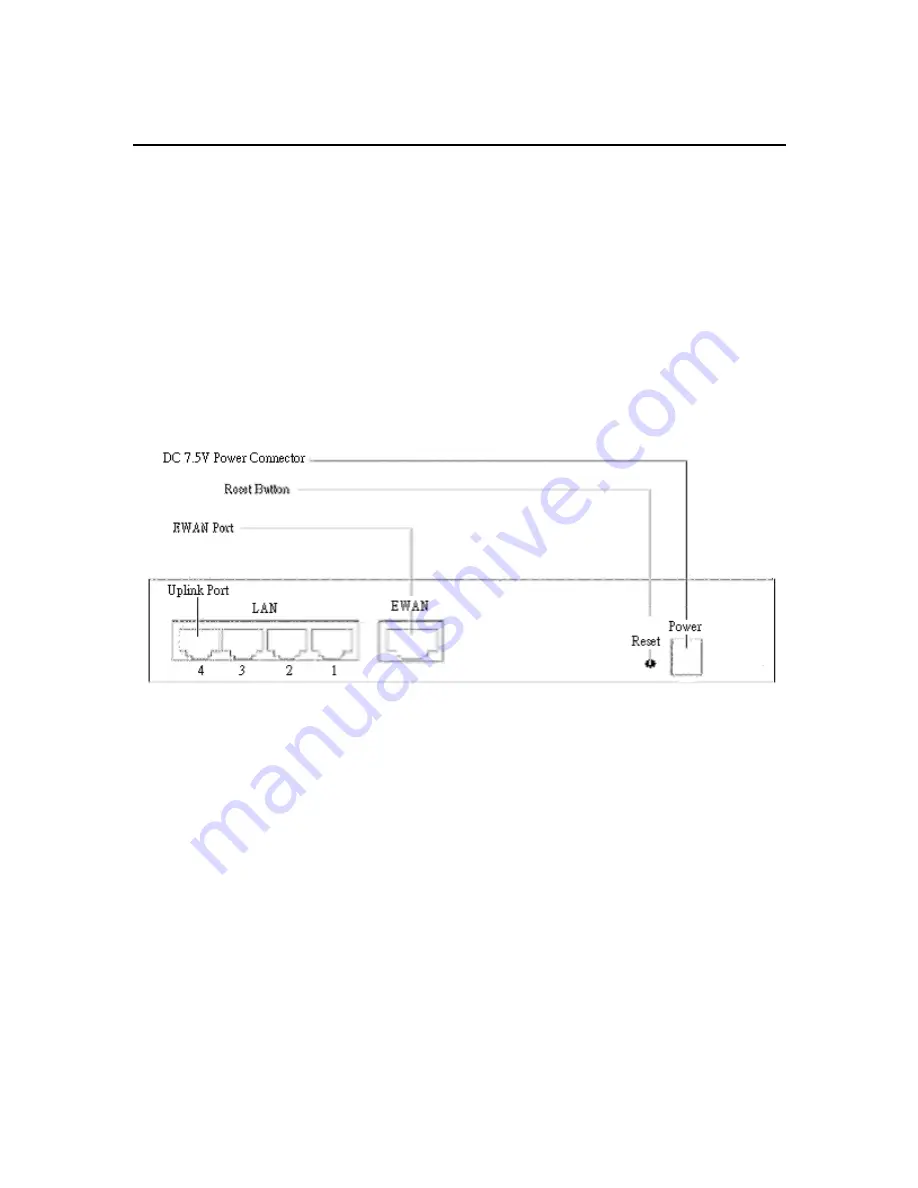
Connect ADSL/Cable modem to the Gateway’s EWAN port using crossover CAT5 UTP
LAN cable
Step 2
Connect a PC/Workstation to one of the LAN ports of the gateway, such as port 1 or
port 2 (using a standard patch straight cable).
Step 3
Connect the power adapter to the gateway and an electrical outlet.
Note:
Some Cable Modems use straight LAN cables, please check the front panel's LAN port
LED, if it lights than it means cabling is correct.
DSL/Cable Gateway Connectors
Setting Up a Windows PC for Configuring the DSL/Cable
Gateway
This section describes how to configure PC on the LAN in order to communicate with the
DSL/Cable Gateway.
The PC need to have an Ethernet interface card installed, and be connected to the DSL/Cable
Gateway either directly (to its LAN ports) or indirectly through an external LAN hub or switch. It
should also have TCP/IP installed, enabled, and configured to obtain an IP address automatically
(i.e., through a DHCP server). If TCP/IP is not already installed, follow the steps below for its
installation.
Note:
Any TCP/IP capable workstation can communicate with the DSL/Cable Gateway. To
configure workstations other than Windows 95/98/NT, please consult the manufacturer’s
documentation.
Step 1
Connect your PC to one of the DSL/Cable Gateway Switch ports. If you connect to LAN
3


