UBI EasyCoder 201 II E
UBI EasyPak 501 E – Getting Started
9
LABELSHOP
5 sec.
4 sec.
3 sec.
2 sec.
1 sec.
Offline
WINDOWS DRIVER
5 sec.
4 sec.
3 sec.
2 sec.
1 sec.
Waiting
WINDOWS DRIVER
Waiting
USE YOUR UBI WINDOWS
PRINTER DRIVER
❏
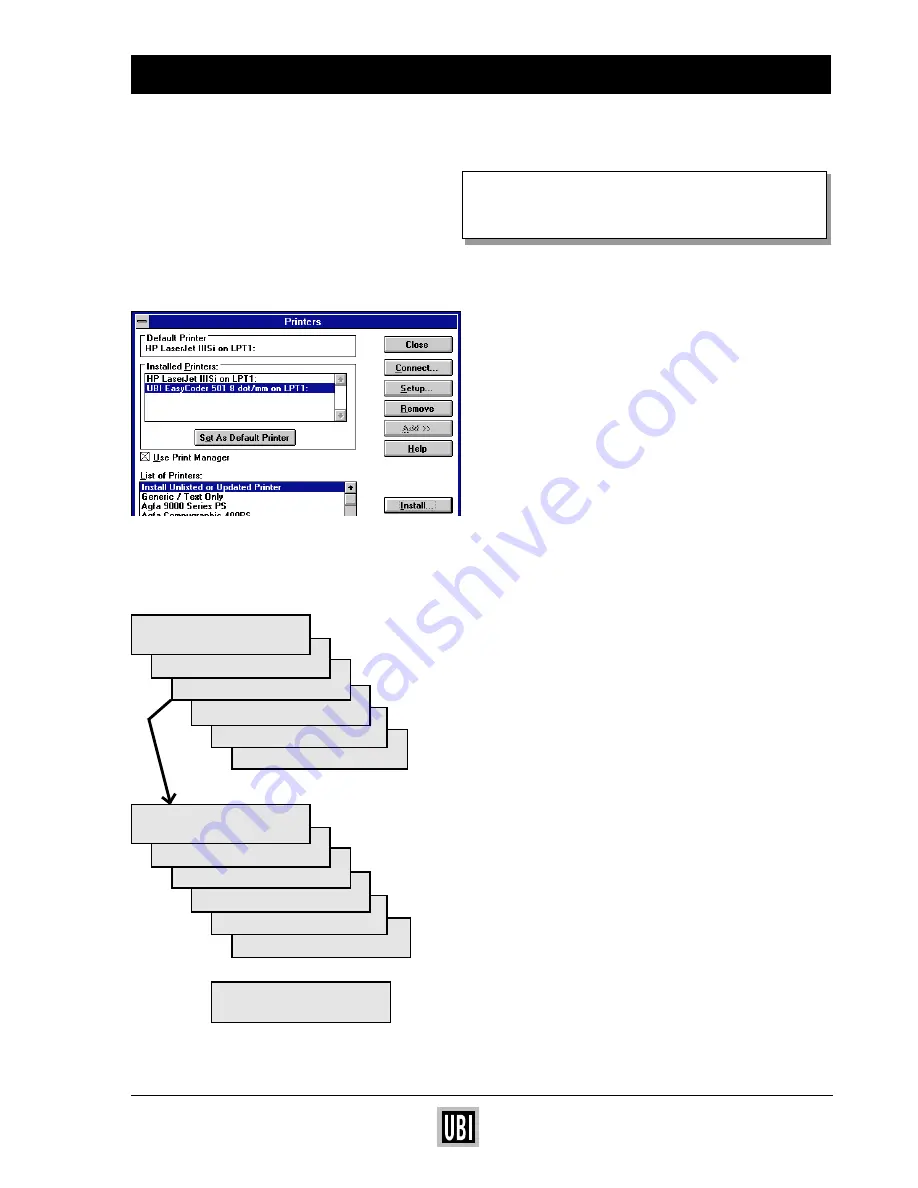
In the "Control Panel" window, double click on
"Printers". Select desired UBI EasyCoder printer
and click on "Set As Default Printer".
❏
To set up specific label dimensions etc. click on
"Setup" button. Please refer to UBI Windows Printer
Driver installation for detailed information.
❏
Check that the parallel interface cable is properly
connected between your PC and your printer.
❏
Turn the printer ON.
❏
Within five seconds, press the print button to set
the printer in UBI Windows Printer Driver mode
(default is UBI LabelShop mode).
❏
Check that paper and ribbon are properly loaded and
that the printhead is lowered. Press the "Feed"
button for feeding one label and to confirm that all is
OK. (If not, see how to load paper on page 10.)
❏
From now on, all printing from Windows programs,
such as Word, Excel, PageMaker, Corel Draw etc.,
will be performed on your connected UBI
EasyCoder printer.
❏
To go back to UBI LabelShop mode, turn the printer
first OFF then ON and press the print button within
5 seconds.
You can easily alternate between UBI Windows Driver
mode and UBI LabelShop mode by pressing the print
button within 5 seconds after power ON.


